L'ère de l'écran incurvé est arrivée depuis la sortie du Samsung S6 Edge. Après des années de développement, un tout nouvel écran complet incurvé a été adopté, qui est une combinaison d'écrans incurvés et d'écrans complets. Comparé aux écrans incurvés, le nouvel écran complet incurvé a sans aucun doute un coût de réparation/remise à neuf beaucoup plus élevé. Dans notre vidéo d'aujourd'hui, nous allons Samsung Galaxy Note 8 à titre d'exemple et de vous montrer la dernière technologie de remise à neuf d'écrans complets incurvés. Notre REWA est prête à partager avec vous des conseils de réparation et à vous aider à résoudre vos problèmes. Maintenant, suivez les conseils de REWA pour remettre à neuf l'écran cassé de votre smartphone.
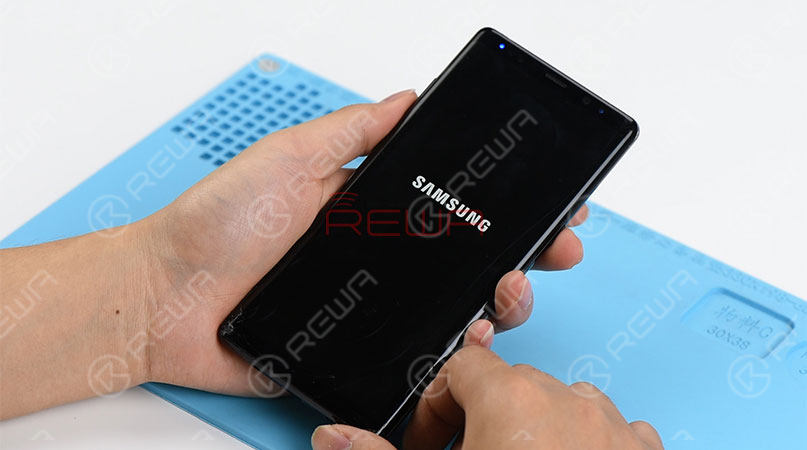
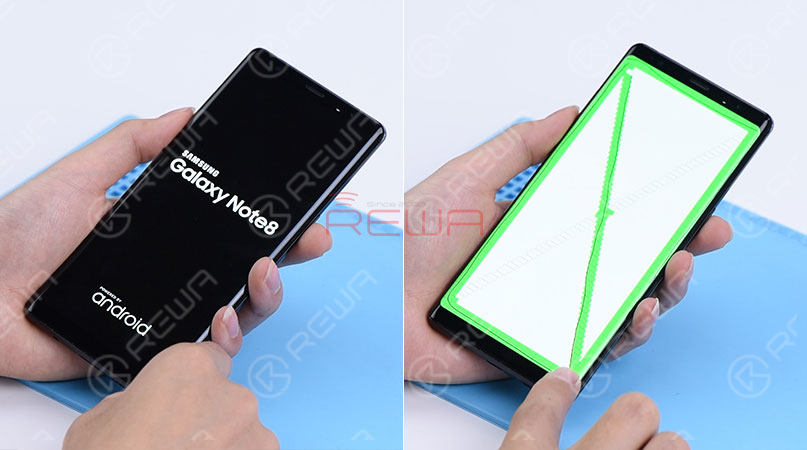
Étape 1 - Test de l'écran fissuré
Test de fonctionnement - Affichage et toucher
Les deux sont acceptables
Étape 2 - Démontage du téléphone
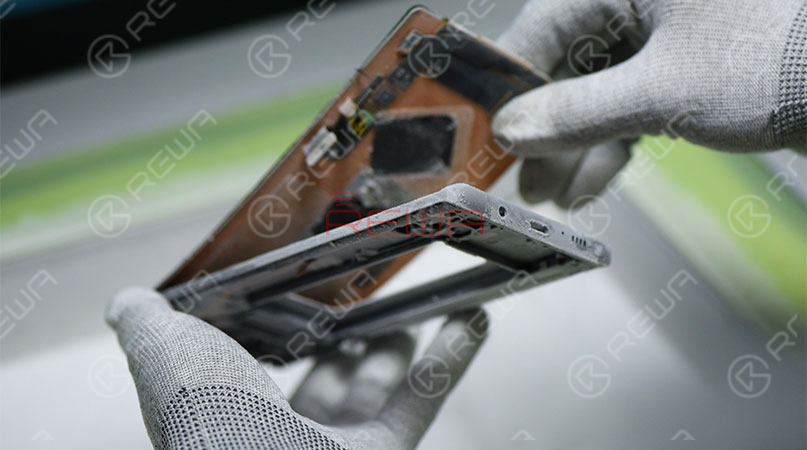
Placez le téléphone à l'envers sur la plateforme chauffante, retirez lentement le couvercle arrière à l'aide d'une pince et d'un nettoyant pour colle. (Attention aux câbles flexibles lors de l'utilisation) Continuez à décharger la plaque arrière. Retirez la batterie et quelques autres accessoires, puis retirez la carte mère.
Étape 3 - Séparation des lentilles de verre
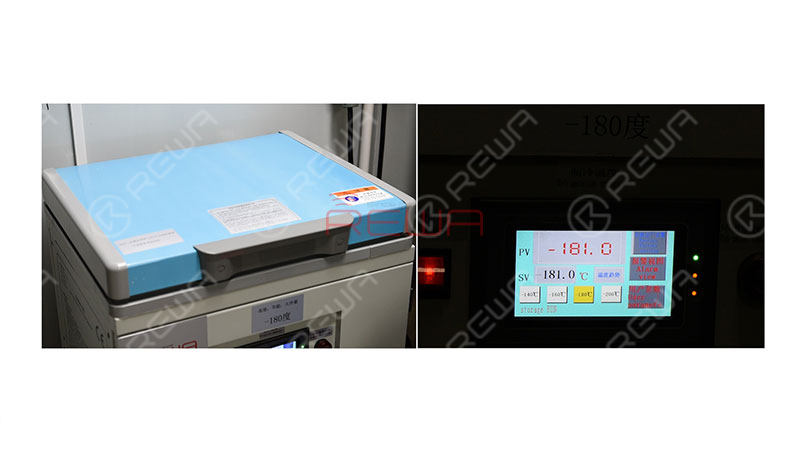
Placer l'assemblage de l'écran OLED dans le séparateur d'écran congelé -180℃, puis mettre le couvercle et attendre 5 minutes et retirer la lentille de verre avec précaution. Ensuite, placez l'écran OLED à température ambiante sur la plateforme chauffante, enlevez la colle résiduelle avec le Dispositif électrique d'enlèvement de la colle. Une fois l'opération terminée, nettoyer avec du N-hexane.
Étape 4 - Séparation en milieu de cadre
Identique à la séparation de la lentille en verre. Placer l'écran OLED dans l'espace de -180℃ Séparateur d'écran congelé, Pour ce faire, mettez le couvercle et attendez 5 minutes. Ensuite, séparez l'écran OLED du cadre central.
Étape 5 - Laminage OCA
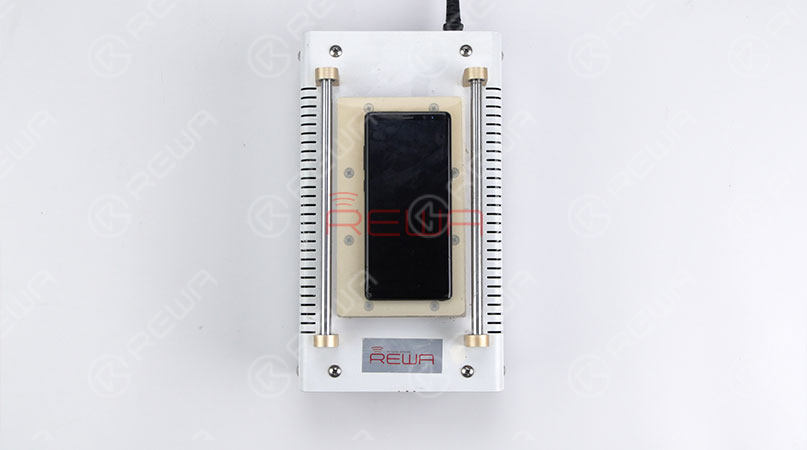
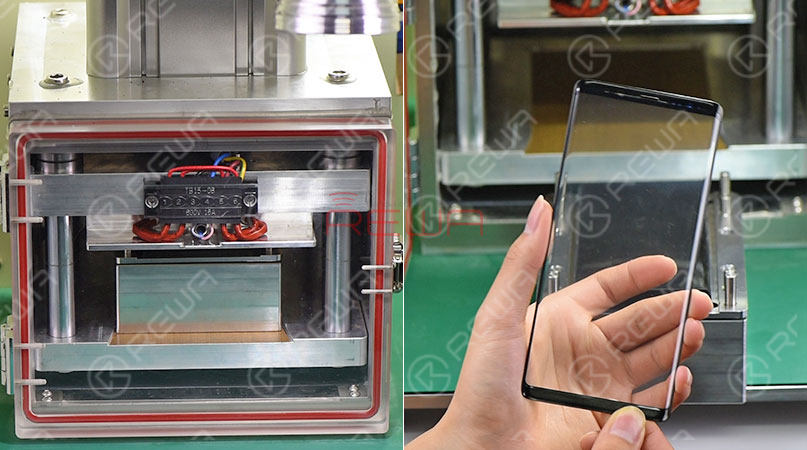
L'OCA doit d'abord être laminé sur la lentille en verre. Placez le moule dans la machine à plastifier, appuyez sur le bouton ‘plastification de l'OCA’ et la machine se met en marche jusqu'à ce que la plastification soit terminée. Ensuite, retirez la lentille de verre fixée à l'OCA.
Étape 6 - Retrait des bulles
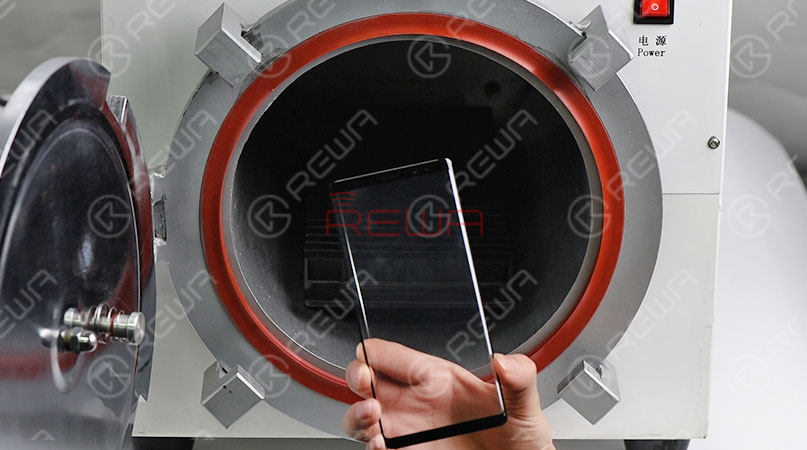
Placer la lentille en verre fixée à l'OCA dans Machine à enlever les bulles pour 5 minutes, Une fois l'opération terminée, retirez la lentille en verre fixée à l'OCA.
Étape 7 - Stratification de l'OLED
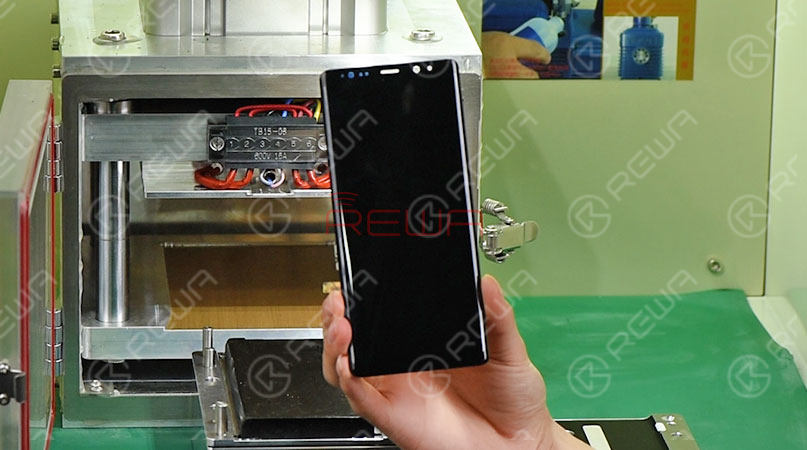
Nous devons maintenant laminer la lentille en verre fixée à l'OCA sur l'écran OLED. Tout d'abord, placez le moule dans la machine à plastifier, appuyez sur le bouton ‘plastification LCD’. La machine se met alors en marche jusqu'à ce que la stratification soit terminée. Enfin, retirez la lentille de verre de l'OCA de l'écran OLED. Assemblage de l'écran OLED.
Étape 8 - Retrait des bulles
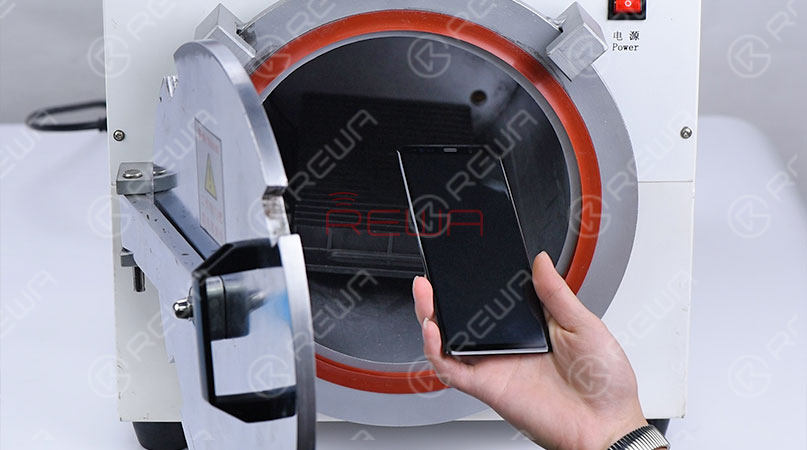
Placer l'assemblage de l'écran OLED dans la machine à enlever les bulles d'air. 10 minutes. Une fois l'opération terminée, retirez l'écran OLED.
Étape 9 - Test de l'écran remis à neuf
Mettez l'appareil sous tension pour effectuer un test de fonctionnement - affichage et toucher. Les fonctions d'affichage et de toucher sont normales. Remise à neuf de l'écran du Samsung Galaxy Note 8 parfaitement réalisée
Ce qui précède est le processus complet de réparation de la vitre cassée de l'écran du Samsung Galaxy Note 8. L'avez-vous suivi ? Si ce n'est PAS le cas, regardez la vidéo ci-dessous. Pendant ce temps, avez-vous rencontré un problème lors de la remise à neuf de l'écran fissuré ? Si OUI, n'hésitez pas à nous en faire part dans les commentaires ci-dessous. Notre équipe REWA est prête à partager avec vous des conseils de réparation et à vous aider à résoudre vos problèmes. Comme le dit un vieil adage “Si trois personnes marchent ensemble, l'une d'entre elles peut être mon professeur.”. Nous pouvons apprendre les uns des autres.
