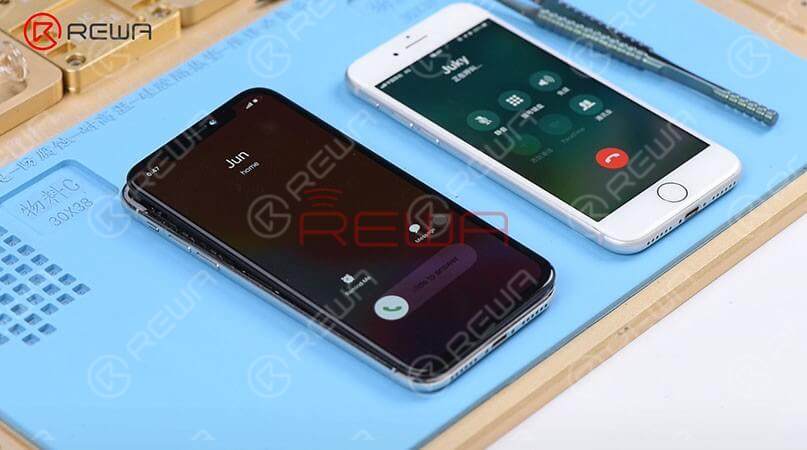
Some iPhone users may encounter such a problem, when the phone screen is turned off, we cannot receive the call.
Right now, there are few solutions to fix iPhone not responding in sleep mode when getting incoming calls.
The general repair process of a repair technician is to take out the motherboard, check PMU and baseband CPU, and then replace or re-solder the faulty component.
The whole repair process is complicated and difficult.
Now REWA LAB will show you a brand new ‘signal borrowing’ solution to fix this problem quickly and efficiently.
Problème

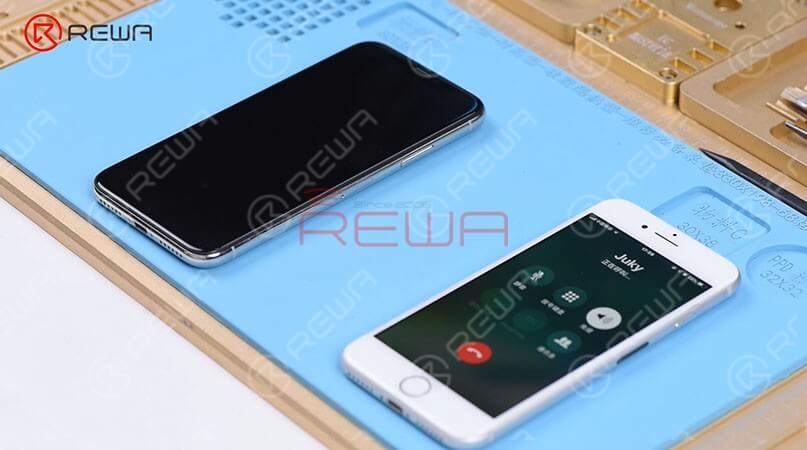
Here we have an iPhone X not responding in sleep mode when getting incoming calls. When we were trying to test the Sounds&Haptics function, we found all going well.
With the screen on, we placed a call to the phone using a known-good phone. And the decline and answer buttons appear on the screen.
However, if we turned the screen off, the phone is not responding at all. Then we pressed the power button to turn the screen on and we can see the incoming calls showing on display.
Diagnostic

Judging by this, we can infer that relevant circuits of the baseband wake signal might have malfunctioned. So we took apart the phone, disconnected the battery, removed the display assembly, and took out the motherboard.
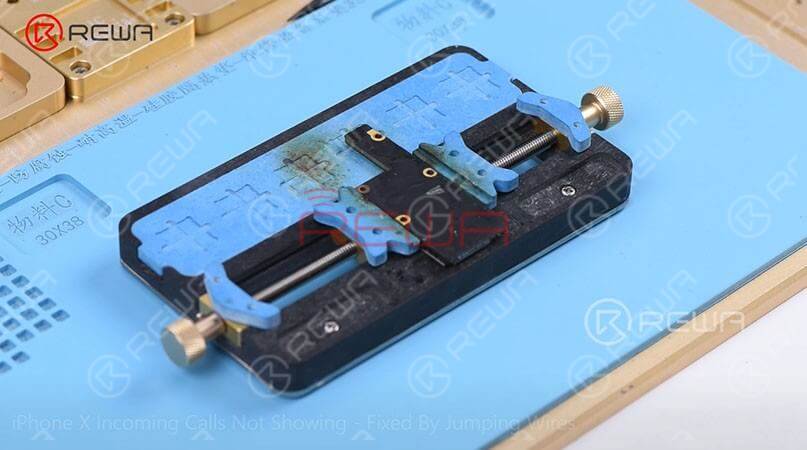
The following step is to attach the motherboard to the PCB Holder and then heat with Hot Air Gun at 200℃, airflow 3 to tear off the heat dissipation sticker on the backside of the motherboard.
Confirm the Signal Fault Location

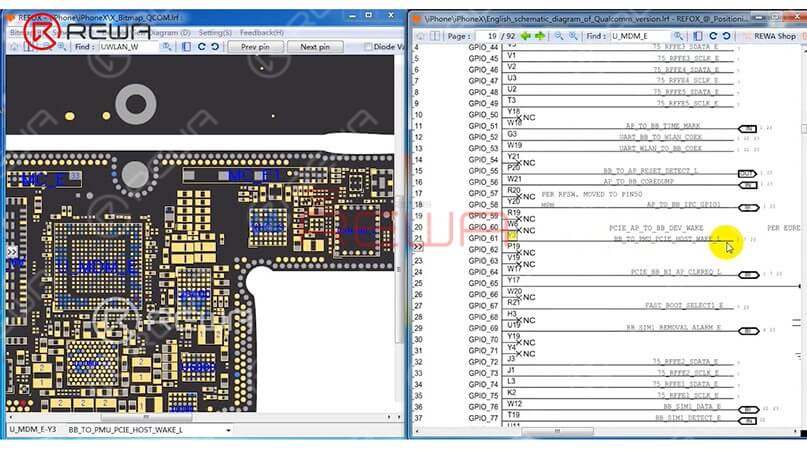
We can open the bitmap software in Refox and locate BB_TO_PMU_PCIE_HOST_WAKE_L first.
Since relevant circuits of the wake signal might have malfunctioned, so we can try to borrow the wake signal from WiFi relevant circuits.
Borrow Signal by Jumping a wire

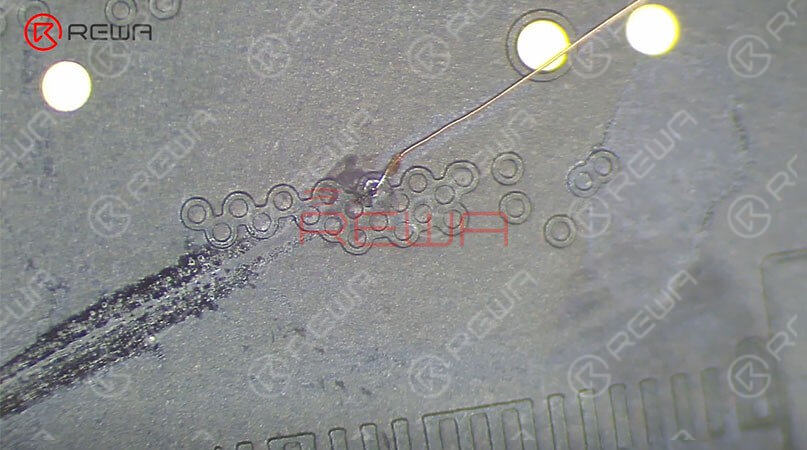
Then we need to locate WLAN_TO_PMU_HOST_WAKE. And the following step is to connect PP101_E-1 (the test point of the baseband wake signal) with PP7611_W-1 (the test point of the WiFi wake signal) by jumping a wire.
Before that, we need to scrape off the insulating coating on the two test points first, then apply some solder paste to the two bonding pads and heat with Soldering Iron at 365℃.
The next step is to tin the two bonding pads with solder paste and also to connect PP101_E-1 to PP7611_W-1 with 0.02mm Enameled Copper Wire.
Finally we need to coat the wire with the UV Curable Solder Mask.
Assemble the Phone and Test

Now we can assemble the phone and test. We got the motherboard installed and displayed assembly connected, then connected the battery.
Then pressed the power button to turn on the phone inserted the SIM card. After that, with the screen off, we tested again. And we found all going well.
PS: The repair case of this blog is applicable to the QCOM version, which might be a reference for the Intel version as a repair method.
Visitez notre boutique en ligne for more parts and tools.You can also visit Chaîne YouTube de REWA to check our video.

