From our previous article, we have learned the difference between OLED and LCD, an OLED can be a really big trend in the future.
HUAWEI, one of the most popular Chinese smartphone brands, has also impressed users all around the world with its 5.5-inch Super AMOLED display of 1080p resolution on HUAWEI P9 Plus.
This innovation gives HUAWEI P9 Plus almost perfect viewing angles, which means a nice big canvas for films and games.
The use of an AMOLED screen also guarantees superb contrast while ensuring no brightness loss at an angle.
We can not deny that HUAWEI P9 Plus has a generous dollop of luxury with the AMOLED screen.
So it is a real pity if this amazing experience got stuck by a broken glass lens.
That’s why REWA put up with this tutorial for broken screen glass-only repair.
I hope we can enlighten you somehow.
Essais
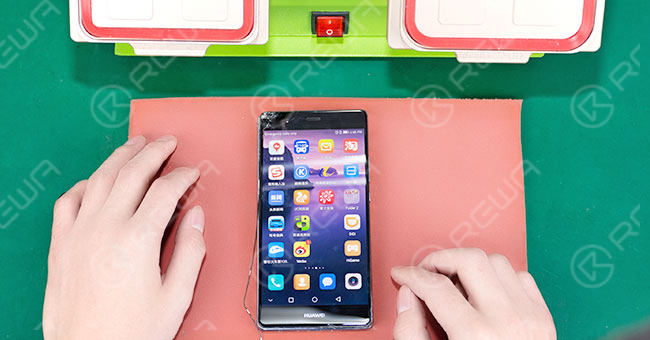
Start up your phone, testing whether the display and touch function work well on the glass-cracked screen.
Frame Separating
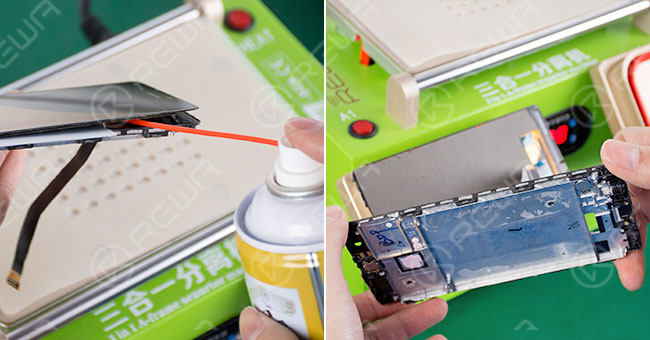
Put the OLED on the Heat Platform to heat it, 30 seconds later, use a metal pry bar to lift one corner of the screen and spray some 530 cleaner into the gap(Be aware of the 530 cleaner, make sure it does not go inside OLED).
After that, separate the OLED and frame preliminarily with a plastic pry piece, then separate them with a Frame Separator.
Séparation du verre
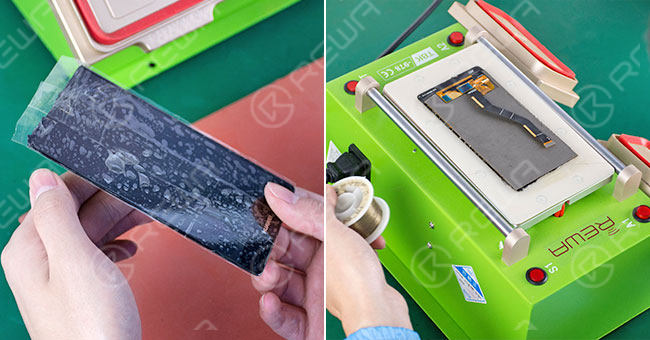
Stick a layer of adhesive tape on the full surface of the cracked screen to prevent further damage.
Place the screen upside down on the Heat Platform and heat it for the 30s.
Then take it down, and put it upside down on the separator machine.
Press the vacuum button and use Gold Cutting Wire to separate the glass from an OLED screen
Retrait de la colle
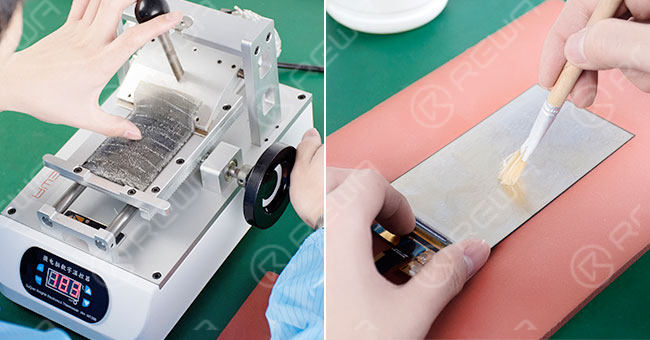
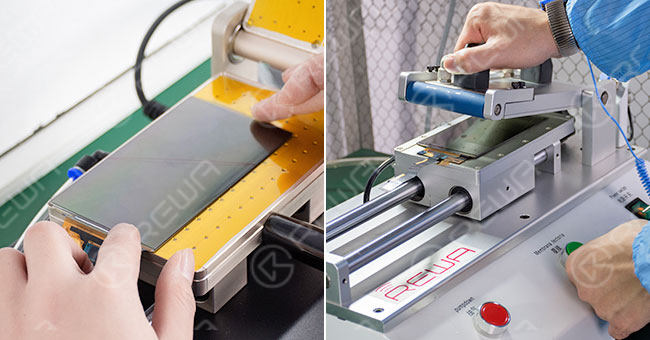
Utiliser le Glue/POL Film Removing Machine to remove the POL, then use the LCM Glue Cleaner to remove OCA residue. After all has been done, clean it up with N-hexane.
Film Adhering
Align POL film and OCA respectively to the OLED, then laminate with the help of the OCA Laminating Machine.
Contrecollage
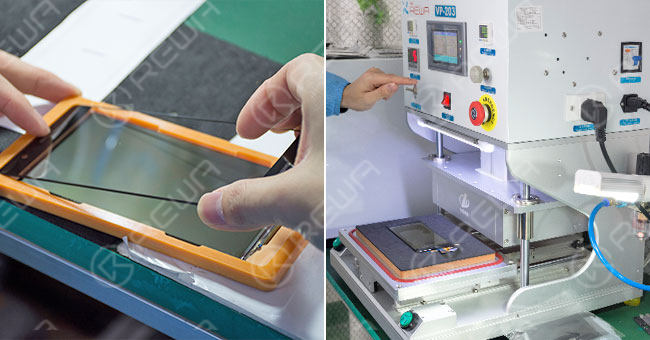
Put the OLED into an Alignment Mold, tear off the protective film on OCA glue, and align the glass lens to it.
Turn it upside down and take out the OLED screen, then put it into a Machine à laminer le verre with a laminate cushion placed under it.
Elimination des bulles
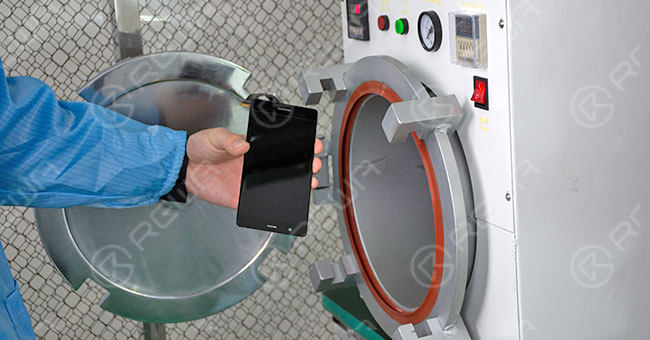
Put it into the Machine à enlever les bulles for 10 minutes. Make sure the OCA is bubble-free on OLED.
Repaired Screen Testing
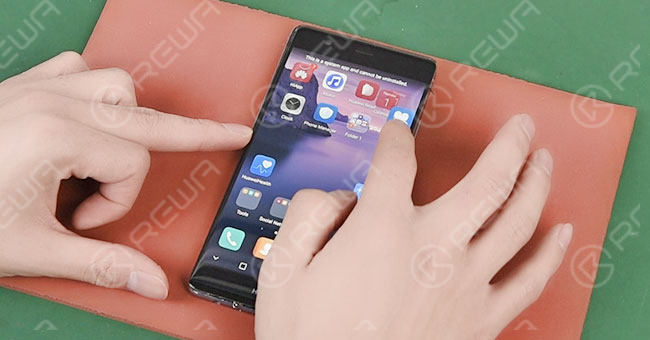
Connect the screen to a motherboard and test the display and touch functionality again, both are OK.
For more details on the repair guide, please go to the REWA YouTube channel.
As for LCD refurbished machines, materials, demo videos, and technical support, please feel free to contact us via service@rewa.tech or visit the online store at REWA shop.
Tutoriel vidéo
