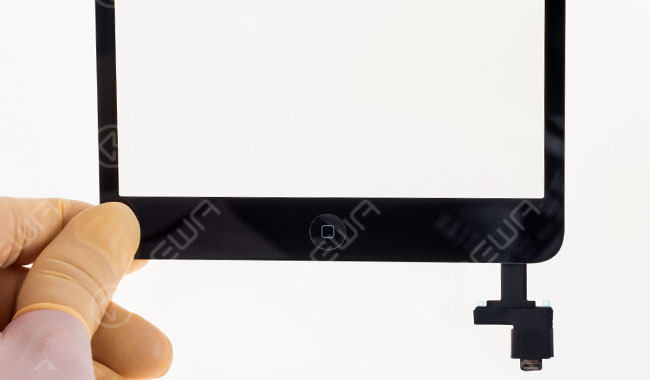
Vous avez donc besoin Remplacement de l'assemblage du numériseur de l'écran tactile de l'iPad pour vos travaux de réparation. Vous faites des recherches sur l'internet et constatez que certains d'entre eux ne sont pas bien assemblés avec des boutons d'accueil. Or, le bouton d'accueil de l'iPad contrôle la tablette et toutes ses fonctionnalités, dont l'absence peut rendre votre iPad presque inutilisable. REWA propose des guides détaillés, étape par étape, pour vous aider à assembler le bouton d'accueil et à le faire fonctionner comme vous le souhaitez. (comme iPhone ne s'allume pas après le remplacement de l'écran, écran tactile iPhone 7 ne fonctionne pas, bouton d'accueil iPhone 7 ne fonctionne pas)
Remarque : ce guide d'assemblage du bouton d'accueil s'applique à quatre séries d'iPad : iPad 2, iPad 3, iPad 4, iPad 5 et iPad mini.
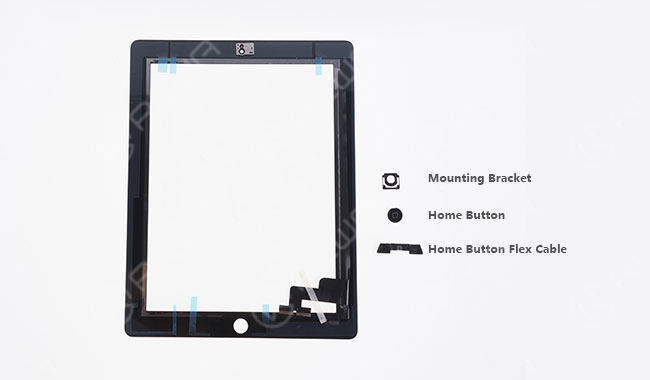
iPad 2
Pièces contenues : Bouton d'accueil ; support de montage ; câble flexible du bouton d'accueil
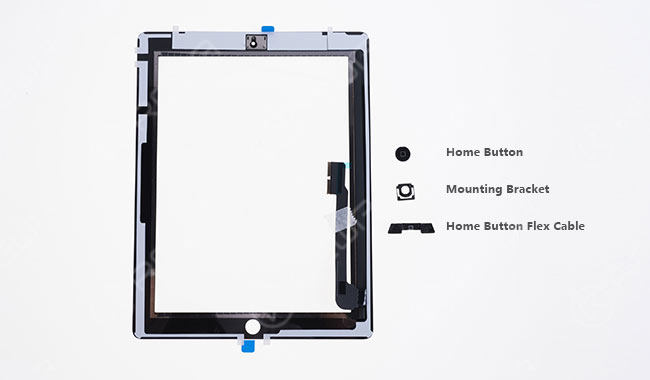
iPad 3
Pièces contenues : Bouton d'accueil ; support de montage ; câble flexible du bouton d'accueil
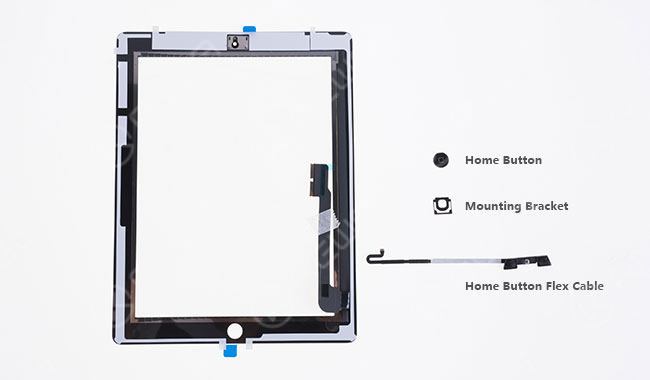
iPad 4
Pièces contenues : Bouton d'accueil ; support de montage ; câble flexible du bouton d'accueil
Les trois ont les mêmes étapes que ci-dessous (prenons l'exemple de l'iPad 3).
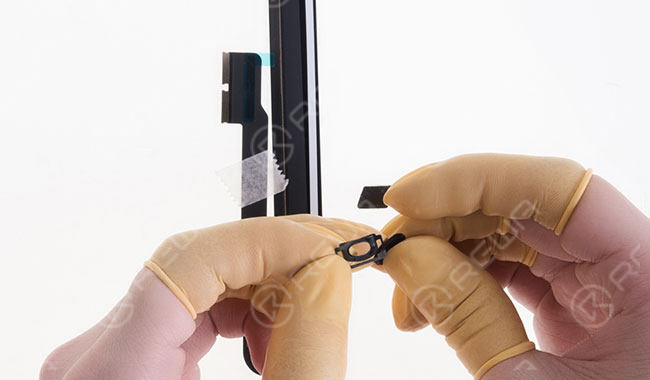
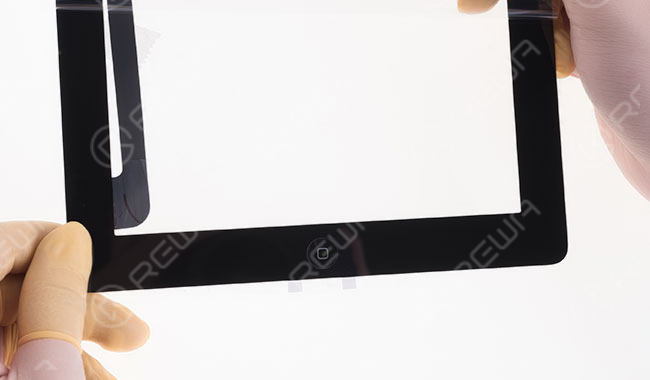
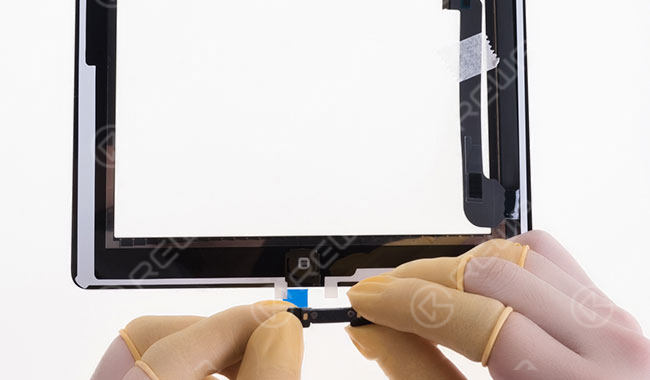
Étape 1 Fixez le bouton d'accueil avec le support de montage.
Étape 2 Alignez-les sur le trou du bouton d'accueil du numériseur de l'écran tactile de l'iPad.
Étape 3 Alignez le câble flexible du bouton d'accueil.
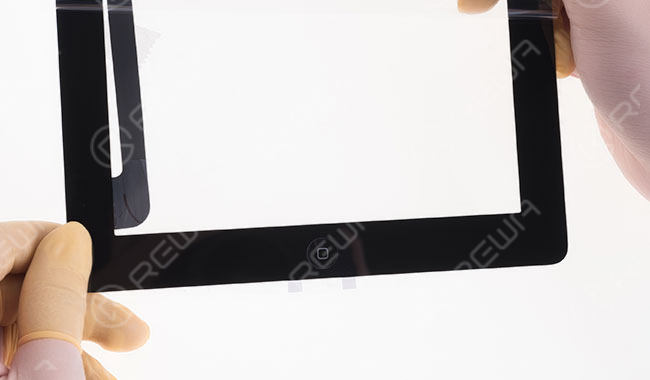
Étape 4 Une fois terminé, vérifiez l'effet de l'assemblage.
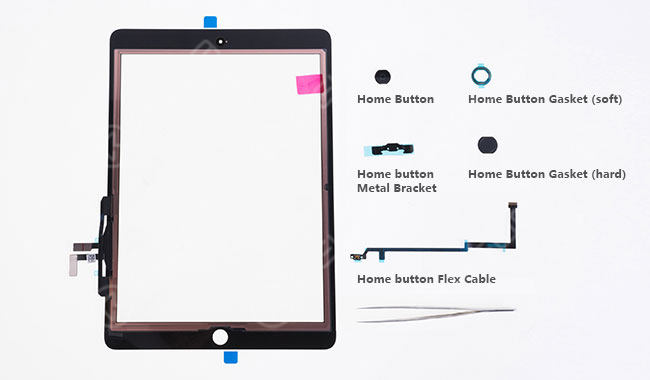
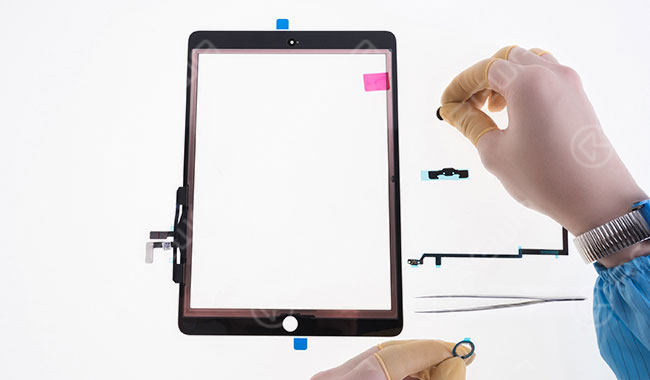
iPad 5
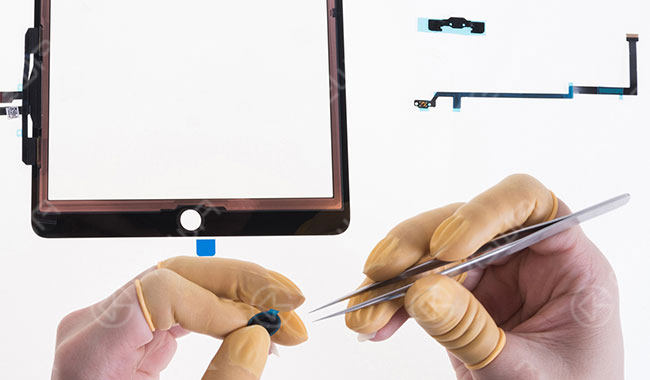
Pièces contenues : Bouton d'accueil ; Joint du bouton d'accueil (souple) ; Support métallique du bouton d'accueil ; Joint du bouton d'accueil (dur) ; Câble flexible du bouton d'accueil Étape 1 Déchirez l'autocollant avant du joint du bouton d'accueil souple, collez-y le bouton d'accueil, puis déchirez l'autocollant arrière. Alignez-les ensuite sur le trou du bouton d'accueil du numériseur de l'écran tactile de l'iPad.
Étape 2 : Détachez l'autocollant du joint rigide du bouton d'accueil et collez-le sur le trou du bouton d'accueil de l'ensemble numériseur de l'écran tactile de l'iPad.
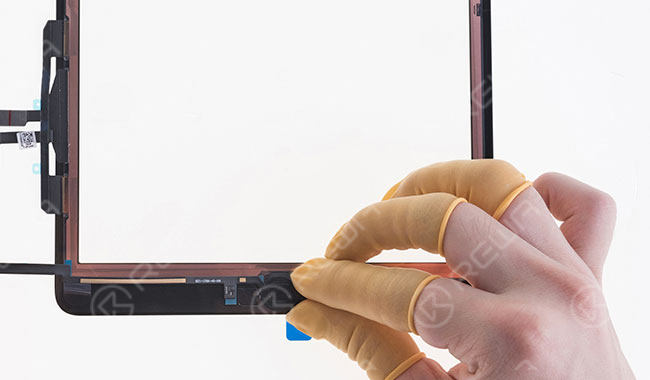
Étape 3 Déchirer le autocollant du support métallique du bouton d'accueil et l'aligner sur le câble flexible du bouton d'accueil. Collez ensuite les deux au bon endroit sur l'ensemble numériseur de l'écran tactile de l'iPad.
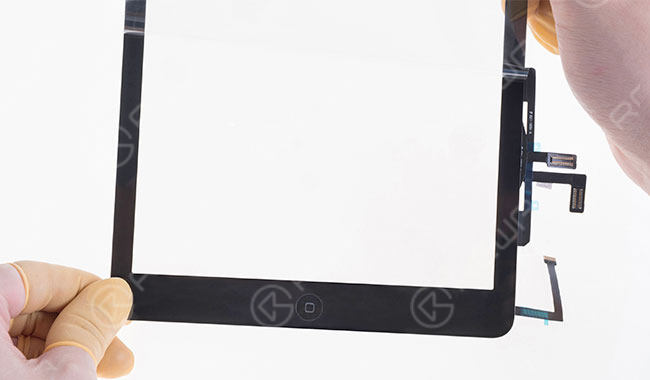
Étape 4 Une fois terminé, vérifiez l'effet de l'assemblage.
iPad mini
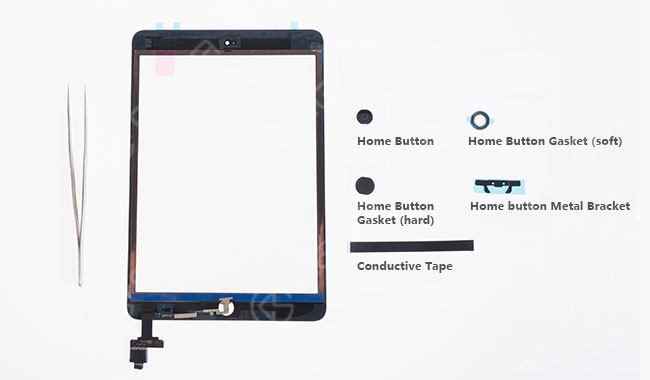
Pièces contenues : Bouton d'accueil ; Joint du bouton d'accueil (souple) ; Joint du bouton d'accueil (dur) ; Support métallique du bouton d'accueil ; Ruban conducteur.
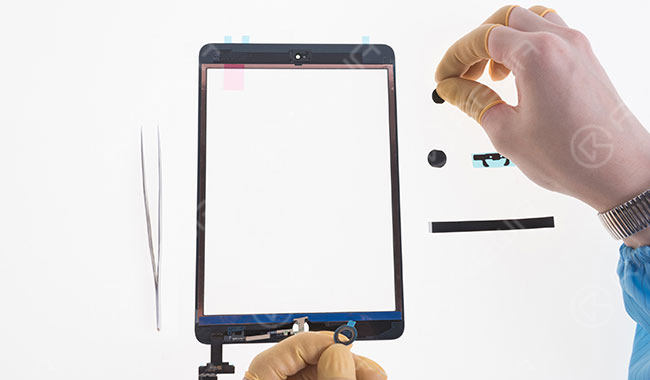
Étape 1 Déchirez l'autocollant avant du joint souple du bouton d'accueil, collez-y le bouton d'accueil, puis déchirez l'autocollant arrière. Alignez-les ensuite sur le trou du bouton d'accueil du numériseur de l'écran tactile de l'iPad.
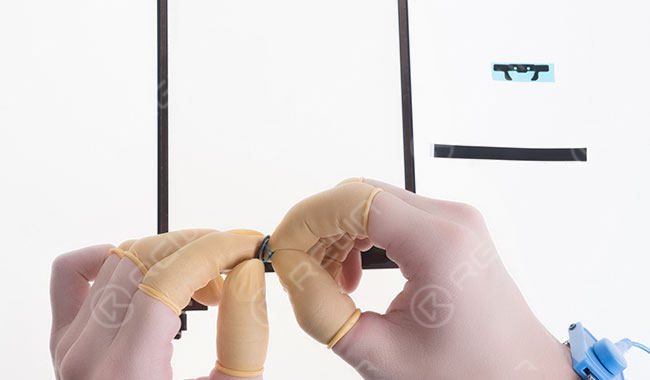
Étape 2 Détachez l'autocollant du joint rigide du bouton d'accueil et collez-le dans le trou du bouton d'accueil de l'ensemble numériseur de l'écran tactile de l'iPad.
Étape 3 Déchirer le L'étiquette autocollante du support métallique du bouton d'accueil et l'aligner au bon endroit. Scellez ensuite avec le ruban conducteur.
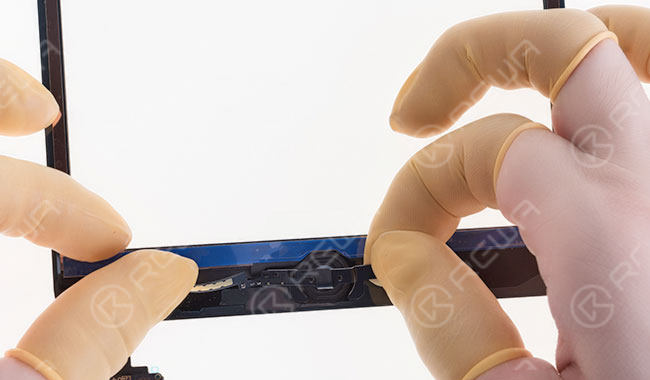
Étape 4 Une fois terminé, vérifiez l'effet de l'assemblage.
