Are you an iPhone 7 user experiencing an annoying rear camera shaking problem when trying to capture a perfect shot? You’re not alone. Many Apple enthusiasts have faced similar camera-related issues and searched online for solutions. While some have reported temporary fixes involving magnets, we’re here to delve deeper into the problem and offer a more lasting solution to address the root cause of the iPhone 7 rear camera shaking issue.
One user from Apple Support reported his problem and asked for help. Also, we have received many users ask help for iPhone camera in our Forum ASK . Like iPhone camera black , iPhone camera not focus, iPhone camera shaking and so on. So, we take iPhone 7 camera shaking repair as an example to teach you how to fix iPhone camera shaking issue.
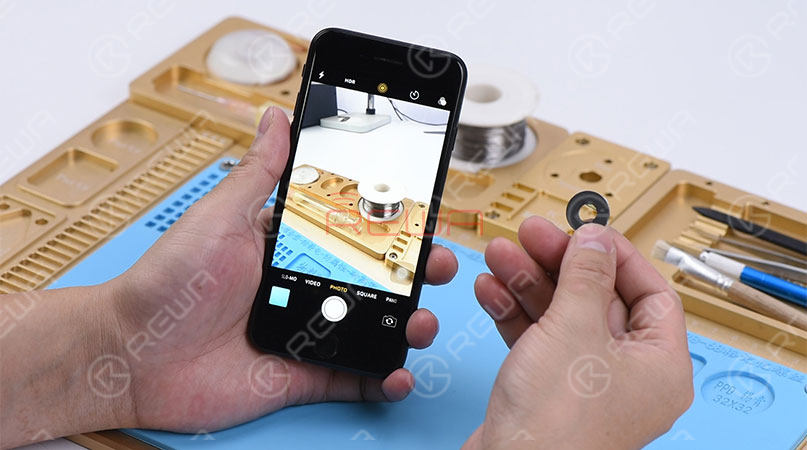
Many iPhone 7 users feedback that their rear cameras shake when taking a picture. However, the front camera works normally. They searched online for solution. Nothing has changed after updated to the newest iOS Version.
Some people found a solution. A magnet can prevent iPhone 7 rear camera from shaking. They attach a magnet to the camera holder ring. The rear camera stops shaking at once. But when they move the magnet away, the rear camera starts to shake immediately. There is a coil for focusing inside the rear camera. The magnet can prevent the coil from shaking by influencing the magnetic field.
Why iPhone 7 rear camera shakes and how to fix?
There are two reasons for the shaking problem of iPhone 7 rear camera.
1. The rear camera is broken. Need to change rear camera.
2. The rear camera circuit has malfunctioned.
Today, our case is about the iPhone 7 rear camera shaking problem , which was caused by malfunction of the rear camera circuit.
Step 1: Confirm the damaged rear camera circuit
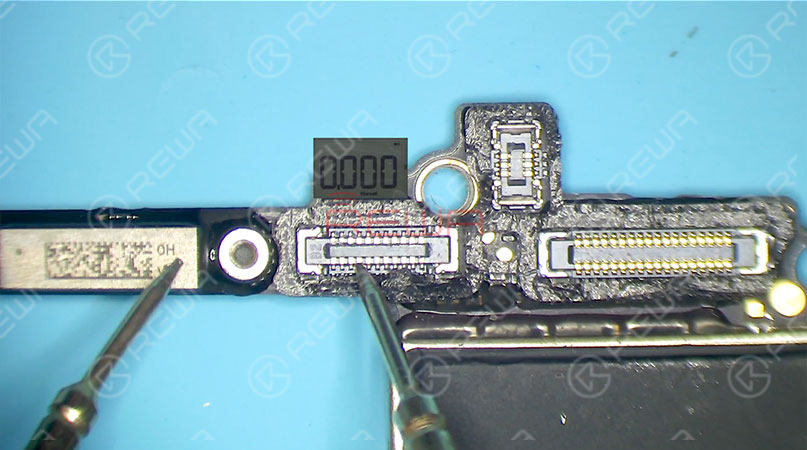
At first, take apart the phone and remove the display assembly. Then take out the logic board. The first thing we do is to check the rear camera connector J4501. Run diode mode measurement of J4501. The measured value of Pin 16 is 0, which is abnormal. The normal value should be 600, judging by this, relevant circuits of Pin 16 have shorted to ground.
Step 2: Loc ate the faulty component
Since there are multiple filter capacitors on the circuit, we can locate the faulty component with ‘rosin detecting’ method.
Tear off the shielding sticker and run cosmetic inspection of the logic board. The logic board is not deformed or water damaged.
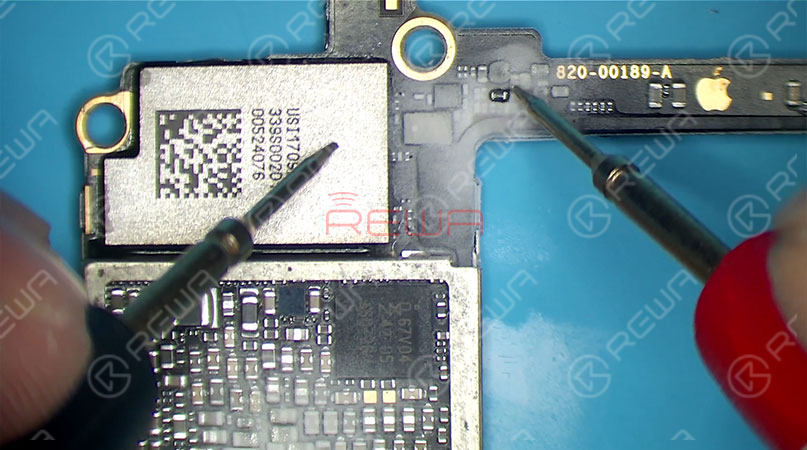
First, smoke rosin on relevant components of the circuit. Then, set voltage of the Alimentation en courant continu to 2.8V. Continue to connect test leads of the Multimeter to the DC power supply. With the black probe contacting a GND connection on the logic board, contact the red probe to Pin 2 of FL2502. Check whether the rail between Pin 2 of FL2502 and J4501 has shorted. Rosin on C2519 melts immediately. Judging by this, C2519 is damaged.
Step 3: Clear fault
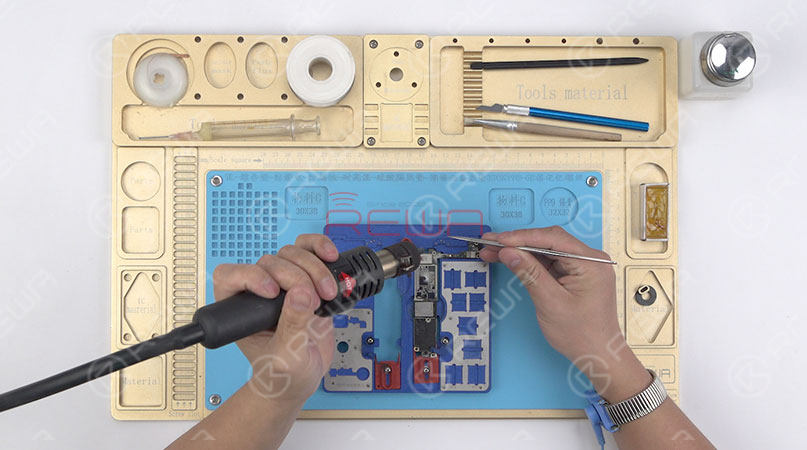
Since C2519 is a filter capacitor, we can simply detach it from the board. Attach the logic board to PCB Holder. Remove C219 with Hot Air Gun. Clean with PCB Cleaner afterward. Run diode mode measurement of the bonding pad of C2519. The measured value is 645, which is normal.
Step 4: Assemble the phone and test
Get the logic board and display assembly installed. Connect the battery and press the power button. The phone turns on normally. Tap on the camera app on the home screen. The rear camera stops shaking. Switch to the front camera and the front camera works normally. Switch back to the rear camera and take a picture. Check the phone taken. Nothing goes wrong.
Des conseils chaleureux : faire remonter complètement le téléphone après confirmation de l'élimination de la panne.
Check the video for detailed steps on iPhone 7 rear camera shaking fix . Interested in learning more iPhone repair techniques? Enroll now for REWA Europe training course in March and April.
Outils utilisés :
Mèche à souder Flux de soudure à la colophane
Pince à épiler à crochet incurvé
Tournevis
Barre de traction en plastique antistatique
Grattoir BGA en acier inoxydable
Visitez notre boutique en ligne pour plus de pièces et d'outils.
For Cell Phone Repair Training Courses, you can visit Académie REWA
Just click the cell phone repair course link below to know more!
Cours de réparation de la carte logique de l'iPhone X
Cours de base sur la réparation des cartes logiques de l'iPhone
Cours de réparation des cartes logiques de l'iPhone
Cours sur le flux de travail et le dépannage pour la réparation de la carte logique de l'iPhone
Cours de réparation de la carte logique de l'iPhone
Cours de remise à neuf de l'écran brisé d'un téléphone portable
Cours complet de réparation de la carte mère de l'iPhone
