Face ID ne fonctionne pas ‘Déplacer l'iPhone un peu plus bas/ haut‘Le problème est généralement dû à une détérioration du projecteur de points et il est confirmé qu'il n'est pratiquement pas réparable. Cependant, il existe enfin une solution pour résoudre ce problème. Aujourd'hui, REWA LAB vous présente la dernière technique de réparation des projecteurs de points !

Problème
Lorsque nous essayons de configurer Face ID sur l'iPhone, nous obtenons le message ‘déplacez l'iPhone un peu plus bas/plus haut’. Ensuite, en passant à la caméra frontale, nous avons constaté que le nom de l'effet d'éclairage ‘Lumière naturelle’ reste le même lorsque la caméra détecte le visage d'une personne. De plus, la notification contextuelle continue d'indiquer ‘Éloignez-vous’. Normalement, lorsque le mode Portrait est prêt, le nom de l'effet d'éclairage ‘Lumière naturelle’ devrait devenir jaune. À en juger par ce phénomène, il est possible que le projecteur de points ou les circuits concernés du projecteur de points aient mal fonctionné.

Diagnostic
Démontez le téléphone et retirez d'abord l'écran. On peut voir que le projecteur de points a été endommagé par l'eau et que le cristal du projecteur de points est cassé. Retirez avec précaution l'ensemble de la caméra frontale. Nous recommandons d'utiliser un programmateur de réparation pour vérifier le câble flexible du projecteur de points. En connectant le câble flexible du projecteur de points au programmateur, les résultats indiquent ‘Fusing’, ce qui signifie que le câble flexible du projecteur de points a été endommagé. Nous devons graver les données du câble flexible du projecteur de points d'origine sur un nouveau câble, puis remplacer le cristal cassé.


Dépannage
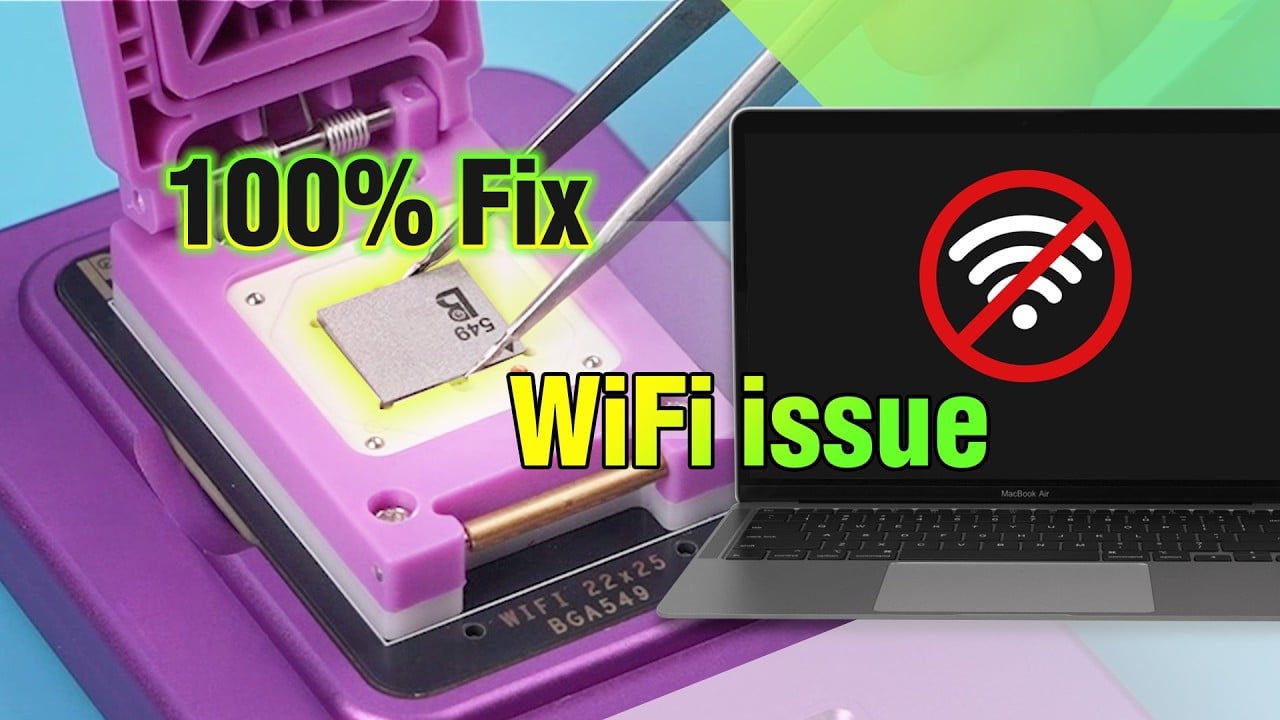
La première étape consiste à séparer le cristal du câble. Par rapport aux opérations traditionnelles à l'aide d'un pistolet à air chaud, nous préférons utiliser un pistolet à air chaud. plate-forme de préchauffage intelligente. Placez le projecteur de points dans le moule en caoutchouc correspondant et séparez soigneusement le cristal du câble flexible à l'aide de la lame. Ensuite, nous utilisons à nouveau le programmateur de réparation pour graver les données d'origine sur le nouveau câble flexible du projecteur de points. Après ces deux étapes, nous devons souder le module du projecteur de points et coller un cristal de qualité connue. Pour des instructions détaillées, cliquez sur la vidéo au bas de l'article.

Remontage et test
Appliquez du ruban adhésif double face à l'arrière de la caméra frontale et collez le câble flexible du projecteur de points dans la bonne position. Installez l'ensemble de la caméra frontale, assemblez la carte logique et bouclez l'ensemble de l'écran. Face ID peut être configuré avec succès, et le téléphone peut être déverrouillé avec Face ID cette fois. Conseils : Le ruban adhésif double face utilisé ici est pour le test. Nous devons coller le module de projecteur de points sur le câble flexible après l'élimination des défauts.
Outils utilisés
- Pince à épiler
- Station de soudage et kit de matériel
- Pâte à braser à moyenne température
- Pistolet à air chaud
- Plate-forme de préchauffage intelligente
Visitez notre boutique en ligne pour plus de pièces et d'outils. Chaîne YouTube de REWA pour consulter notre vidéo.