Les dommages causés par l'eau à l'iPhone sont fréquents lors d'une utilisation quotidienne. Dans notre blog d'aujourd'hui, le bouton d'accueil de l'iPhone 7 ne fonctionne pas à cause de la corrosion et de la rupture de lignes sur la carte logique. Le risque d'échec étant élevé lors de la réparation, REWA LAB vous présente une solution de réparation pour réparer la carte logique fortement corrodée et endommagée, étape par étape, à l'aide d'un nettoyeur ultrasonique et d'un fil de cuivre émaillé.
Problème
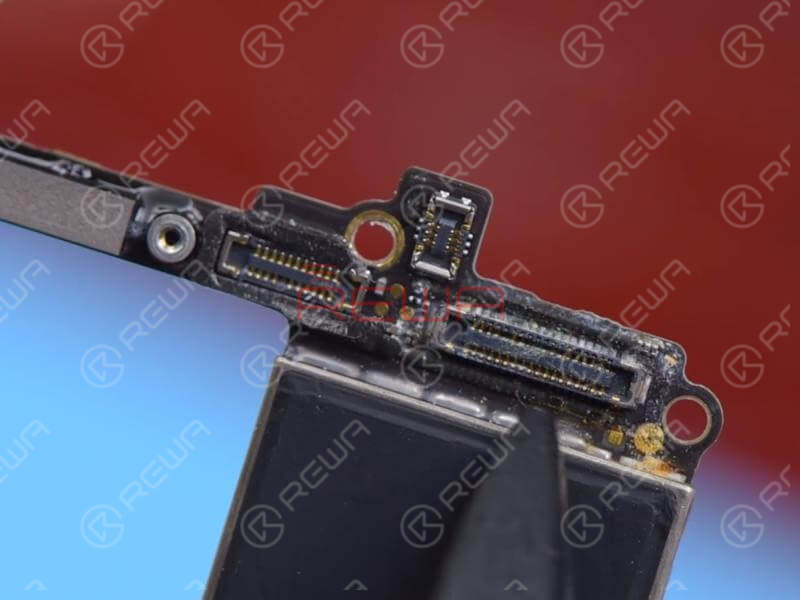
Lorsque nous traitons un problème de carte logique unique, la première chose que nous faisons est toujours d'examiner soigneusement la carte logique. Nous constatons que la carte logique présente des signes évidents de dégâts des eaux et des connecteurs moisis. Elle est également très corrodée.
Tout d'abord, effectuons un nettoyage préliminaire avec PCB Cleaner. Assemblez ensuite le téléphone et testez-le. Le téléphone s'allume normalement. Cependant, le bouton d'accueil ne fonctionne pas et le téléphone ne peut pas continuer à être activé.
Diagnostic
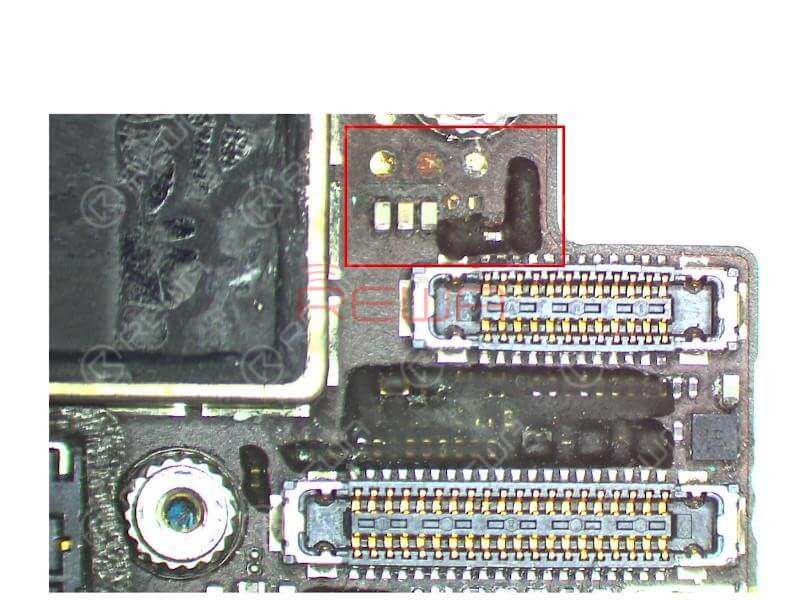
Examinez attentivement la carte logique au microscope. Nous pouvons voir que les composants à côté de J3801 sont moisis et que les circuits sur la carte sont sérieusement corrodés.
Comme la carte logique est gravement endommagée par l'eau, il peut y avoir des signes de dommages causés par l'eau sous le couvercle de protection. Nous devons donc détacher le couvercle de protection de la carte et nettoyer soigneusement la carte logique.
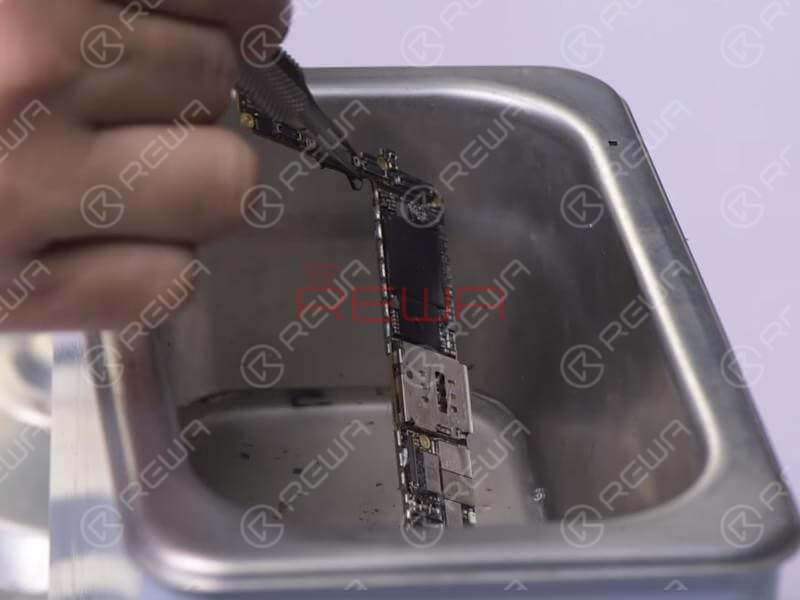
Détachez le couvercle de blindage de la carte à l'aide d'un pistolet à air chaud et frottez la pâte de blindage sur la carte. Versez un nettoyant adéquat pour circuits imprimés dans le nettoyeur ultrasonique. Mettez ensuite la carte logique en place. Appuyez sur le bouton d'alimentation pour mettre l'appareil sous tension. Le nettoyeur à ultrasons commence alors à fonctionner. Retirez la carte logique au bout de 15 minutes.
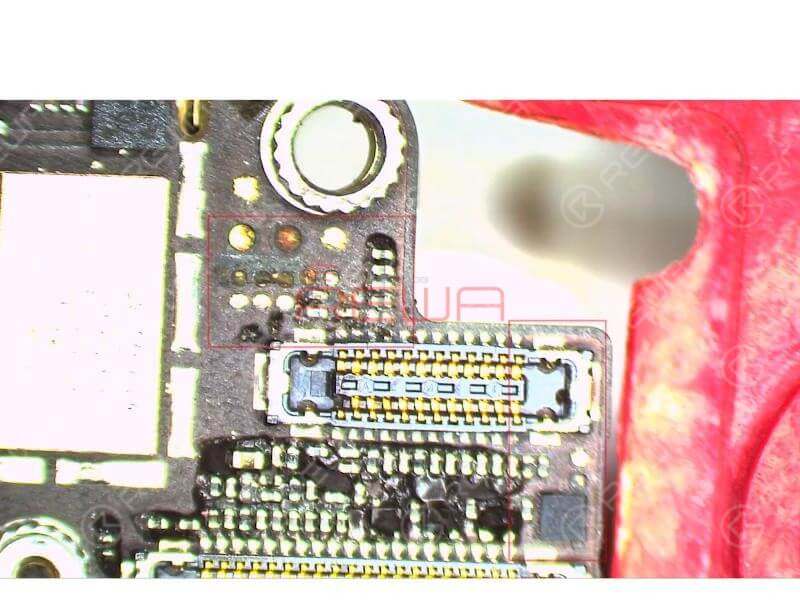
Nous pouvons voir qu'en raison de la corrosion des circuits sur la carte, il manque des pièces sur les plots de liaison de FL3803 et FL3802. Ceci peut être la cause.
Dépannage - Sauter des fils
Notre prochaine étape consiste à connecter les circuits déconnectés avec du fil de cuivre émaillé de 0,1 mm de diamètre.
Fils sauteurs #1
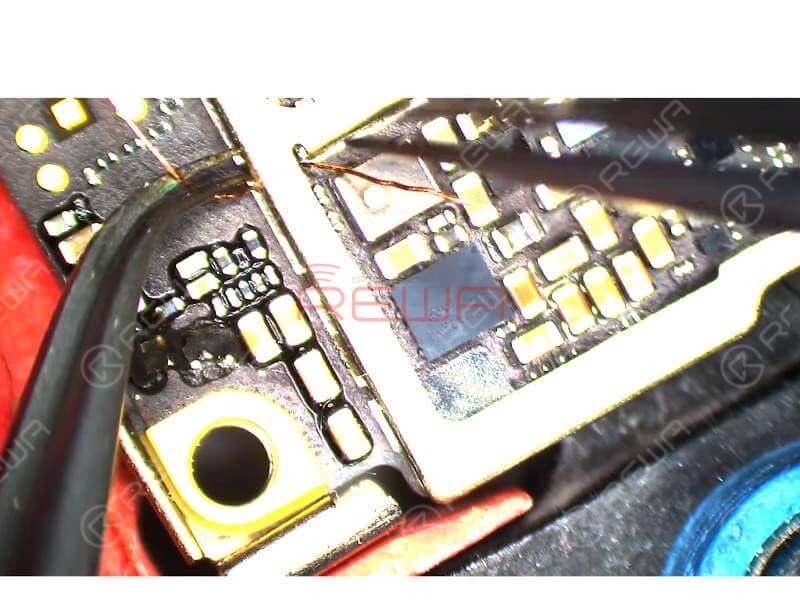
Une extrémité du fil de cuivre émaillé est soudée à la broche 1 du C3803, l'autre extrémité passe sous le couvercle de blindage et est soudée à la broche 1 du C3702.
Fils de saut #2
Une extrémité du fil de cuivre émaillé est soudée à la broche 1 de C3822, l'autre extrémité passe sous le couvercle de blindage et est soudée à la broche 1 de C1926.
Fils sauteurs #3
Etant donné qu'un plot de liaison du FL2901 a été corrodé, nous pouvons connecter les deux plots de liaison du FL2901 avec du fil de cuivre émaillé d'environ 0,1 mm de diamètre.Une fois cela fait, effectuez une mesure en mode diode du J3801. La valeur mesurée est normale.
Remontage et test
Assemblez le téléphone et testez-le. Appuyez sur le bouton d'alimentation pour allumer le téléphone. Le téléphone fonctionne normalement avec la page d'activation. Appuyez sur le bouton d'accueil pour poursuivre l'activation. Le téléphone ne peut pas être activé en cas de défaillance du réseau WiFi.
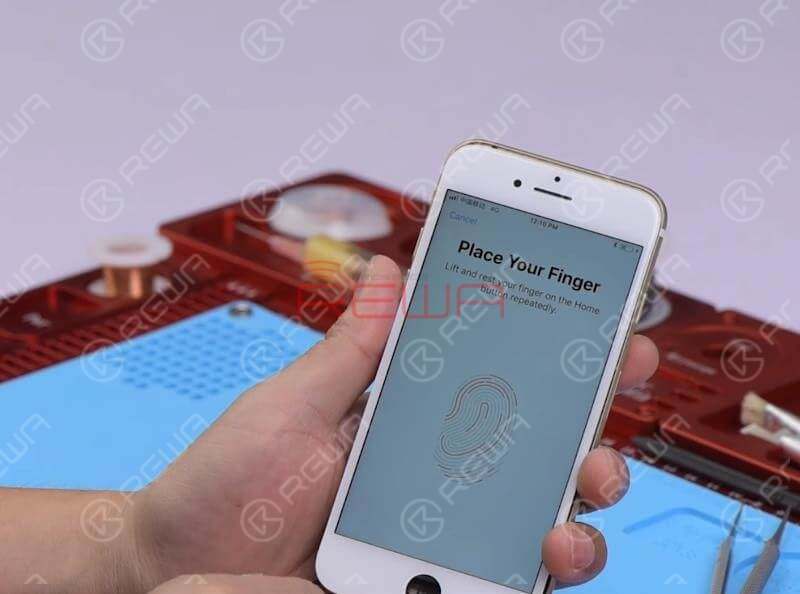
Nous pouvons donc activer le téléphone en le connectant à l'ordinateur. Cette fois, le Touch ID peut être activé. Le téléphone est également activé avec succès. L'échec du bouton d'accueil est corrigé.
Pour les outils et les pièces utilisés dans la vidéo, veuillez cliquer sur le lien ci-dessous ou visiter le site suivant Boutique en ligne REWA.
Plate-forme de réparation intégrée
Vous pouvez également visiter Chaîne YouTube de REWA pour visionner notre vidéo et apprendre à réparer un bouton d'accueil qui ne fonctionne pas, étape par étape.
