How long can you finish iPhone X OLED screen refurbishment? And how about the success rate? Since iPhone X glass only repair technology is matured now, the release of iPhone X, OLED screen has been adopted as a refreshing feature for Apple, both now and in the future. The mature iPhone OLED screen refurbishment technology is therefore especially important for repair shops all around the world. Let’s discuss a detailed and mature iPhone X broken screen refurbishing repair.
Please be noted that the whole process was operated by professional technicians. For those who have no repair skills, please look before you leap.
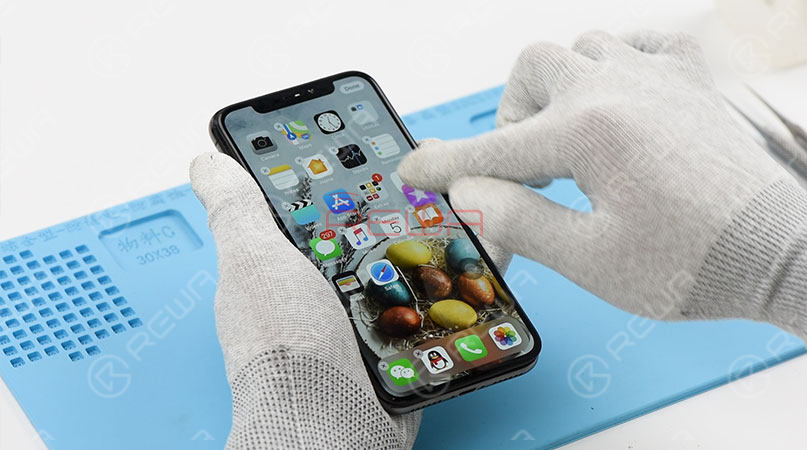
Step 1 – Screen Testing
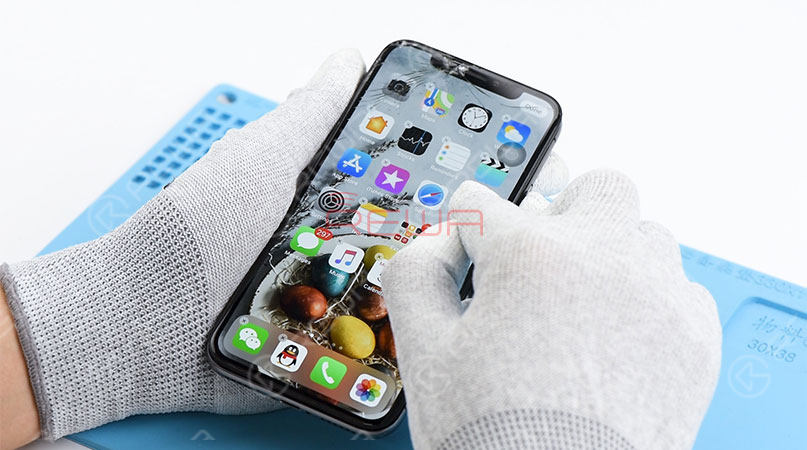
Function test – Display; Touch; 3D Touch
All going well
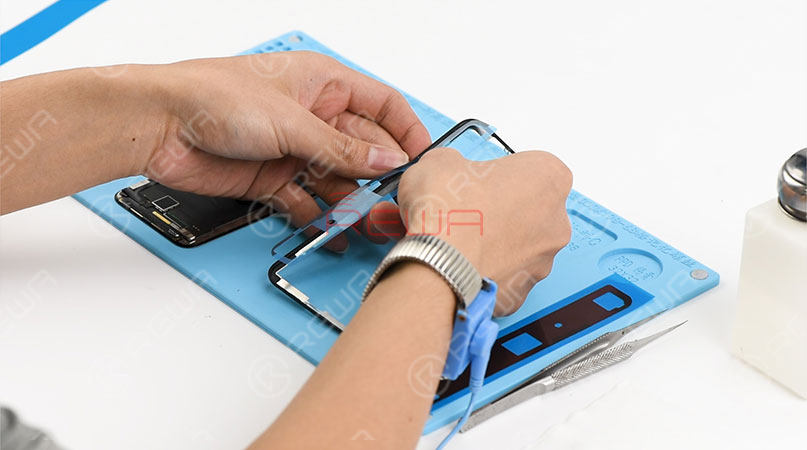
Step 2 – Bezel Removing
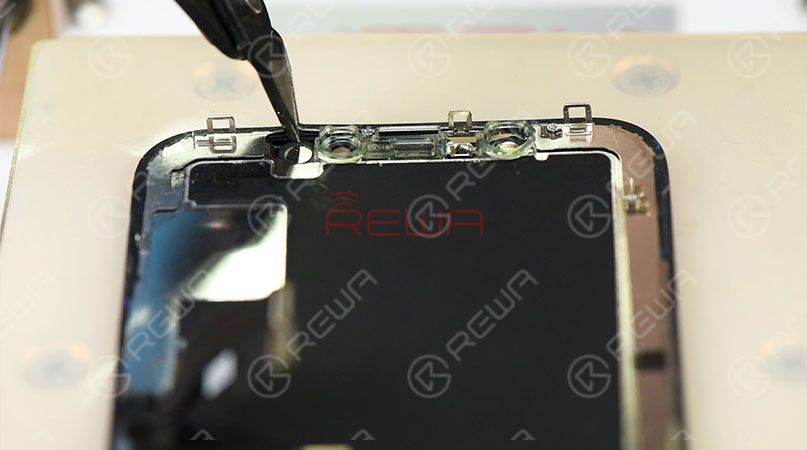
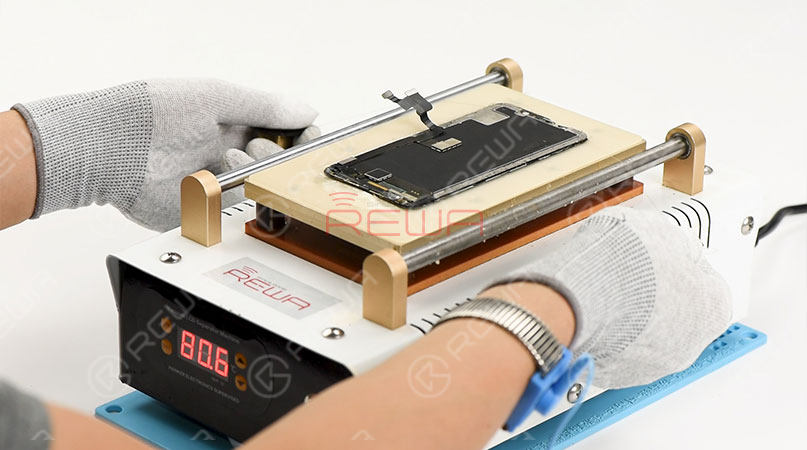
Place the iPhone X Screen on the Heat Platform under 70-90℃, the first step is cutting out the top bracket with Pince à découper for further operation.
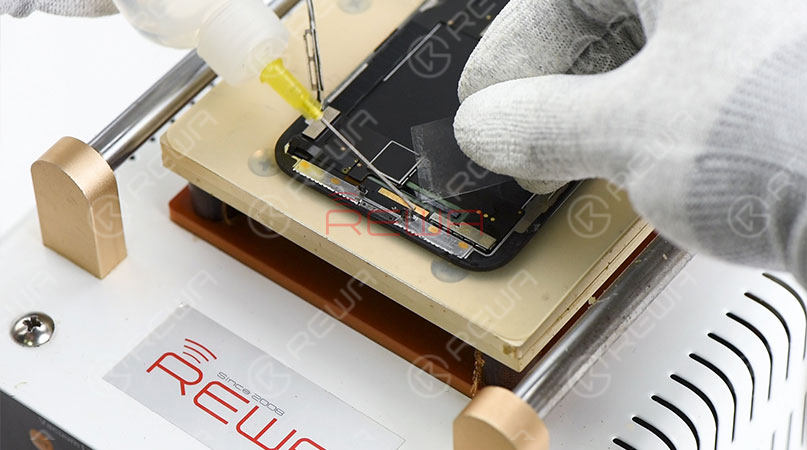
Then remove bezel slowly with Pry Piece et Glue Cleaner, but be careful with flex cables when removing bezel in the flex cable area. Because the bottom bezel is applied a lot of cold glue, it must be torn under proper heating temperature. Or you may cause malfunction of displaying.
Step 3 – Glass Separating
Stick adhesive tape on the broken glass lens to prevent further damage, then place the iPhone X OLED Screen Assembly on the Heat Platform, separate the glass lens from OLED with Fil de coupe back and forth.
Step 4 – Glue Removing
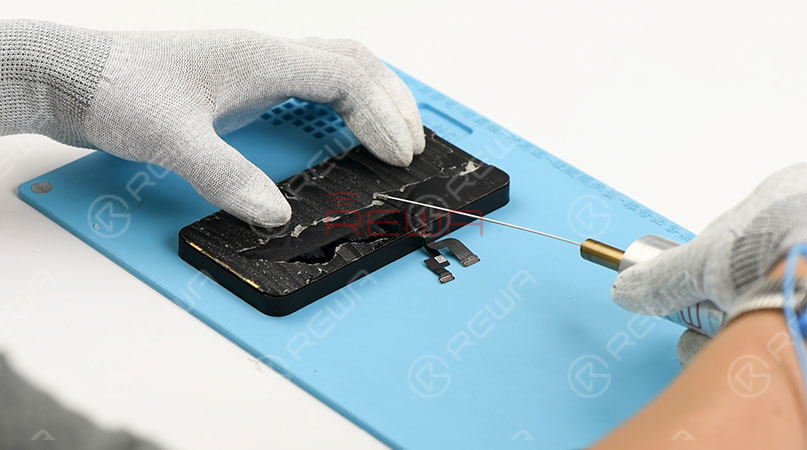
There are two kinds of way to remove residual glue, one is with hands, the another is with the Outil électrique pour enlever la colle. Both are OK. We used the Electric Glue Removing Tool in our yesterday’s video. Once done, clean with N-hexane.
Step 5 – Laminating
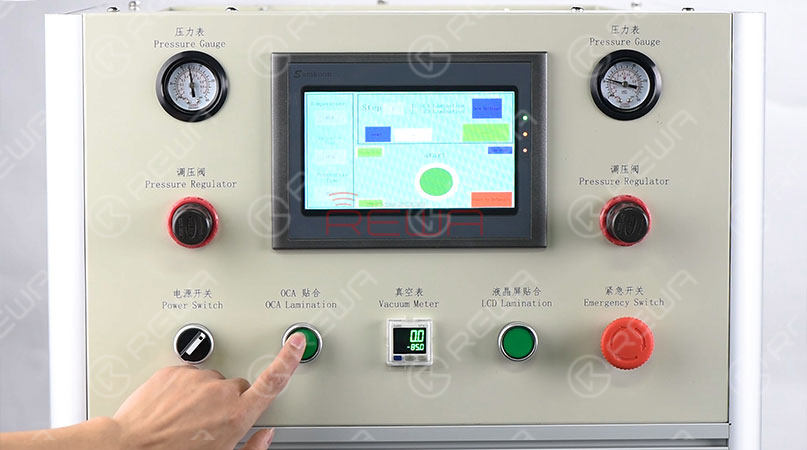
There are two steps in this process: Glass Laminating and LCD Laminating with Laminating machine. The OCA should be laminated to the glass lens at first, then place the mold into the laminating machine, press “OCA laminating” button to start the machine. Glass Laminating will be finished within 1 minute.
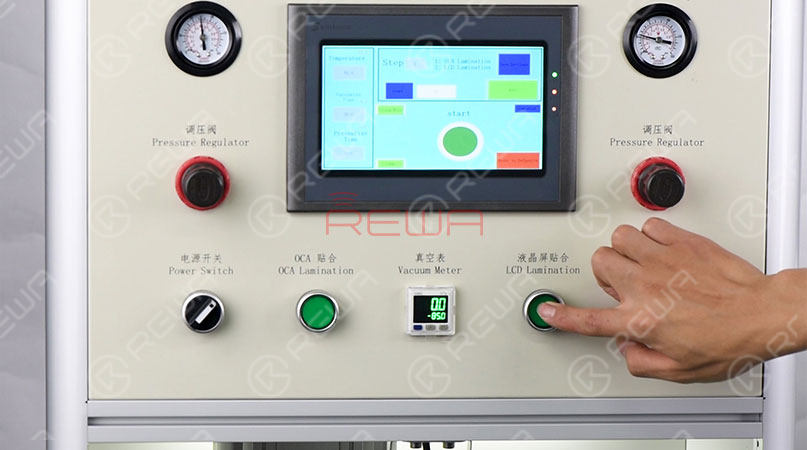
Then we need to laminate the OCA attached glass lens to the OLED screen, the same process as Glass Laminating. Press “LCD laminating” button to start the machine and about 1 minute to finish. Usually, there won’t have a bubble inside the LCD Screen with this Laminating machine, but for the better effect we still need to continue with bubble removing process.
Étape 6 - Retrait des bulles
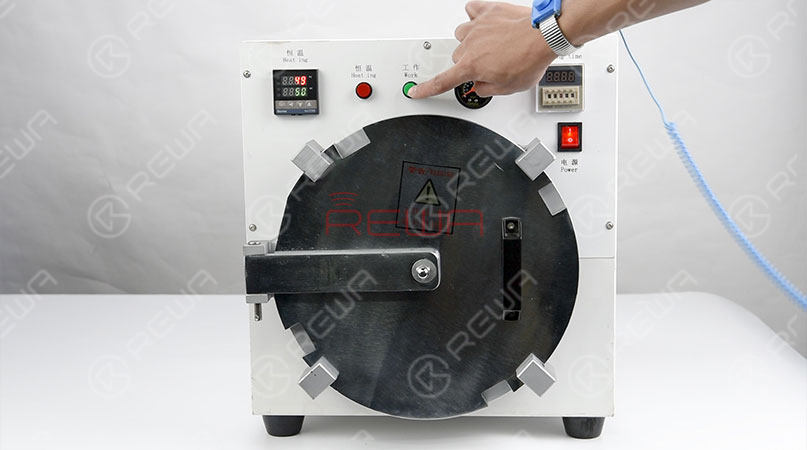
Put the screen into Bubble Removing Machine for 10 minutes, once finished, take out the screen.
Step 7 – Bezel Attaching
Prepare a new iPhone X bezel and apply the bezel glue.
Tips:Apply pressure to fit the OLED screen with the bezel.
Step 8 – Screen Testing
Buckle the screen and power on. Run function test – Display; Touch; 3D Touch, display, Touch, and 3D Touch work normally. iPhone X screen refurbishing completed perfectly.
