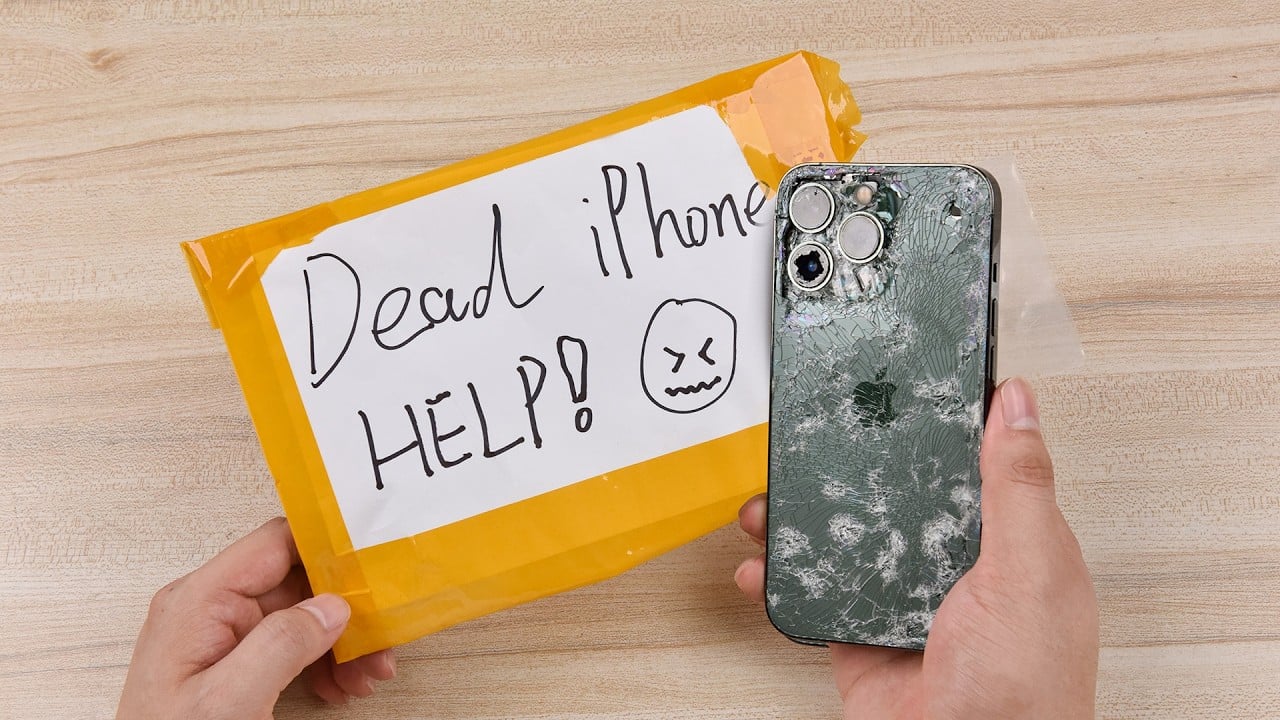
Das iPhone X ist heruntergefallen und kann nicht mehr normal funktionieren. Nach der Wiederherstellung kann das Telefon nicht mehr aktiviert werden. Die Techniker von REWA Lab vermuten, dass die Hauptplatine beschädigt wurde, nachdem das Telefon fallen gelassen wurde. In diesem Artikel erfahren Sie, wie wir den Fehler lokalisieren und beheben. Schauen wir es uns an!
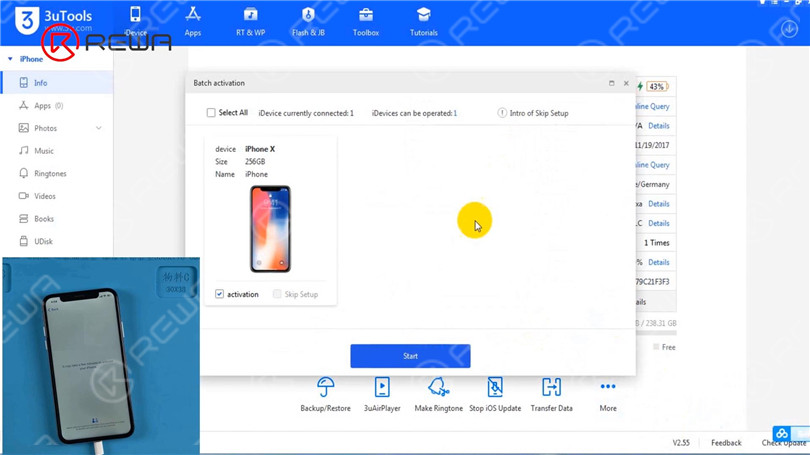
Das Telefon lässt sich nach der Wiederherstellung nicht aktivieren. Als nächstes versuchen wir, das Telefon mit 3uTools zu aktivieren.
Schließen Sie das Telefon an den Computer an und öffnen Sie 3uTools. Klicken Sie auf Jetzt aktivieren und Start. Die Aktivierung dauert normalerweise mehrere Minuten. Nach etwa 20 Minuten bleibt das Telefon in der Aktivierungsoberfläche hängen. Das Telefon kann immer noch nicht aktiviert werden.
Dann zerlegen wir das Telefon und nehmen die Hauptplatine heraus. Führen Sie eine kosmetische Inspektion der Hauptplatine durch. Die Hauptplatine hat keine Wasserschäden und verformen.

Als Nächstes müssen wir die Hauptplatine für eine weitere Prüfung abtrennen.
Motherboard-Trennung
Stellen Sie die Hauptplatine auf die 165 °C Heizungsplattform zu erhitzen. Wenn die Temperatur 165 °C erreicht hat, entfernen Sie die Logik- und Signalplatine mit einer Pinzette.

Entfernen Sie das Wärmeleitfett mit einem Bildhauermesser. Nach der Trennung wird festgestellt, dass viele Pads fehlen. Dann stellen wir nützliche Pads aus fehlenden Pads mit Überbrückungsdrähten wieder her.

Bringen Sie die Logikplatine an der Halterung an und entfernen Sie das Zinn auf dem Bonding Pad mit Lötkolben bei 365 °C und Solder Wick. Etwas Lotpaste auf die fehlenden Pads auftragen und Zinn mit einer Heißluftpistole bei 340 °C auftragen.

Reinigen Sie das Bonding Pad mit PCB Cleaner und tragen Sie etwas Paste Flux auf.
Herstellung von Überbrückungsdrähten
Löten Sie 0,02-mm-Kupferdrähte mit dem Lötkolben an die Klebefläche. Bitte beachten Sie, dass die Kupferdrähte fest verlötet werden müssen.
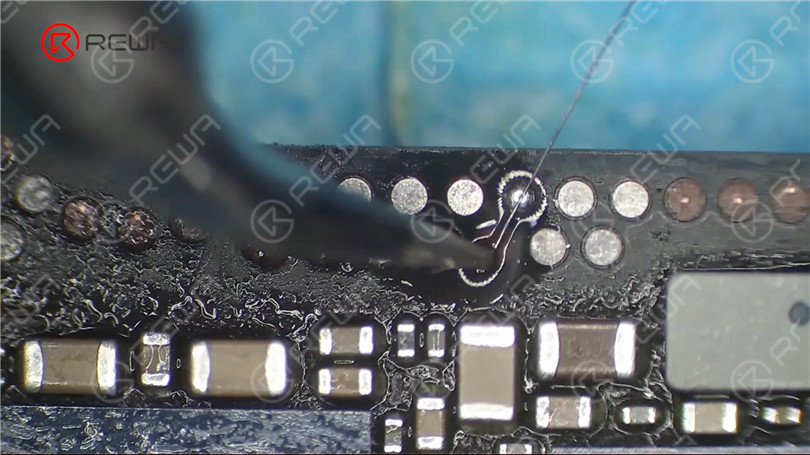
Reinigen Sie erneut mit PCB Cleaner und rollen Sie die Kupferdrähte mit Pinzette und Sculpture Knife zu Pads auf.
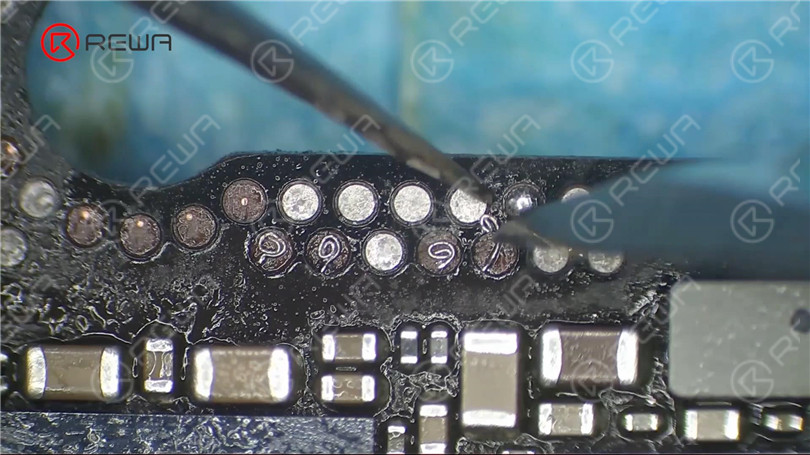
Tragen Sie die Lötstoppmaske auf das Klebepad auf, um die Kupferdrähte zu fixieren, und lassen Sie die Lötstoppmaske 5 Minuten lang mit der UV-Lampe erstarren.

Kratzen Sie die überschüssige Lötmaske mit dem Sculpture Knife ab, damit die Kupferdrähte sichtbar werden.
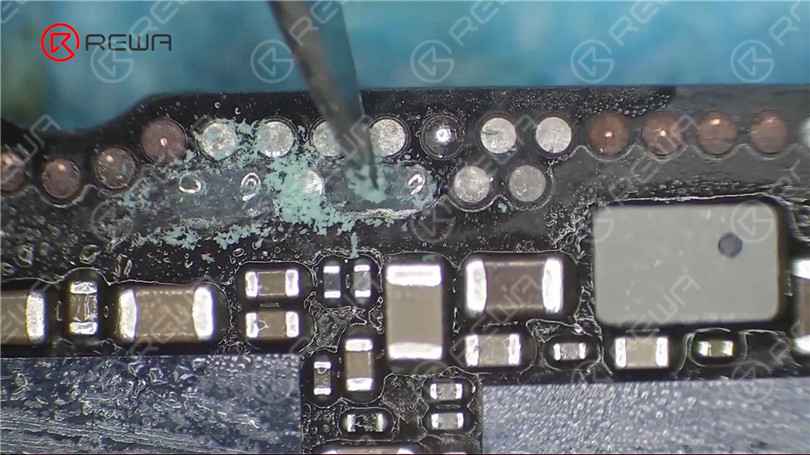
Entfernen Sie dann das Zinn auf dem Bonding Pad mit einem Lötkolben bei 365 °C und einem Lötkolben. Reinigen Sie das Bonding Pad mit PCB Cleaner.
Reballing
Befestigen Sie die Signalplatine an der Reballing-Plattform und bringen Sie die Reballing-Schablone in Position. Um zu verhindern, dass Lotpaste in die Hauptplatine fließt, legen Sie eine Metallplatte ein. Tragen Sie gleichmäßig eine Schicht Niedertemperatur-Lotpaste auf.

Motherboard Rekombination
Legen Sie die Hauptplatine zum Erhitzen auf die 165 °C heiße Heizplattform. Nachdem sich die Lötkugeln gebildet haben, schalten Sie das Gerät aus und kühlen die Signalplatine ab. Tragen Sie etwas Pastenflussmittel auf und richten Sie die Logikplatine an der Signalplatine aus.

Wenn die Temperatur 165 °C erreicht hat, 1 Minute lang weiter erhitzen.
Schalten Sie das Gerät aus und kühlen Sie die Hauptplatine ab.
Zusammenbau und Test
Dann installieren wir die Hauptplatine in das Telefon. Öffnen Sie 3uTools, um das Telefon zu aktivieren. Das Telefon ist erfolgreich aktiviert. Testen Sie andere Funktionen und andere Funktionen funktionieren gut.

Sieh dir das Video unten an, um zu sehen, wie wir ein iPhone X reparieren, das nicht aktiviert werden kann.
