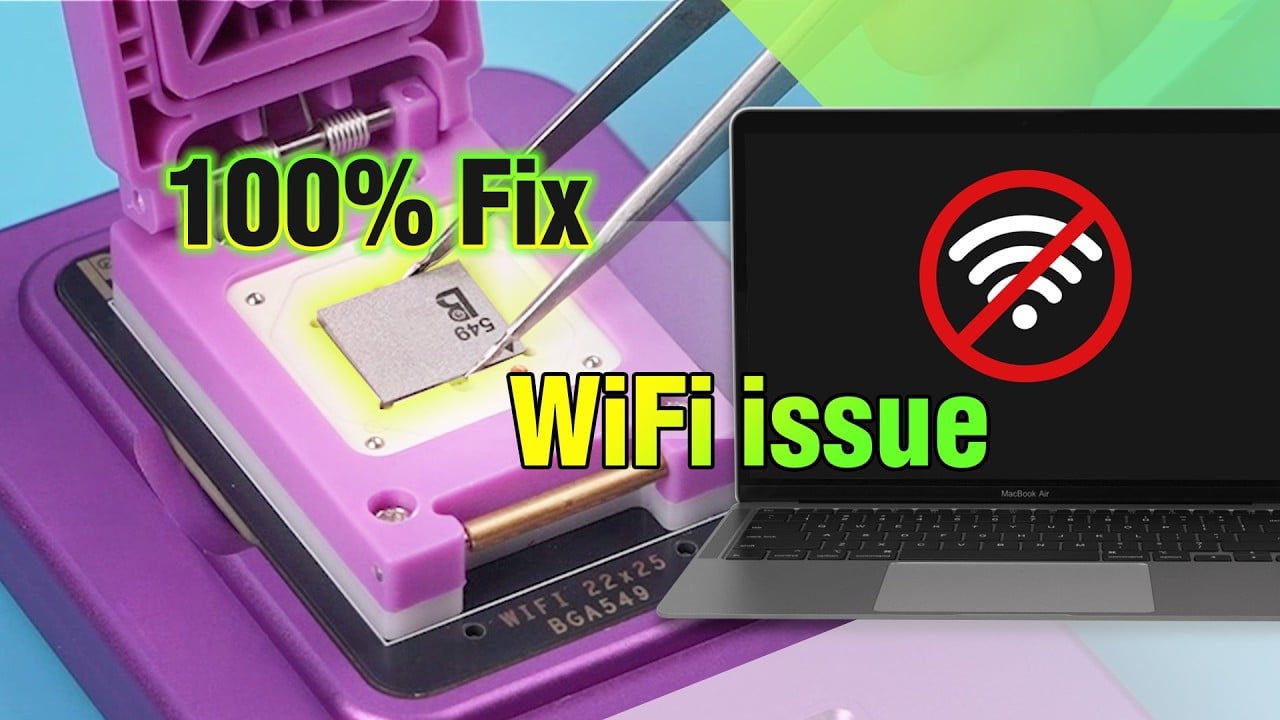
Do you spend more and more time waiting for the response of your MacBook?
As long as laptop exists, “running too slow” seems to be an everlasting topic for the users.
MacBook, as one of the mainstream laptops, has also encountered this issue.
If you are a regular Macbook user and just browse some websites, you may feel satisfied with 4GB or even 2GB of RAM installed.
If you are a power user who always processes with large software like video editing, image editing etc., or you are a crazy gamer who is roaring “Glory To The Sin’Dorei!”, you may consider upgrading as much RAM as you can.
This is a common problem for common people with MacBook in this information explosion era – not to mention people who have an old-fashioned MacBook with one foot in the grave.
Compared with a new purchase, MacBook air ram upgrade solution could be a nice choice to boost your Mac’s speed since it is more cost-effective.
However, for some MacBooks launched in recent years, their RAM chips were designed to be soldered on the logic board.
That’s why there were many How-To geeks offering tutorials of upgrading or replacing SSD, but almost no one involving MacBook air memory upgrade solution.
Don’t be discouraged if you are reading this right now.
REWA never lets you down and always has a Chip Level Motherboard Repair Service For iPhone & iPad for you. So, how to add ram to MacBook Pro or MacBook Air? Is it same with iPhone memory upgrade? Check iPhone 6s memory upgrade from 16G to 128G.
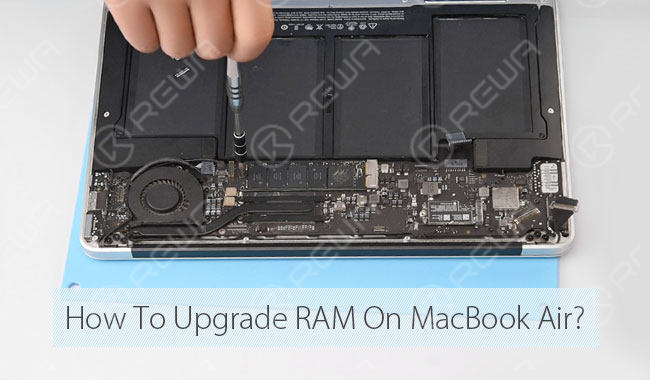
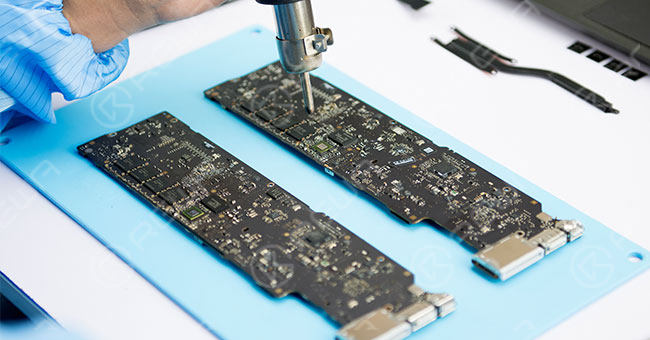
Here are detailed steps for upgrade MacBook Air ram process – a quick and inexpensive way to improve your MacBook’s performance. Just 8 steps to let your MacBook Air run faster.
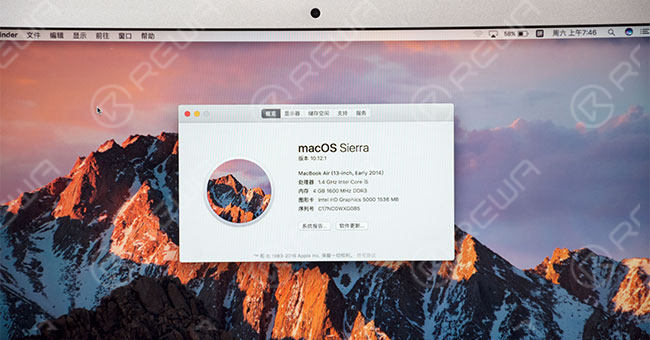
1. Memory Checking
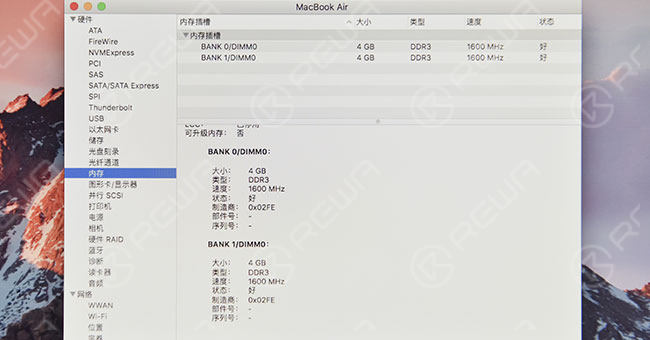
Check the memory. It displays 4GB.
2. MacBook Disassembling
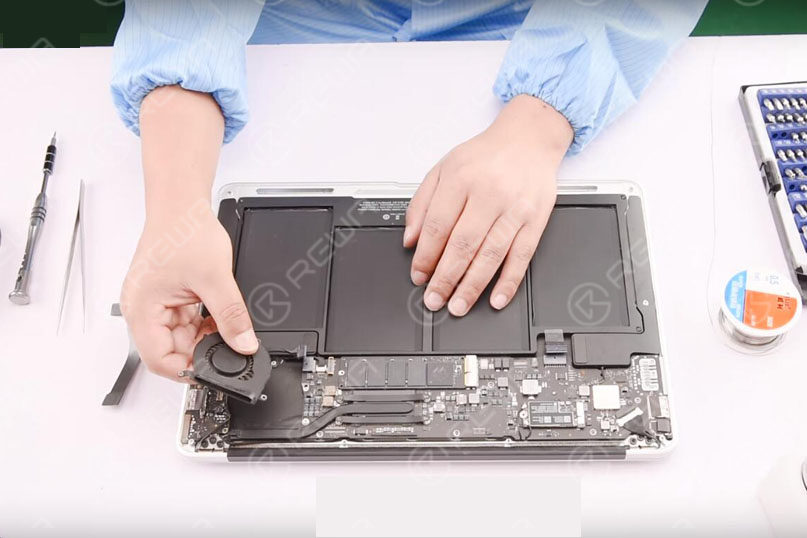
Retire el Mackbook Lower Case, then detach the MackBook Battery and IO board flex. After that, detach the MackBook Fan, heat sink and WiFi antenna lightly.
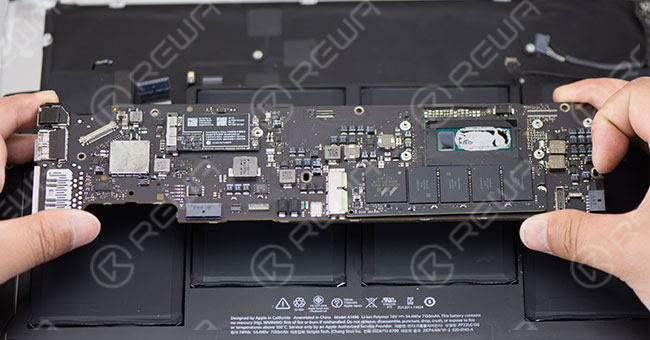
After the flex cables being disconnected, detach the motherboard. Remove the SSD, wireless network module, QR code and barcode on the logic board.
3. RAM Chips Removing
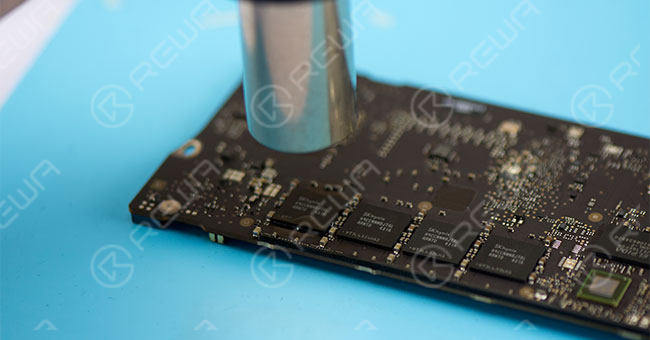
Heat up the sealing adhesive around the RAM chips with pistola de aire caliente, then remove all the sealing adhesive. Apply some BGA paste flux around the RAM chip and blow it with a hot air gun to take it down. Remove the rest three chips in the same way.
4. Cleaning
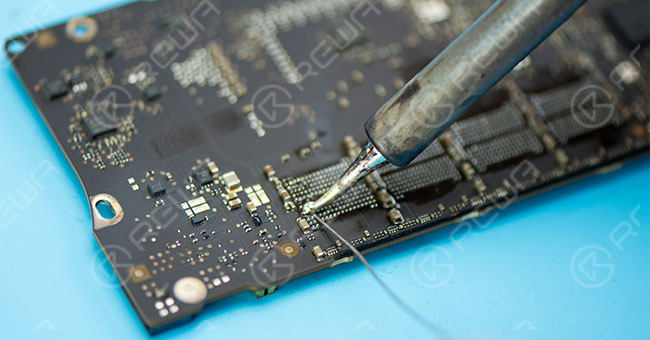
After the bonding pads being flatted by tin added soldering iron, clean the bonding pads with alcohol applied anti-static wiper.
5. RAM chips soldering
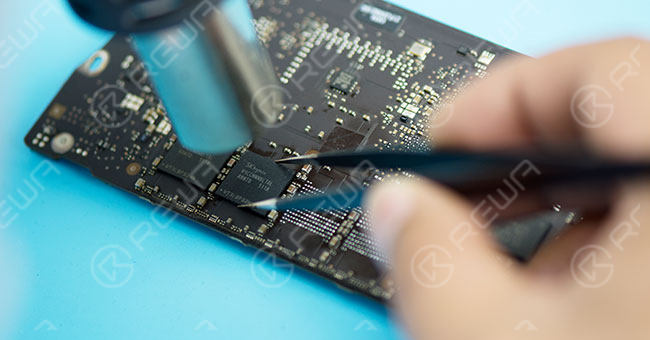
Blow the bonding pads with a hot air gun and apply some BGA paste flux to it, then align the RAM chip to the bonding pad by tweezers. Blow and solder it with a hot air gun. The rest three chips can be processed in the same way.
6. Resistance Removing and Replacing
Remove the 10K resistance R2051. Detach a 100K resistance from a broken motherboard and solder it to the R1636.
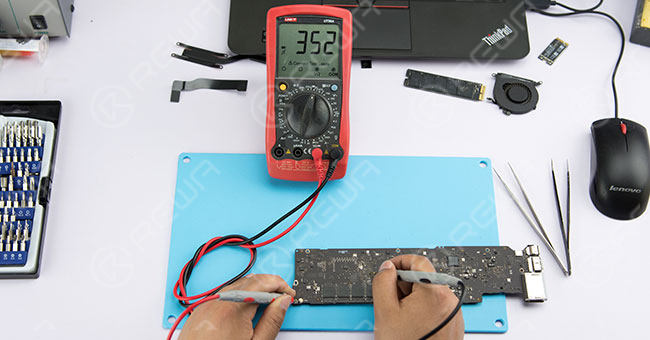
Test both ends of the resistance with a multimeter to check if there is a short circuit or missing solder.
7. Change BIOS and Restore
The RAM of MacBook is bound with BIOS, so we need to change the BIOS and restore.
8. Installing and Testing
After installing, power up the Mac and check your “About this Mac” to make sure the memory is upgraded and recognized.
Consejos:
1. Size and brand of RAM chips cannot be mixed.
2. The excessive temperature will damage the RAM chips and logic board.
Here is a tutorial video for MacBook air ram upgrade, explaining and demonstrating the detailed operations of how to replace the RAM chips soldered on the logic board.
If you have any questions and demands, please leave us a message at below or ask a question on ASK Forums. We will try to answer your question in time.
Herramientas y piezas utilizadas:
