Cuando se trata de problemas con la placa base del iPhone XS, la placa base de doble capa necesita ser desoldada&resoldada. El teléfono podría atascarse en no se enciende problema debido a pseudo soldadura causada por la alineación de la capa incorrecta o desigual calentamiento durante el proceso. Bueno, nuestro blog de hoy le iluminará. iPhone XS no se enciende reparación con la ayuda de una plataforma de calefacción de fácil manejo que puede calentar la placa de forma segura y uniforme.
Encontrar el problema
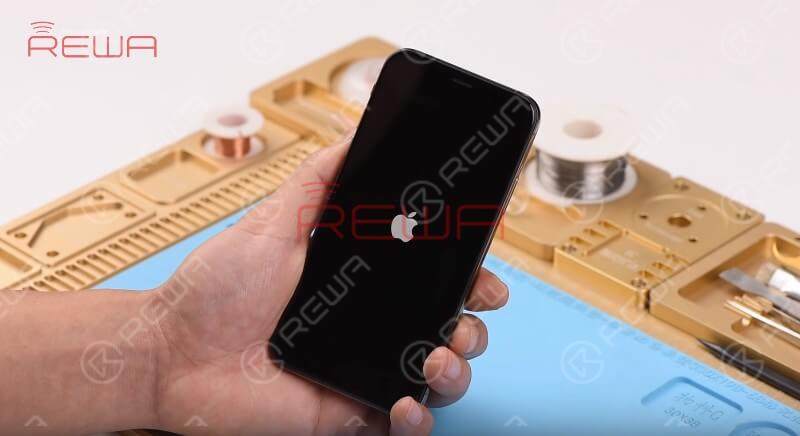
Mantenga pulsado el botón de encendido para encender el teléfono. El teléfono no responde.
Desmonte el teléfono y desconecte la batería. Retire el conjunto de la pantalla y saque la placa base.
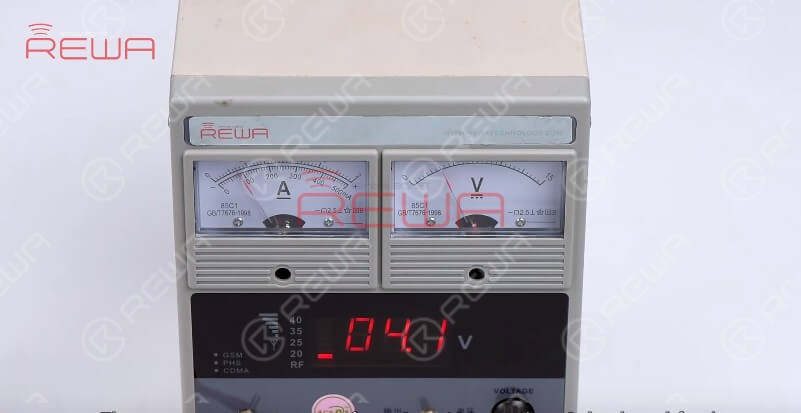
Conecte el conector de la batería con la fuente de alimentación y pulse el botón de encendido de la fuente de alimentación. El sistema detectará la pulsación del botón de encendido.
El puntero de corriente se mueve de 0 a 100mA, luego a 0, de un lado a otro. A juzgar por esto, la capa superior o el tercer espacio PCB ha funcionado mal. Tenemos que separar la placa base para realizar más mediciones
Separación de la placa base
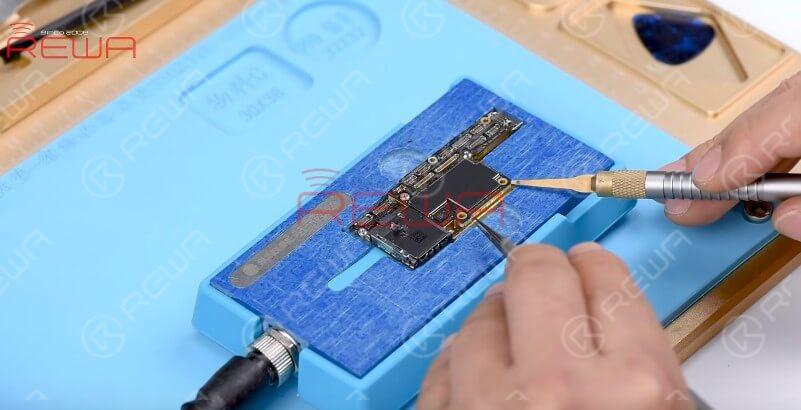
Desconecte la fuente de alimentación. Corte la pasta de blindaje de la capa superior.
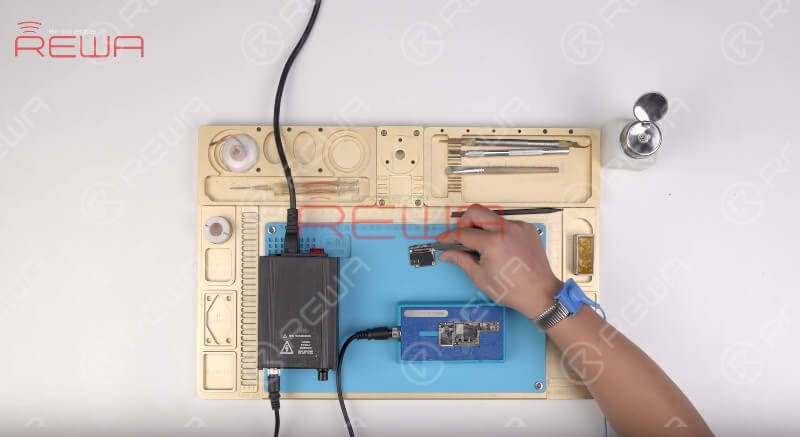
Coloque la placa base en la plataforma de calentamiento especializada. Con la temperatura de la plataforma alcanzando 140℃, inserte la cuchilla de palanca entre la capa superior y el tercer espacio PCB.
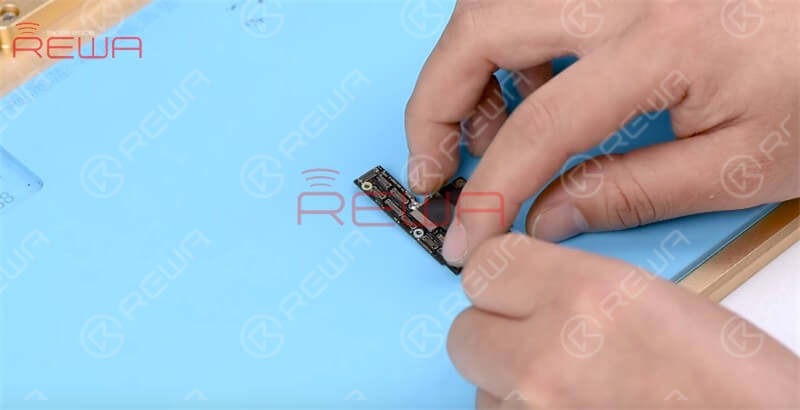
Con toda la capa superior suelta, levántela con unas pinzas. Continúe retirando la capa inferior de la plataforma.
Análisis de fallos
Conecte la capa superior con el alimentador. Pulse el interruptor ON/OFF y, a continuación, el botón de encendido. El sistema detectará la pulsación del botón de encendido.
A juzgar por la lectura del amperímetro, la capa superior puede alimentarse con normalidad. Así que el fallo podría estar relacionado con el tercer PCB espacial.
Eliminación de fallos
Tenemos que volver a soldar la capa superior con el tercer espacio PCB.
Fije la capa superior y la inferior al soporte. Limpie el tercer espacio PCB con Soldador. Limpie después con Limpiador de PCB.
Recombinación de placas base
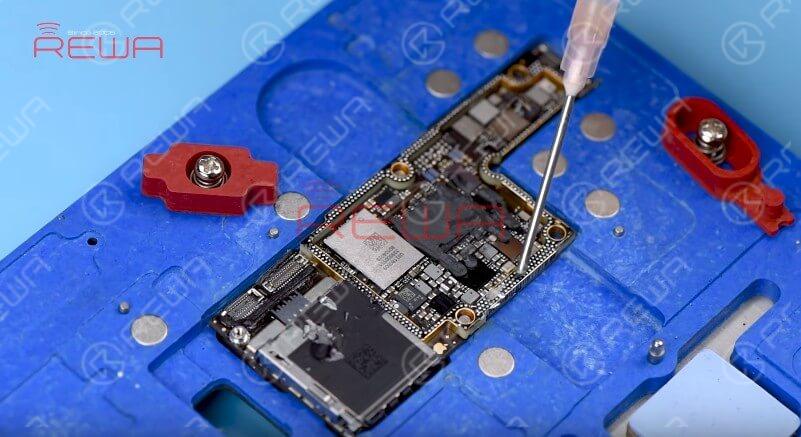
Ahora, tenemos que reballar la capa inferior. Obtener el Plantilla de reballing BGA en posición. Untar la plantilla con pasta de soldar de baja temperatura. Calentar uniformemente con la pistola de aire caliente. Para que todas las bolas de soldadura puedan solidificarse completamente. Una vez hecho esto, retire la plantilla. Aplica un poco de pasta fundente BGA en el tercer espacio de la PCB. Calentar de nuevo con la pistola de aire caliente para asegurar la formación de bolas de soldadura.
Entonces, fije la capa inferior acabada reball a la plataforma de la calefacción y consiga la capa superior en la posición. Ajuste la temperatura de funcionamiento de la plataforma a 140℃. Una vez soldadas las dos capas, espere a que la placa base doblemente apilada se enfríe durante 10 minutos. A continuación, retire la placa base de la plataforma.
Prueba
Ahora podemos montar el teléfono y probarlo. Mantenga pulsado el botón de encendido para encender el teléfono. El teléfono se enciende normalmente.
Herramientas y piezas necesarias
- Plataforma de calentamiento de la placa base
- Reparación de placas base Soporte PCB
- Estación de retrabajo con pistola de aire caliente
- Plataforma integrada de reparación de teléfonos móviles
- Fuente de alimentación iPower Max
- Kits de herramientas para desmontar el iPhone
También puede visitar Canal YouTube de REWA para comprobar nuestro video y aprender cómo completar iPhone XS no se enciende reparación.
