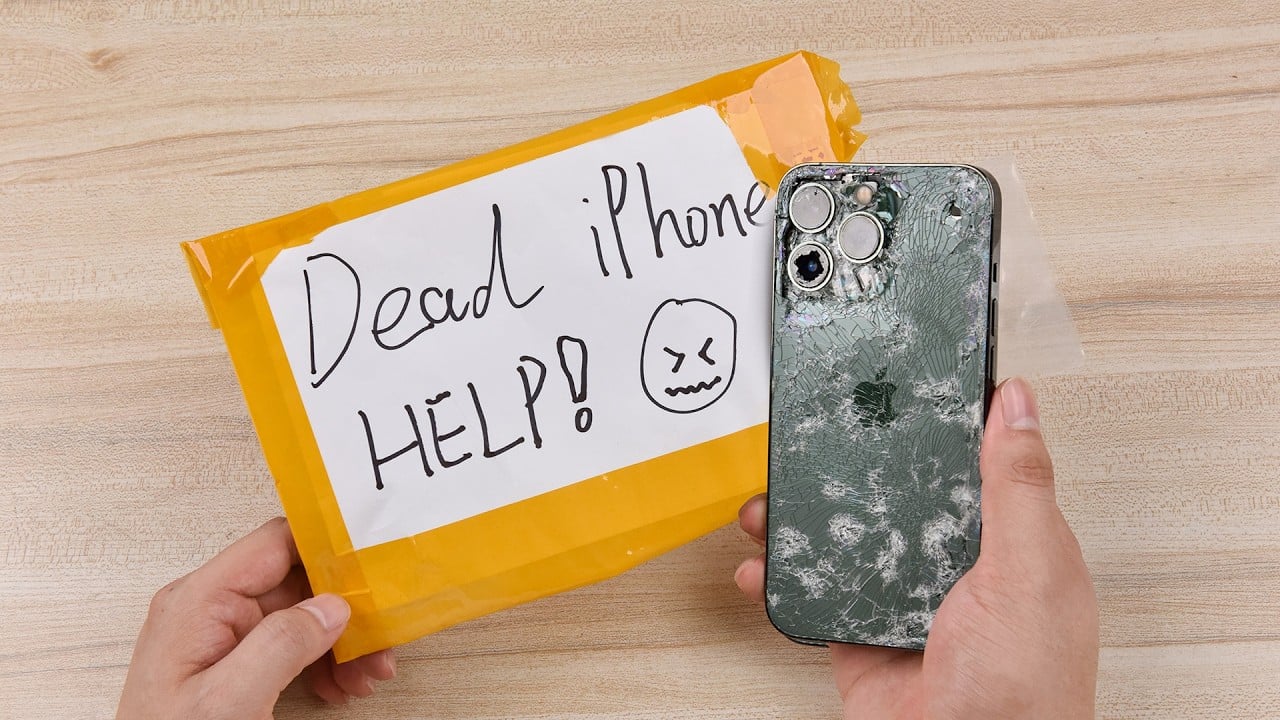
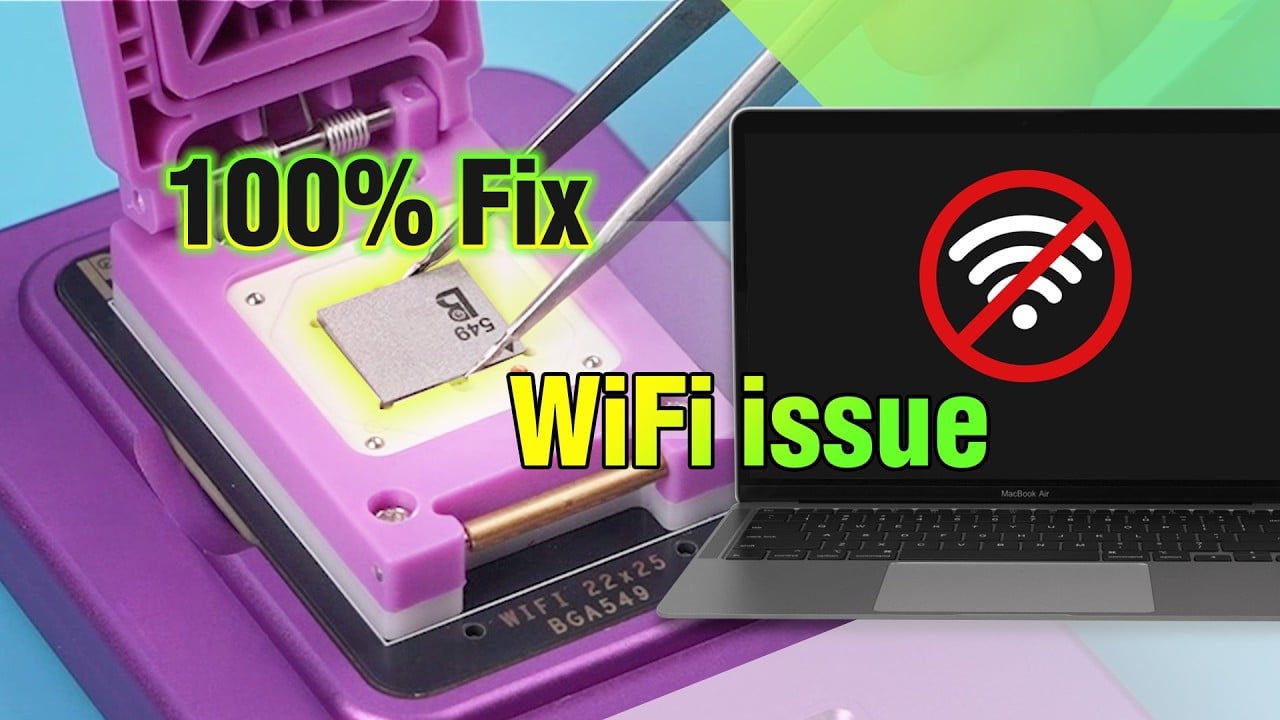
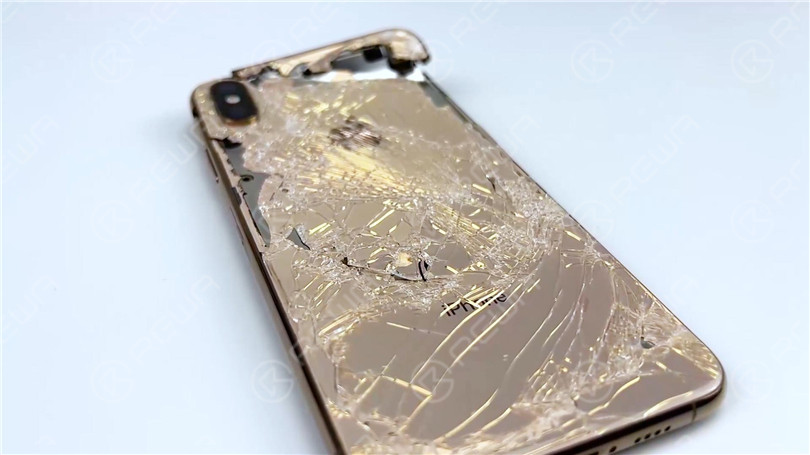
We have received a heavily damaged iPhone XS Max from one of our fans. The fan asked us if we could restore the phone and turn it into an iPhone 13 Pro Max. It is evident that the phone has suffered severe damage.
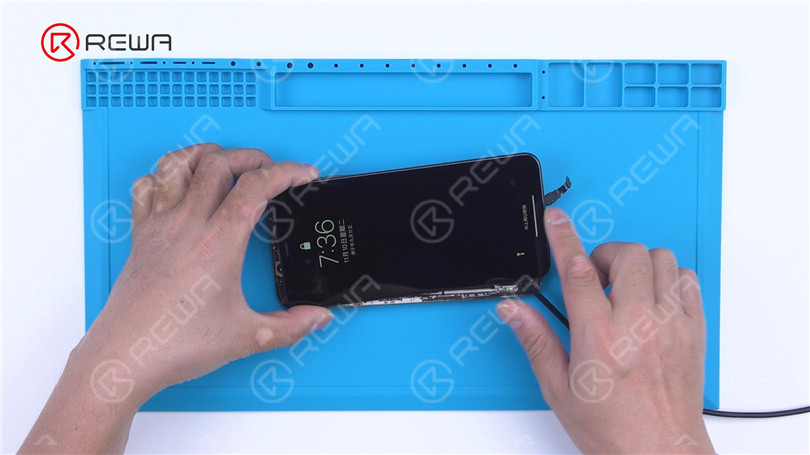
Firstly, we verify the motherboard’s condition. Remove the damaged screen and proceed to establish a connection between the motherboard and a replacement screen. As a result, the phone powers on, yet the touch screen fails to respond.
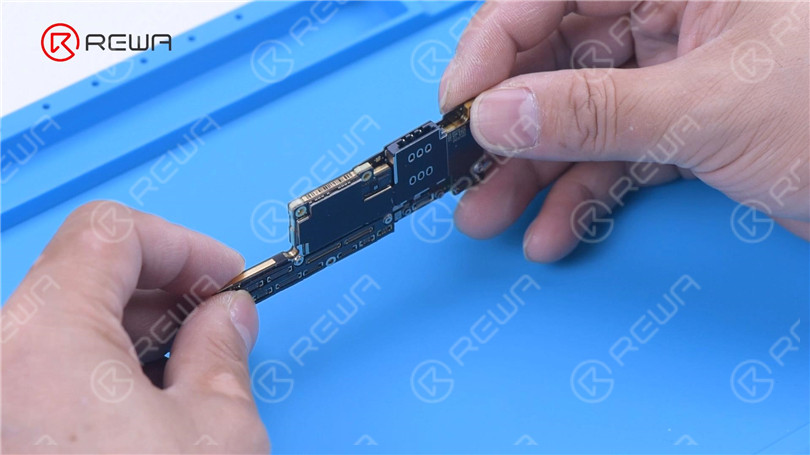
Remove the motherboard, and we can see that the signal board is deformed. To fix the problem, replacing the signal board is required.
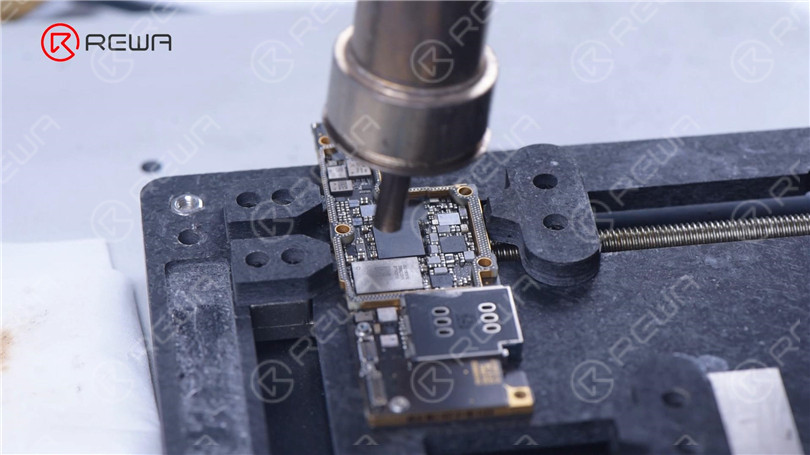
First of all, remove the baseband CPU, EPROM, and NFC chip on the signal board. After reballing these three chips, solder them to a good signal board.
Since the signal board is changed, we need to remove the NAND to unbind the WiFi. Attach the NAND to the programador for WiFi unbinding.
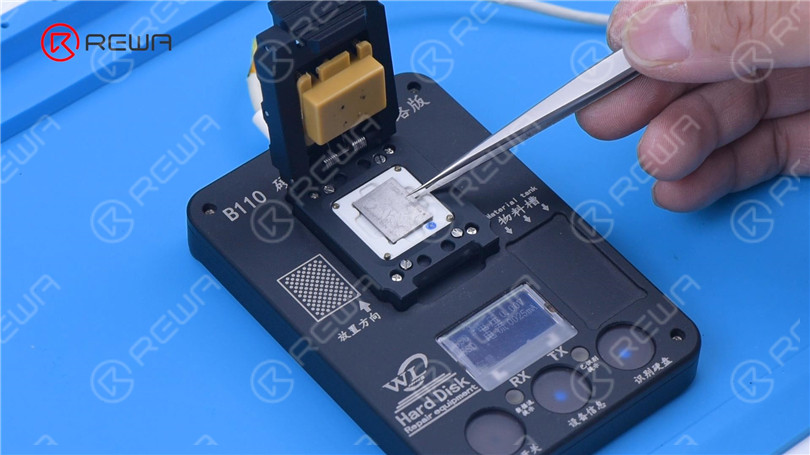
After unbinding, we solder the NAND back on.
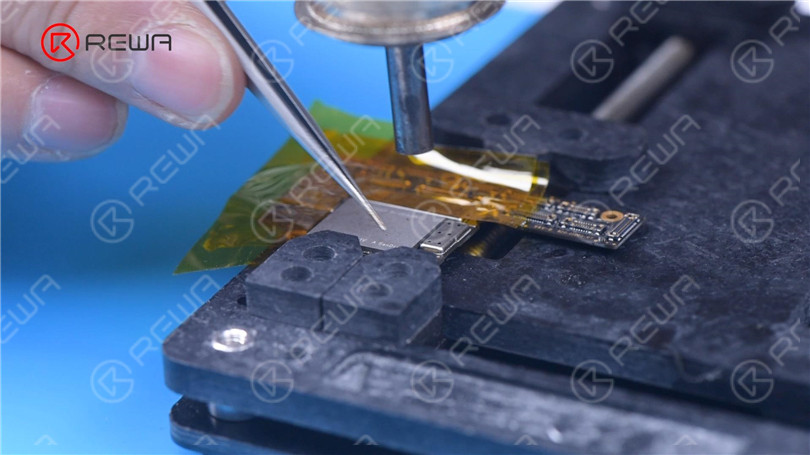
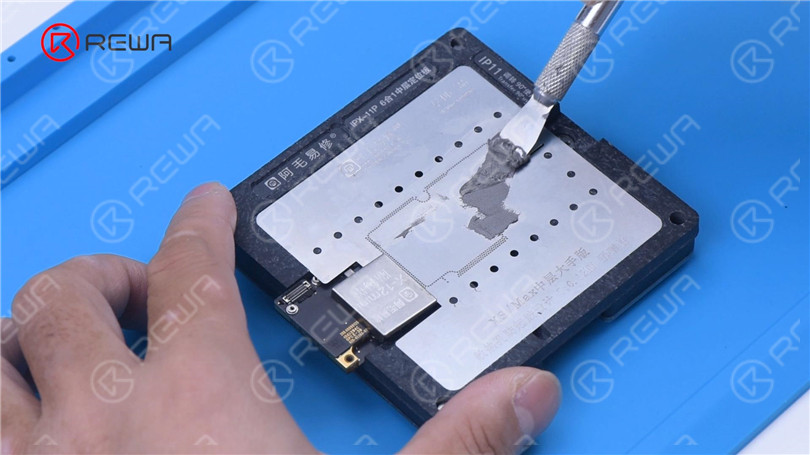
Apply some solder paste to the bonding pads of the new signal board. Next, we use a plataforma de calefacción to recombine the signal board with the logic board.
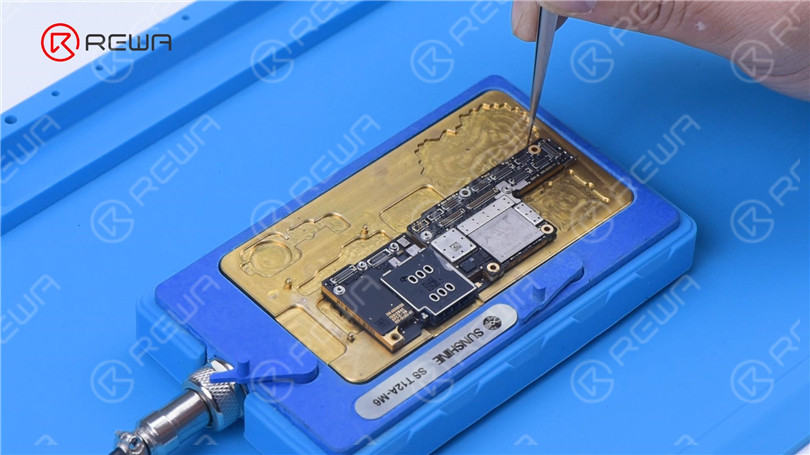
Connect the screen to test. The phone turns on and the touch screen is working fine. The motherboard is restored.
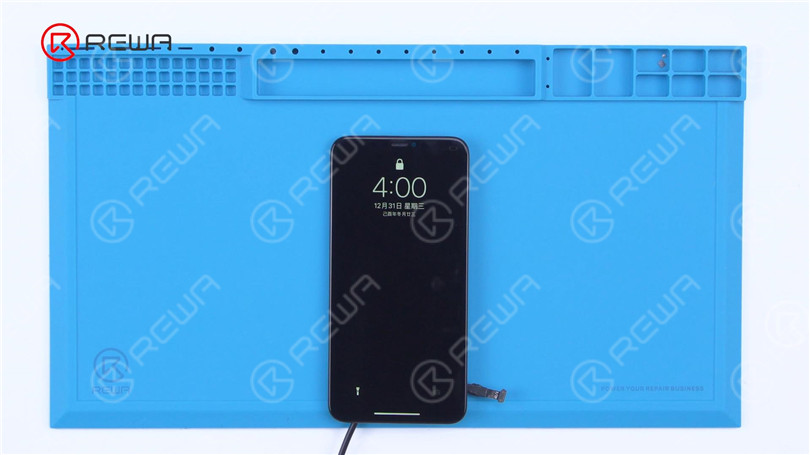
The dot projector of the front camera module is also damaged. Then we need to move the flex cables of the infrared camera and dot projector to a new front camera module. Grind to remove the infrared camera. Install the infrared camera to a new front camera module and secure it
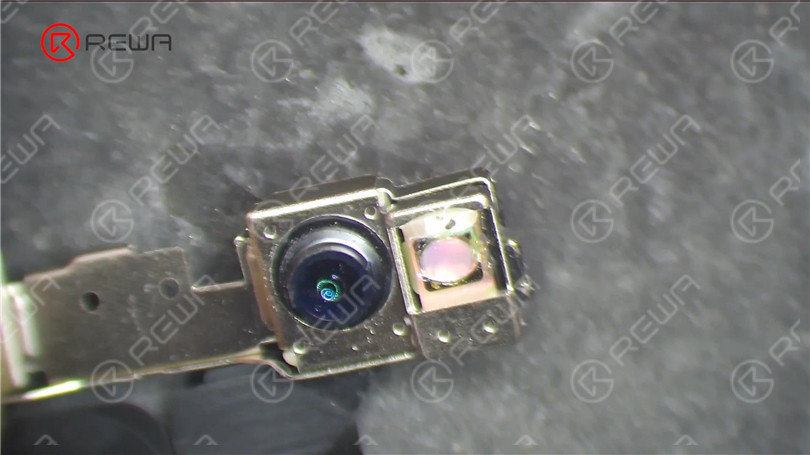
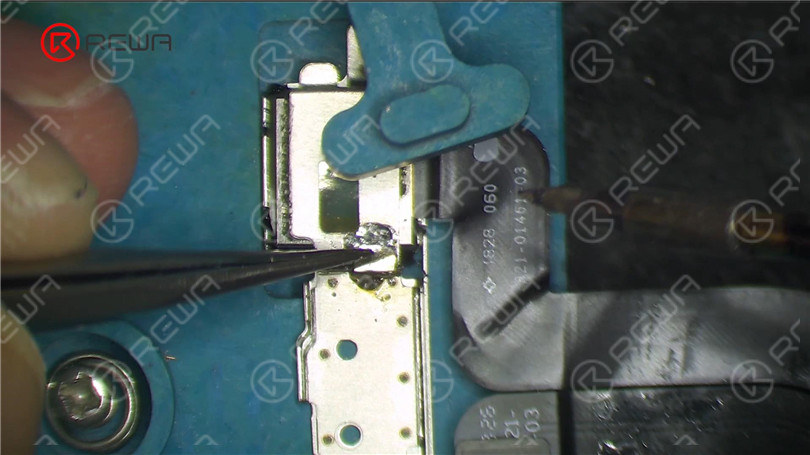
Remove the broken dot projector flex cable. Then remove the dot projector module and read its data. Write the data to a new flex cable.
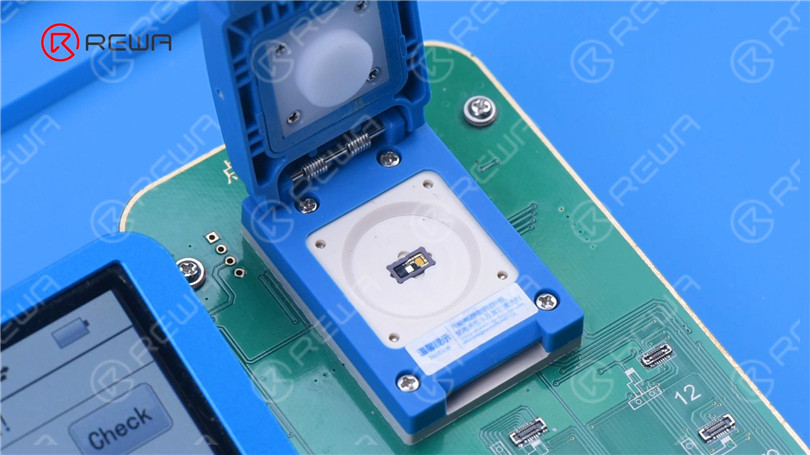
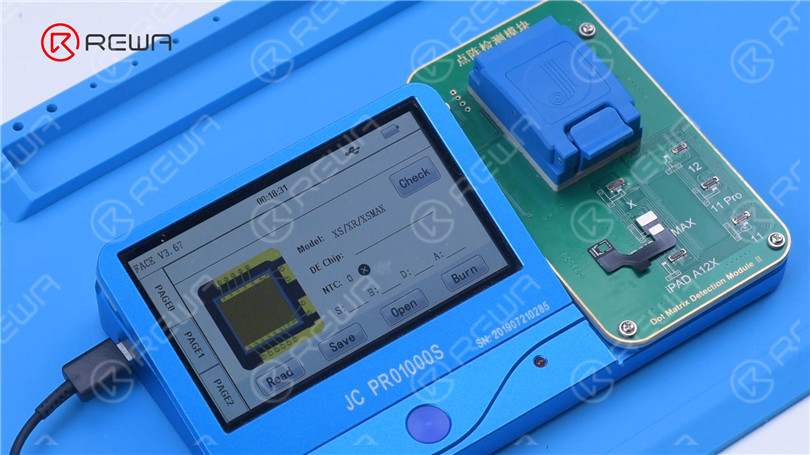
Before soldering the dot projector module, we need to remove the MOSFET and short pin 2 and 3.
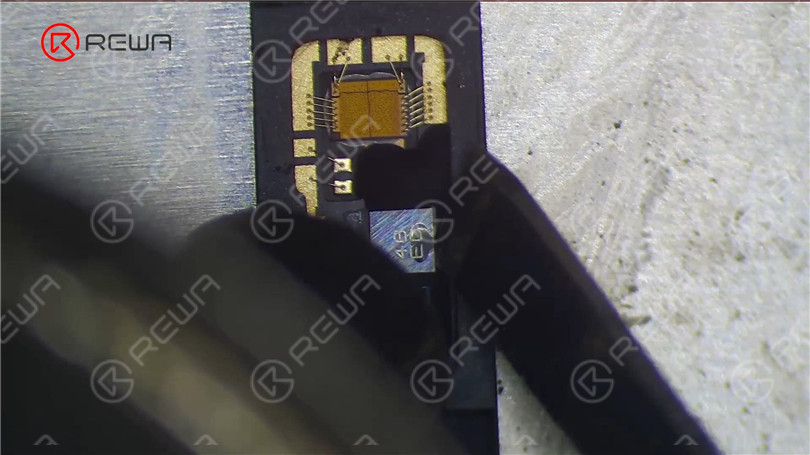
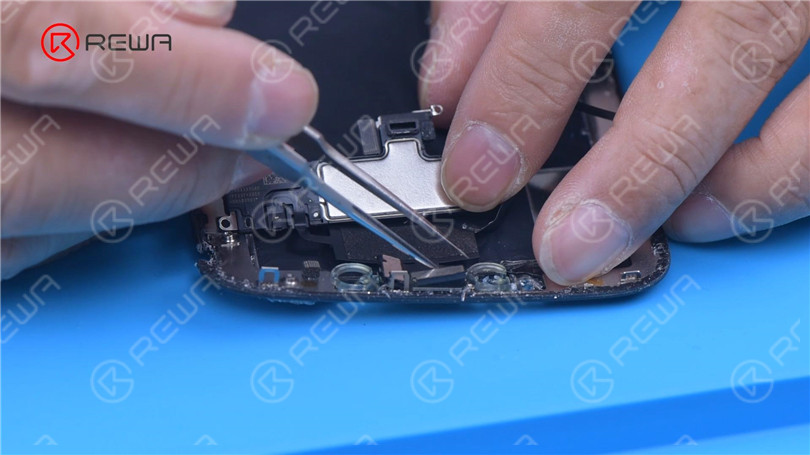
Next, we solder the dot projector module to a new flex cable. Put the new dot projector flex cable back to the front camera module. Align the flex able and fix it with adhesive. After we have repaired the front camera module, the next step is to restore the True Tone of the screen. Remove the earpiece flex cable from the broken screen and install it on a new screen. Read the screen data from the damaged screen and write the data to the new screen.
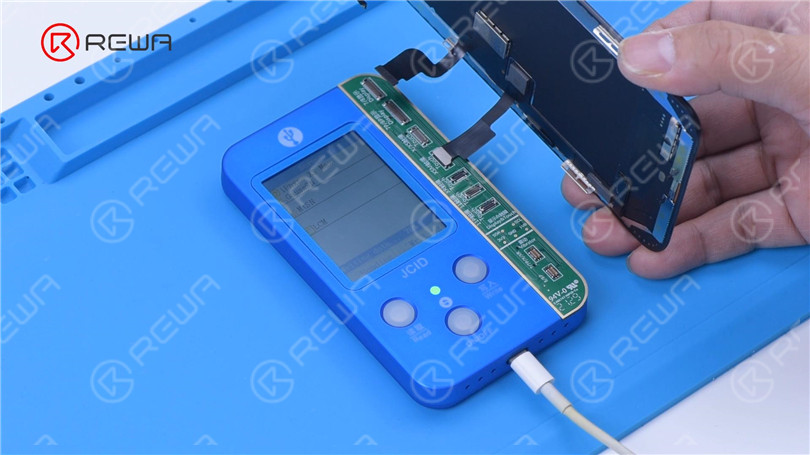
As the original back cover is severely damaged, we need to replace it with a specialized iPhone 13 Pro Max back cover. Move parts of the damaged back housing to the new back cover.
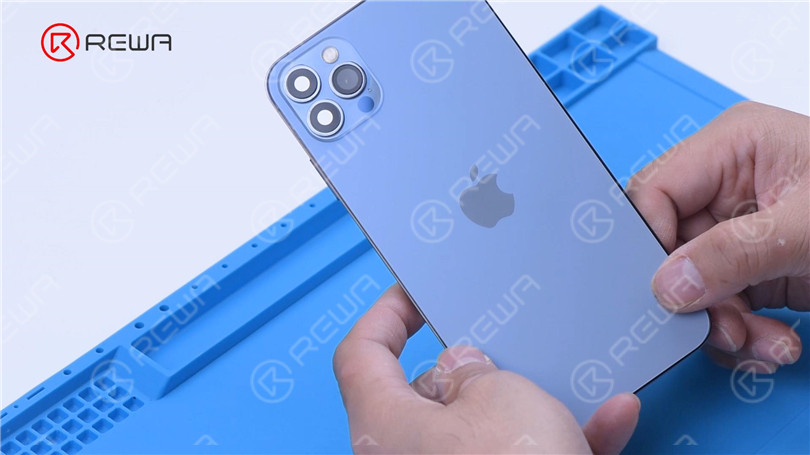
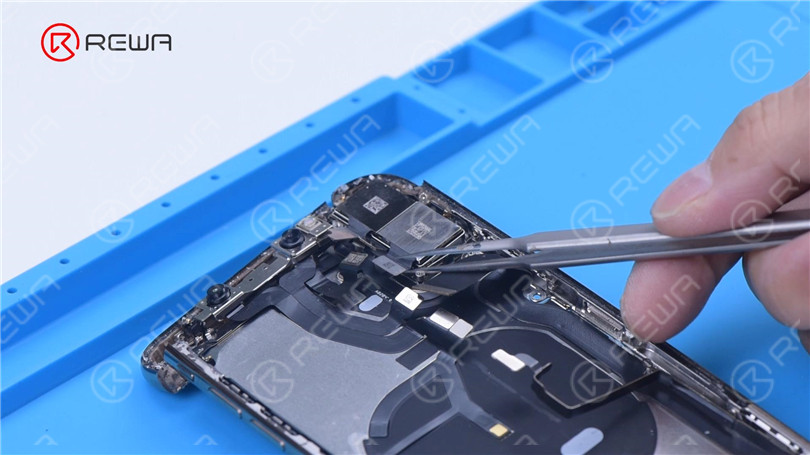
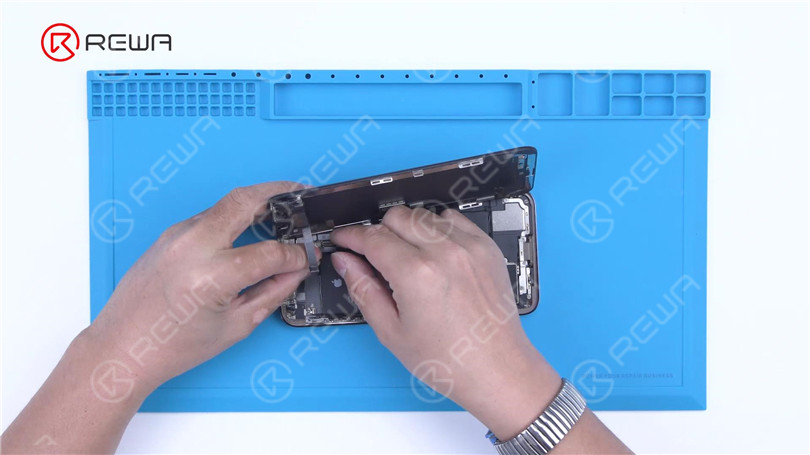
The iPhone XS Max has been successfully restored and all functions are normal.
