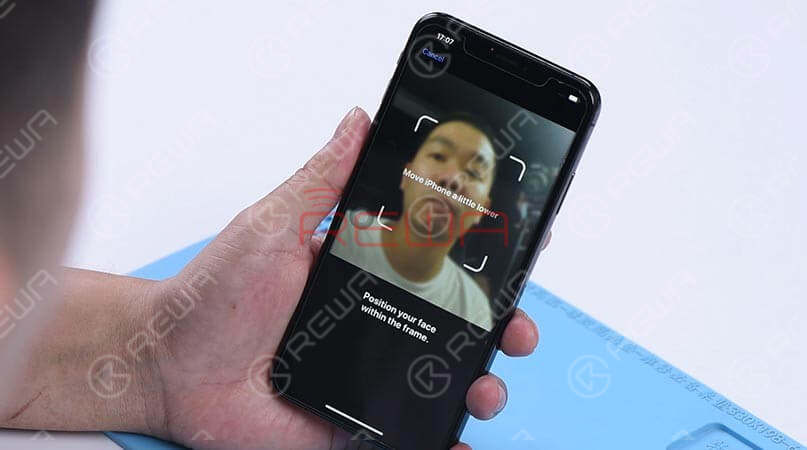
Face ID Not Working ‘Move iPhone a Little Lower/Higher‘ is usually caused by damage to the dot projector and the problem is confirmed to be almost unrepairable. However, there is finally a solution to fix the problem. Today REWA LAB will show you the latest dot projector repair technique!
Problema
When trying to set up Face ID on the iPhone, we get the message ‘move iPhone a little lower/higher’. Next, switch to the front camera, we found that the name of the lighting effect ‘Natural Light’ stays the same when the camera detects a person’s face. What’s more, the pop-up notification keeps saying ‘Move farther away’. Normally, when Portrait mode is ready, the name of the lighting effect ‘Natural Light’ should turn yellow. Judging by this, the dot projector or relevant circuits of the dot projector might have malfunctioned.
Diagnóstico
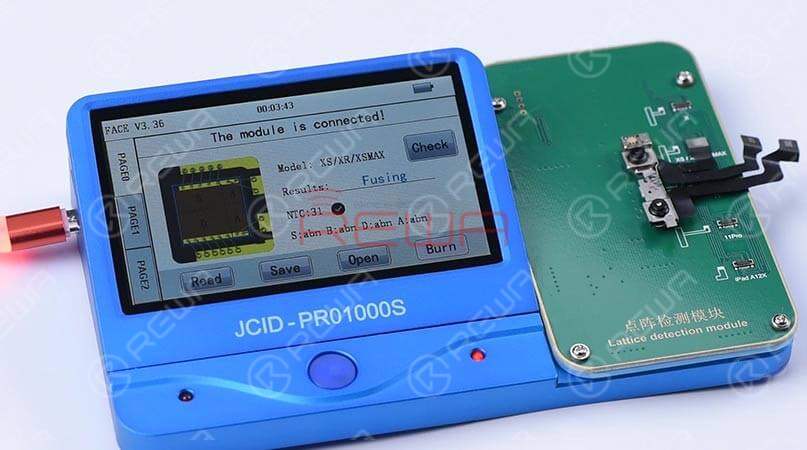
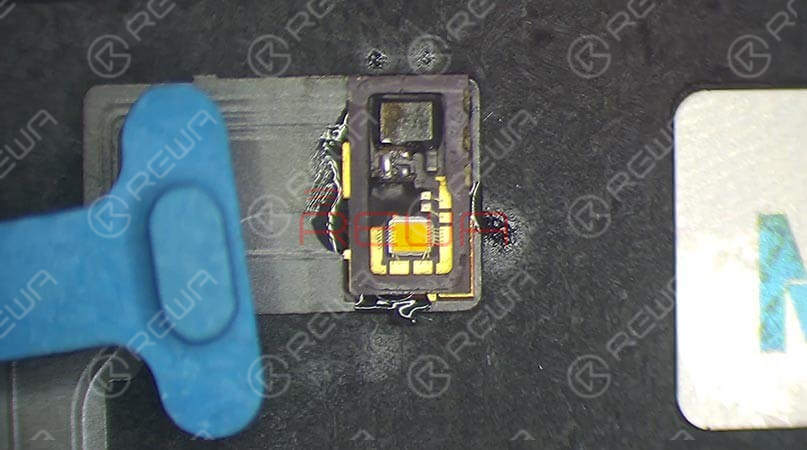
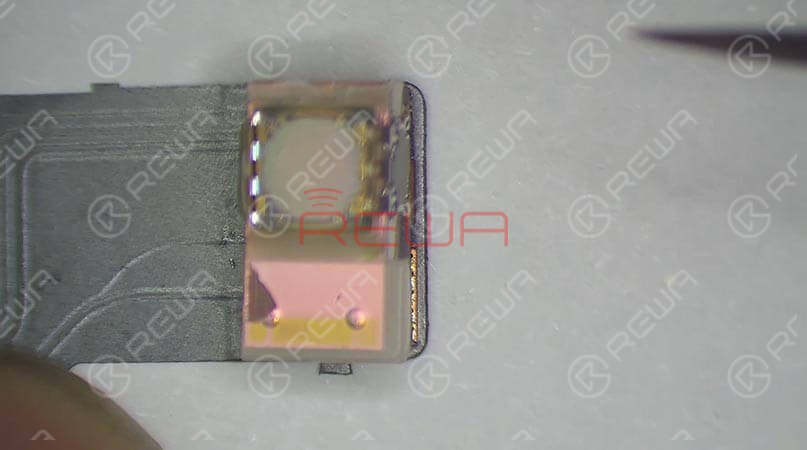
Take apart the phone and remove the display assembly first. We can see that the dot projector has been water damaged and the crystal on the dot projector is broken. Take out the front camera assembly carefully. Here we recommend using a repair programmer to check the dot projector flex cable. Connecting the dot projector flex cable with the programmer, the results show ‘Fusing’ which means the dot projector flex cable has been damaged. We need to burn data of the original dot projector flex cable onto a new one and then replace the broken crystal.
Solución de problemas
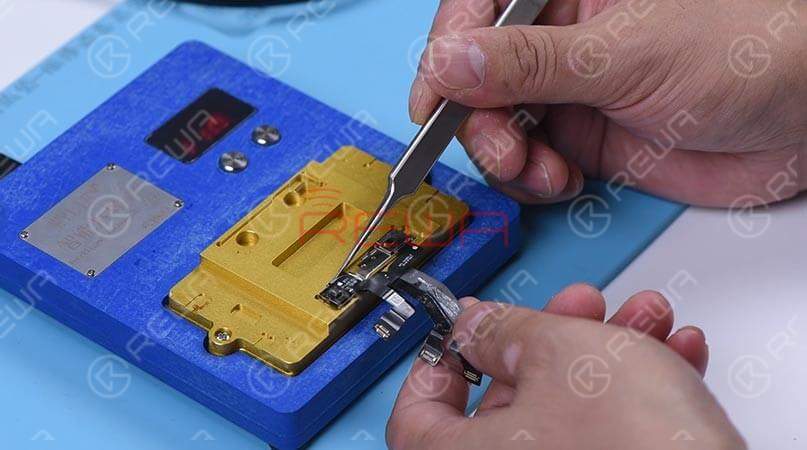
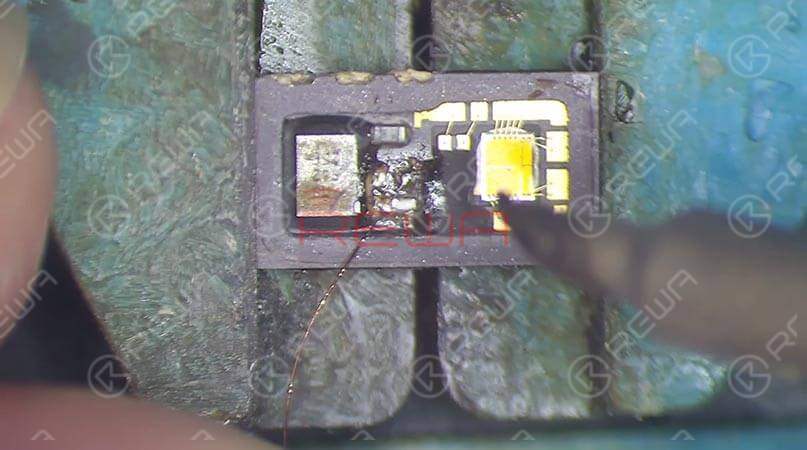
In the first step, we should separate the crystal from the cable. Compared to traditional operations with a hot air gun, we prefer to use an intelligent preheating platform. Put the dot projector into the matching rubber mold and separate the crystal from the flex cable carefully with the blade. Next, we use the repair programmer again to burn the origin data onto the new dot projector flex cable. After completing these two steps, we need to solder the dot projector module and glue a known-good crystal. For detailed instructions, click on the video at the bottom of the article
Volver a montar y probar
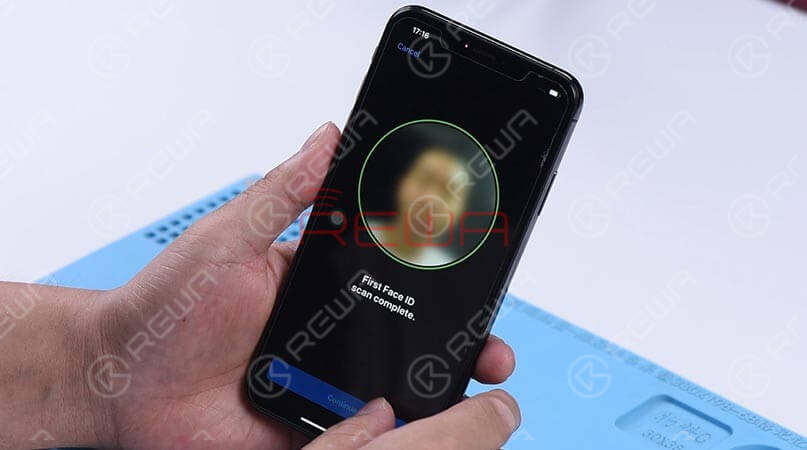
Apply double-sided adhesive tape on the backside of the front camera, and adhere the dot projector flex cable to the right position. Get the front camera assembly installed and get the logic board assembled and buckle the display assembly. Face ID can be set up successfully, and the phone can be unlocked with Face ID this time. Tips: The double-sided adhesive tape used here is for the test. We need to glue the dot projector module onto the flex cable after fault clearance.
Herramientas utilizadas
- Pinzas
- Soldering Station & Material Set
- Medium-Temperature Solder Paste
- Pistola de aire caliente
- Intelligent Preheating Platform
Visite nuestro tienda en línea for more parts and tools.You can also visit REWA YouTube Channel to check our video.
