REWA EU is now live – Stronger supply chain, Better local support. Learn More »

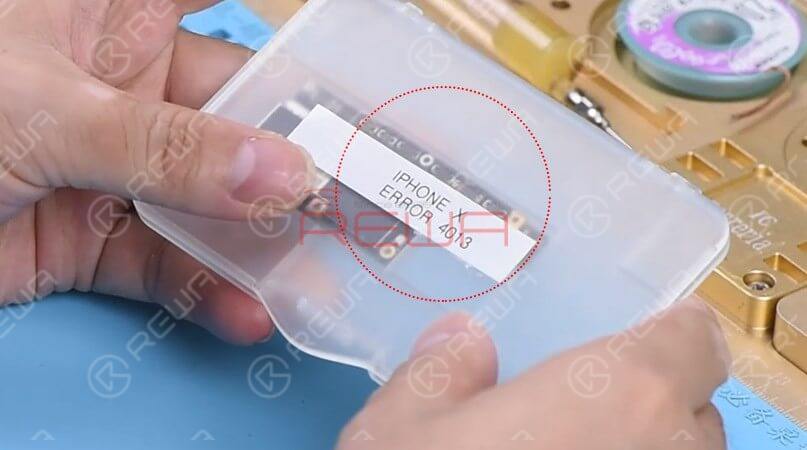
Un raro caso de iPhone X atascado en el logo de Apple(iTunes Error 4013)

iPhone gets stuck on the Apple logo, which usually means that there is a problem with the operating system or hardware of the phone.

Today, we will show you a rare case of iPhone X stuck on apple logo, and teach you how to diagnose and fix the problem step by step.

Un raro caso de iPhone X atascado en el logo de Apple(iTunes Error 4013)

Cosmetic Inspection

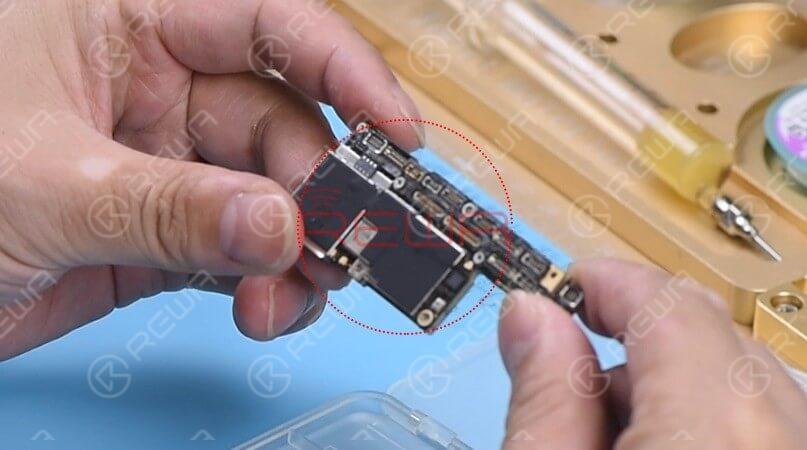
we should run a cosmetic inspection of the motherboard first. Check out the condition of the motherboard, whether it is deformed or water damaged.
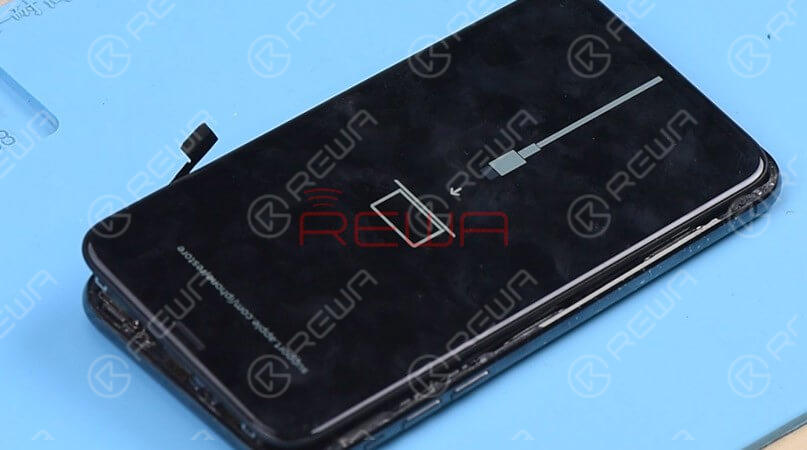
Then get the motherboard installed, the phone enters into recovery mode automatically. Judging by this, the motherboard comes with restore failure. Therefore, the phone cannot enter into the system normally.

As we always do, we should run a cosmetic inspection of the motherboard first.

Check out the condition of the motherboard, whether it is deformed or water damaged.

Then get the motherboard installed, the phone enters into recovery mode automatically.

Judging by this, the motherboard comes with restore failure. Therefore, the phone cannot enter into the system normally.

Diagnóstico  

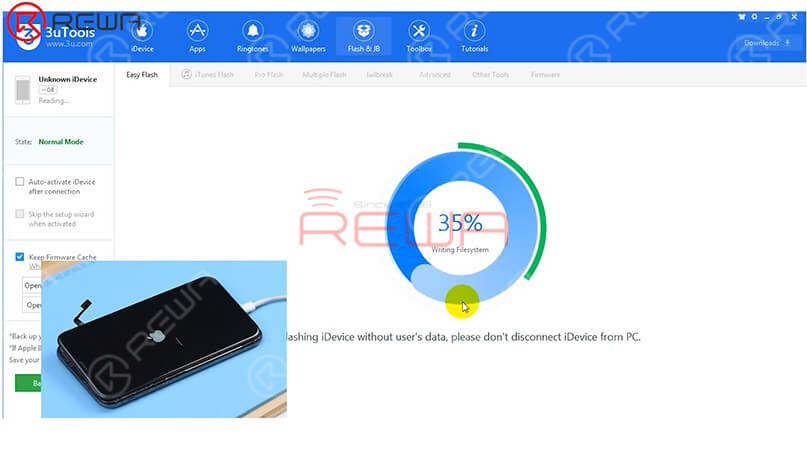
Let’s restore the phone with 3U Tools and check whether it comes with error 4013.

The phone can be normally activated after restore.

Next, check baseband info in the settings. If it shows normal, we can confirm now that the motherboard is normal. The fault is probably related to other parts.

estore the phone with 3U Tools and check whether it comes with error 4013.

Get the earpiece speaker and sensor flex cable and front camera flex cable installed.

Turn on the phone, the phone is stuck on the Apple logo and keeps restarting.

Judging by this, the fault is related to the earpiece speaker and sensor flex cable or the front camera flex cable.

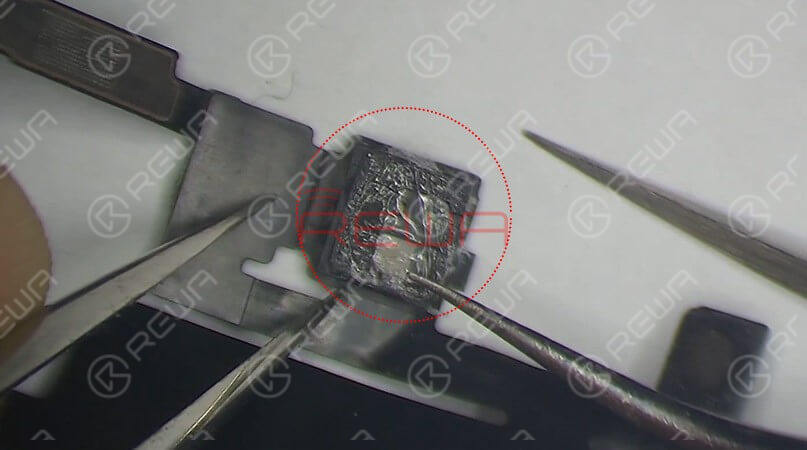
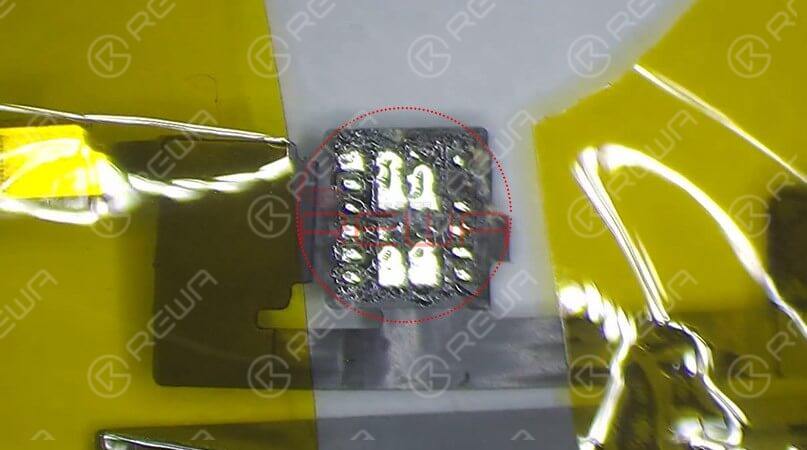
Check the earpiece speaker and sensor flex cable carefully, we find that the Flood illuminator module is moldy. Remove the Flood illuminator module, we can see that its bonding pad is severely corroded. That's what's causing the problem.

Check the earpiece speaker and sensor flex cable carefully, we find that the Flood illuminator module is moldy.

Remove the Flood illuminator module, we can see that its bonding pad is severely corroded.

That’s what’s causing the problem.

Maintenance

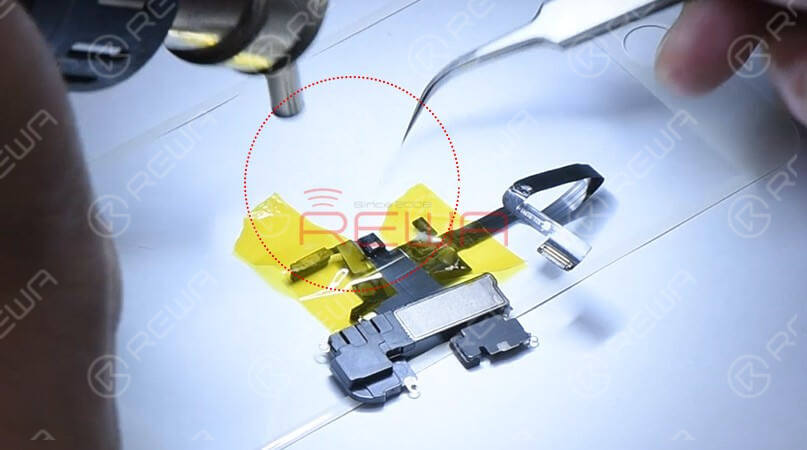
The next section will explain the detailed repair steps:   Apply some paste flux to the bonding pad.   Clean the bonding pad with Soldering Iron.   Apply solder paste to the severely corroded pad.   Clean with PCB Cleaner afterward.   Apply some paste flux to the bonding pad.   Get the Flood illuminator module in the right position.   Solder it with Hot Air Gun.

The next section will explain the detailed repair steps:

Apply some paste flux to the bonding pad.

Clean the bonding pad with Soldering Iron.

Apply solder paste to the severely corroded pad.

Limpiar después con PCB Cleaner.

Apply some paste flux to the bonding pad.

Get the Flood illuminator module in the right position.

Solder it with Hot Air Gun.

Prueba

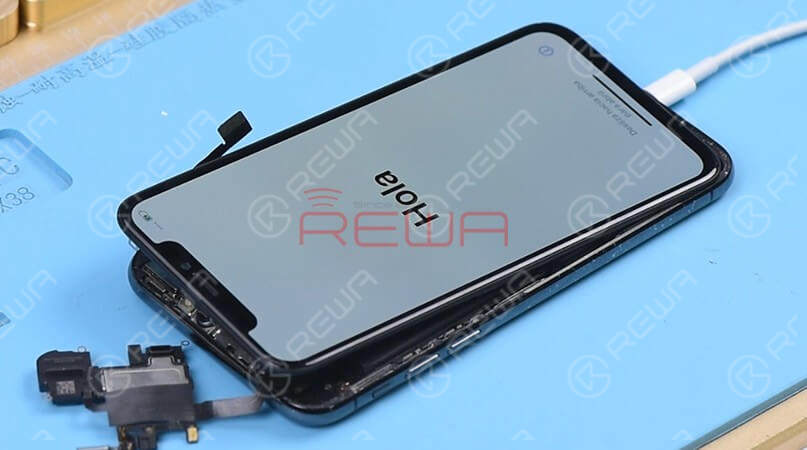
Get the earpiece speaker and sensor flex cable installed, then assemble the phone. The phone turns on normally.

Get the earpiece speaker and sensor flex cable installed, then assemble the phone.

The phone turns on normally. Since the two flex cables were not connected during the previous restore, we need to restore again with the two connected.

Restore the phone with the help of 3U Tools.

Once completed, the phone enters the system normally, and Face ID works normally.

The repair process requires not only professional theoretical knowledge but also proficient handwork skills.

Start your learning journey with ACADEMIA REWA ¡Ya!

Start your learning journey with REWA ACADEMY now!

Preview this course:Curso manual de reparación de placas lógicas de iPhone

For more details on the operation, watch the video below:
Comparte el amor:

Facebook
Twitter
LinkedIn
Foto de REWA Team

Equipo REWA

Somos el REWA Team, una división de REWA Technology formada por técnicos de reparación, expertos y vendedores. Cada artículo que producimos se elabora con sumo cuidado y con las aportaciones de varias personas.

Suscribirse en YouTube

¿Le ha gustado el artículo? Nuestro equipo de expertos del sector le ofrece valiosos conocimientos y soluciones prácticas para todas sus necesidades de reparación. Suscríbase hoy mismo a nuestro canal y acceda a nuestros últimos vídeos, actualizaciones y contenidos de valor.
Suscríbase a

Recomendado para usted

Deja una respuesta

Tu dirección de correo electrónico no será publicada. Los campos obligatorios están marcados con *