Passate sempre più tempo ad aspettare la risposta del vostro MacBook?
Finché esiste il computer portatile, “funzionamento troppo lento” sembra essere un argomento sempre attuale per gli utenti.
Anche il MacBook, uno dei computer portatili più diffusi, ha riscontrato questo problema.
Se siete utenti abituali del Macbook e vi limitate a navigare su alcuni siti web, potreste sentirvi soddisfatti con 4 GB o addirittura 2 GB di RAM installata.
Se siete un utente potente che elabora sempre con software di grandi dimensioni come il montaggio video, l'editing di immagini e così via, o se siete un giocatore folle che sta ruggendo “Gloria ai Sin'Dorei!”, si può prendere in considerazione l'idea di aggiornare quanta più RAM possibile.
Si tratta di un problema comune per le persone che possiedono un MacBook nell'era dell'esplosione delle informazioni, per non parlare di coloro che hanno un MacBook vecchio stile con un piede nella fossa.
Rispetto a un nuovo acquisto, Soluzione di aggiornamento della ram per MacBook air potrebbe essere una buona scelta per aumentare la velocità del Mac, poiché è più conveniente.
Tuttavia, per alcuni MacBook lanciati negli ultimi anni, i chip RAM sono stati progettati per essere saldati sulla scheda logica.
Ecco perché ci sono molti esperti di How-To che offrono tutorial per l'aggiornamento o la sostituzione dell'unità SSD, ma quasi nessuno che preveda una soluzione per l'aggiornamento della memoria del MacBook air.
Non scoraggiatevi se state leggendo questo articolo in questo momento.
REWA non vi abbandona mai e ha sempre un servizio di riparazione della scheda madre a livello di chip per iPhone e iPad per voi. Quindi, come aggiungere memoria al MacBook Pro o al MacBook Air? È lo stesso con l'aggiornamento della memoria dell'iPhone? Controllare l'aggiornamento della memoria dell'iPhone 6s da 16G a 128G.
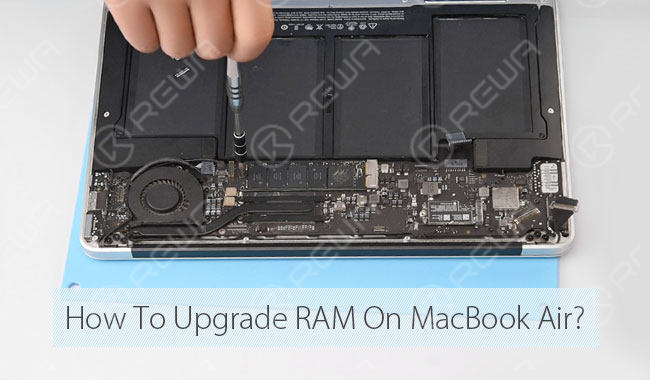
Ecco i passaggi dettagliati per aggiornare la ram del MacBook Air: un modo rapido ed economico per migliorare le prestazioni del vostro MacBook. Bastano 8 passaggi per far funzionare più velocemente il vostro MacBook Air.
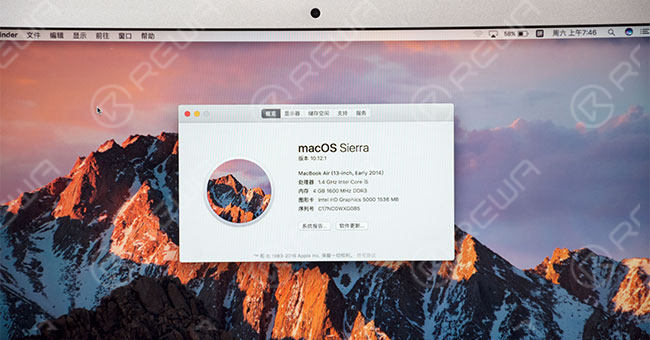
1. Controllo della memoria
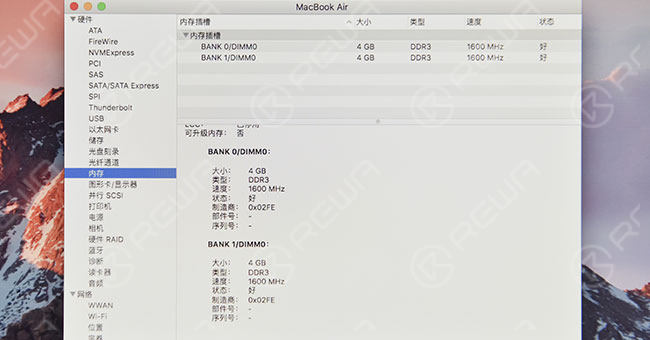
Controllare la memoria. Mostra 4 GB.
2. Smontaggio del MacBook
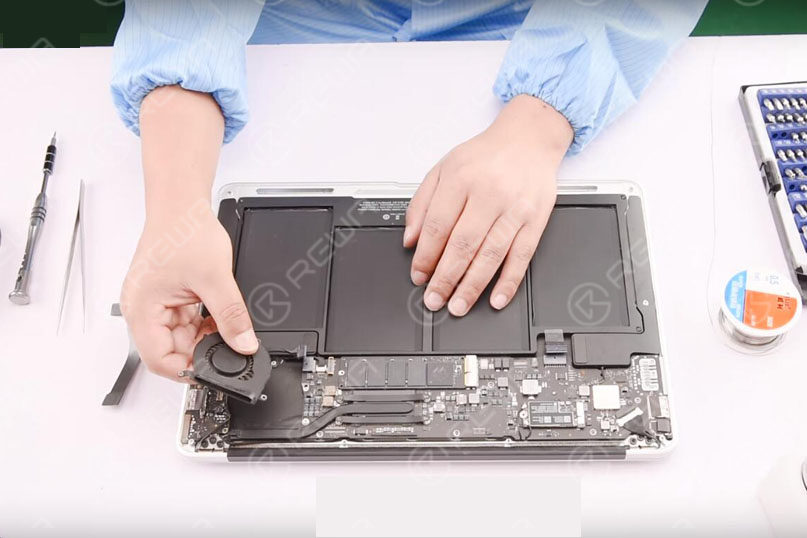
Rimuovere il Mackbook Minuscolo, quindi staccare il Batteria MackBook e la scheda IO flex. Dopodiché, staccare il Ventilatore MackBook, dissipatore di calore e antenna WiFi leggermente.
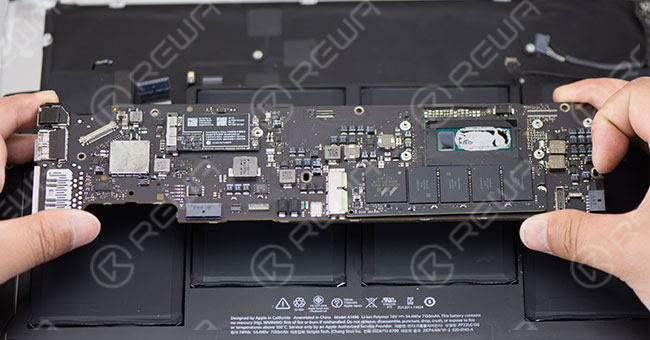
Dopo aver scollegato i cavi flessibili, staccare la scheda madre. Rimuovere l'SSD, il modulo di rete wireless, il codice QR e il codice a barre sulla scheda logica.
3. Rimozione dei chip RAM
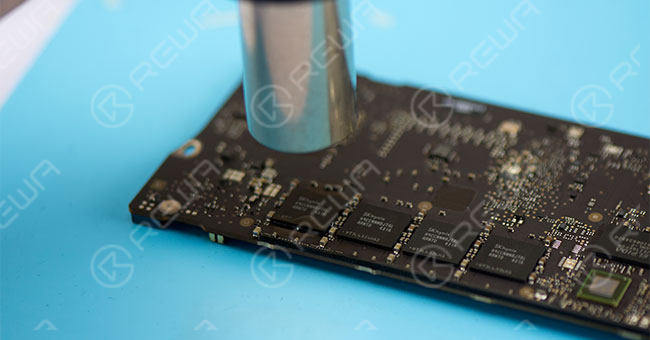
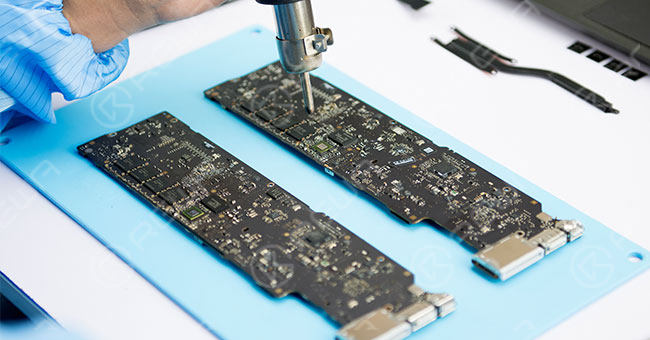
Riscaldare l'adesivo di tenuta intorno ai chip RAM con pistola ad aria calda, quindi rimuovere tutto l'adesivo sigillante. Applicare un po' di Flusso di pasta BGA intorno al chip RAM e soffiare con una pistola ad aria calda per rimuoverlo. Rimuovere gli altri tre chip nello stesso modo.
4. Pulizia
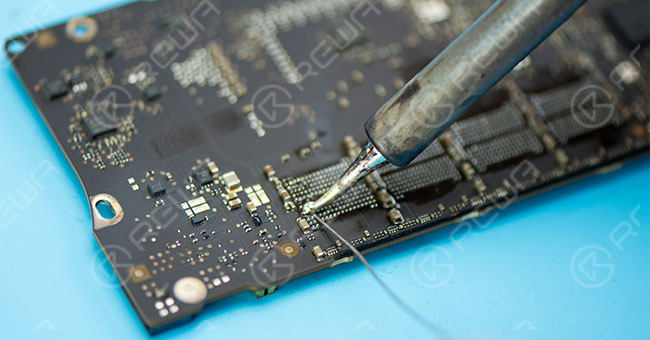
Dopo aver appiattito le piazzole di incollaggio con il saldatore a stagno, pulire le piazzole di incollaggio con un panno antistatico applicato con alcool.
5. Saldatura dei chip RAM
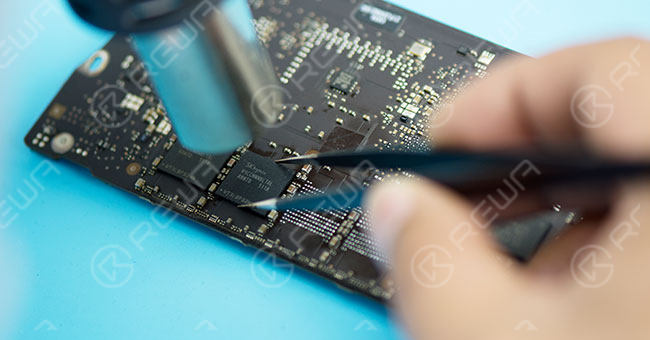
Soffiare le piazzole di incollaggio con una pistola ad aria calda e applicarvi un po' di fondente per pasta BGA, quindi allineare il chip RAM alla piazzola di incollaggio con una pinzetta. Soffiare e saldare con una pistola ad aria calda. Gli altri tre chip possono essere lavorati allo stesso modo.
6. Resistenza Rimozione e sostituzione
Rimuovere la resistenza da 10K R2051. Staccare una resistenza da 100K da una scheda madre rotta e saldarla a R1636.
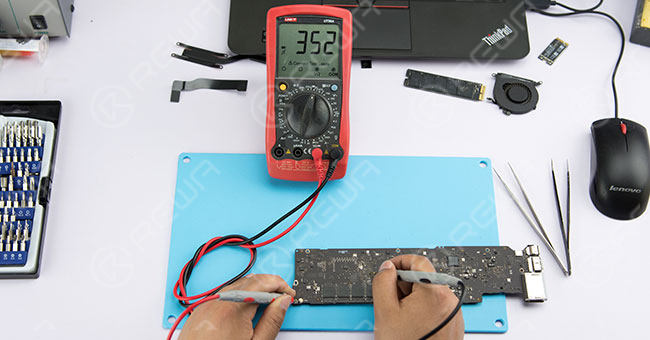
Testare entrambe le estremità della resistenza con un multimetro per verificare la presenza di un cortocircuito o di una saldatura mancante.
7. Modifica del BIOS e ripristino
La RAM del MacBook è legata al BIOS, quindi è necessario modificare il BIOS e ripristinare.
8. Installazione e collaudo
Dopo l'installazione, accendere il Mac e controllare la sezione “Informazioni su questo Mac” per verificare che la memoria sia stata aggiornata e riconosciuta.
Suggerimenti:
1. Le dimensioni e la marca dei chip RAM non possono essere mischiate.
2. La temperatura eccessiva danneggia i chip della RAM e la scheda logica.
Ecco un video tutorial per l'aggiornamento della RAM del MacBook air, che spiega e dimostra le operazioni dettagliate di sostituzione dei chip della RAM saldati sulla scheda logica.
Se avete domande e richieste, lasciateci un messaggio qui sotto o fate una domanda su Forum ASK. Cercheremo di rispondere alle vostre domande in tempo utile.
Strumenti e parti utilizzati:
