The MacBook Air A1466, introduced in 2013, remains a favorite among Apple laptops for its lightweight design, reliability, and portability. Even in 2025, it performs surprisingly well with its original Intel i5 CPU and 4GB RAM.
However, imagine pushing this 12-year-old machine to its limits by upgrading to a faster Intel i7 processor and increasing the RAM to 16GB. Such an upgrade could transform the A1466 into a more capable device for multitasking, video editing, and modern workflows.
This guide provides a step-by-step walkthrough of the advanced motherboard-level repair process required for the CPU and RAM upgrade.
Note: This is not a beginner-friendly project. It involves BGA soldering, BIOS programming, and professional-level repair skills. If you’re a DIY enthusiast, technician, or simply curious about the feasibility of this upgrade, this tutorial is for you.
Step-by-Step MacBook A1466 Upgrade Guide
1. Disassembly
- Power off the MacBook.
- Remove the lower case screws and carefully lift off the case.
- Disconnect the battery flex cable.
- Unscrew and remove the cooling fan.
- Unscrew the motherboard and disconnect the keyboard and display flex cables.
- Remove the motherboard.

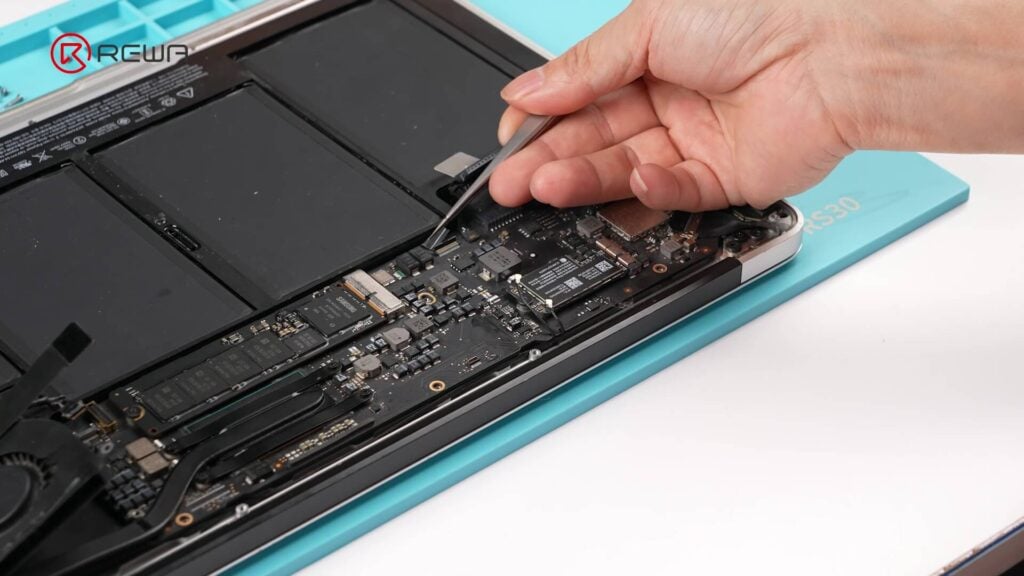
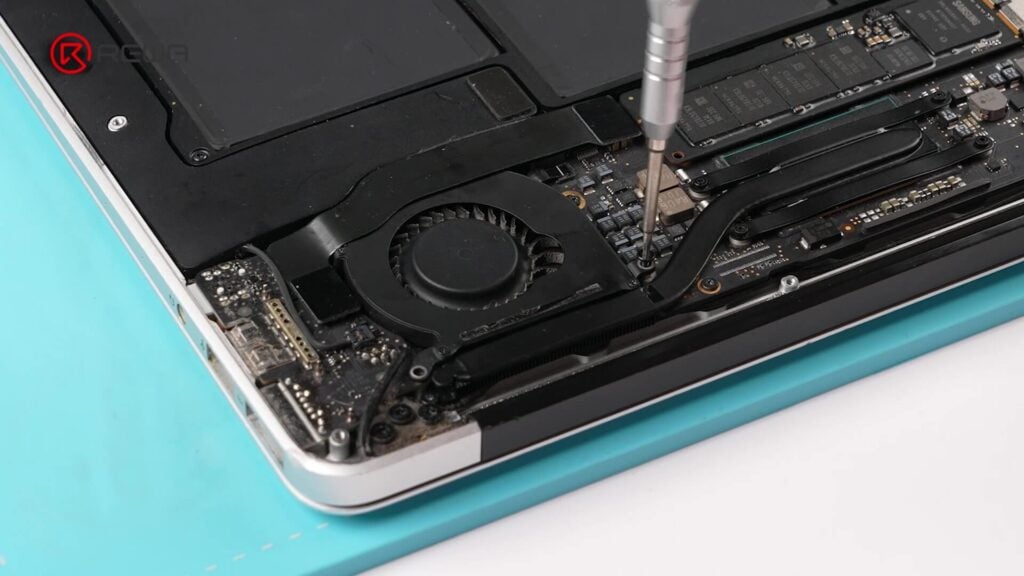
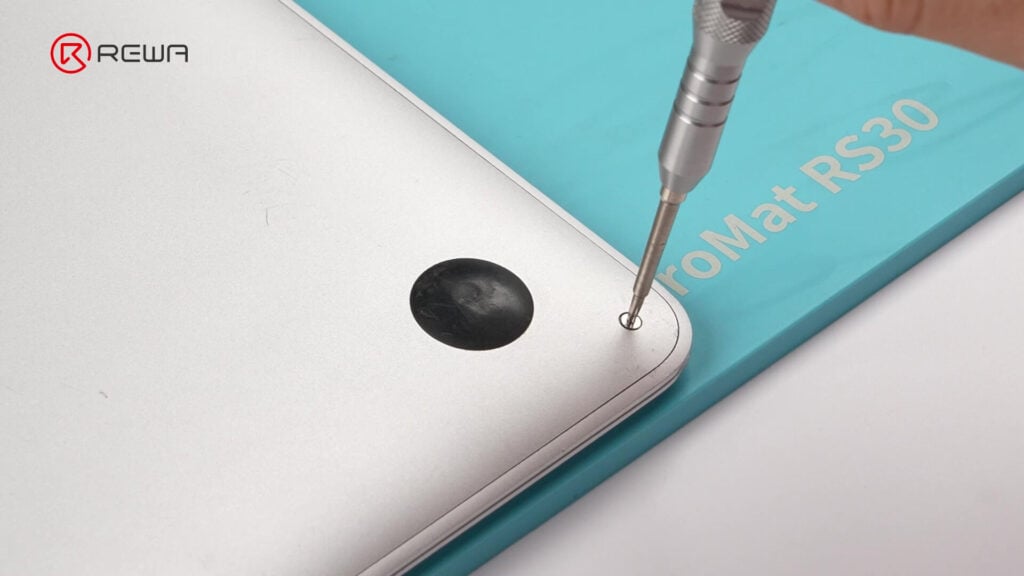
2. Preparing for CPU Replacement
- Unscrew and remove the SSD and Wi-Fi module.
- Unscrew the heat sink and peel off the CPU insulation sticker.
- Clean off the old thermal paste.
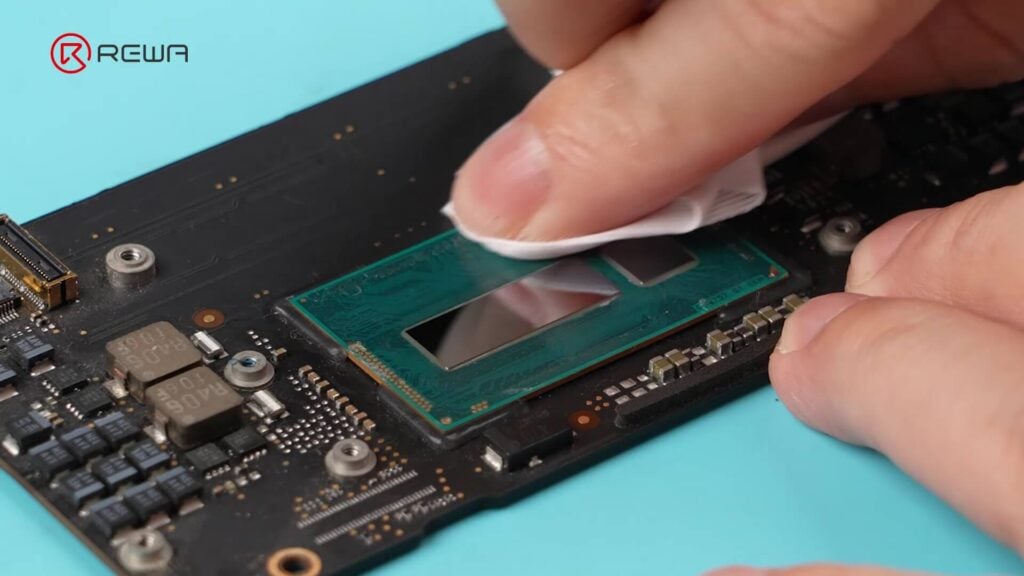
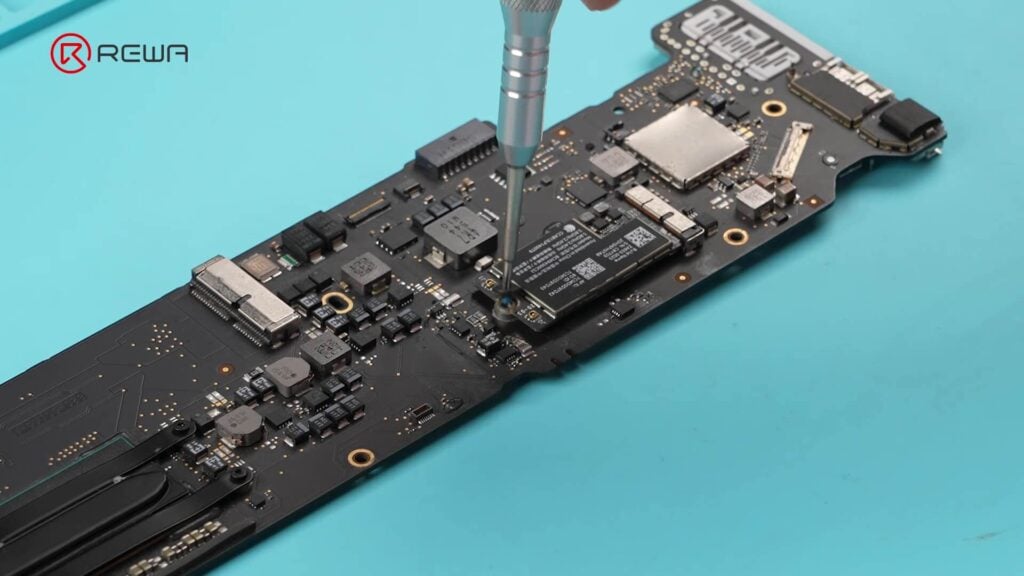
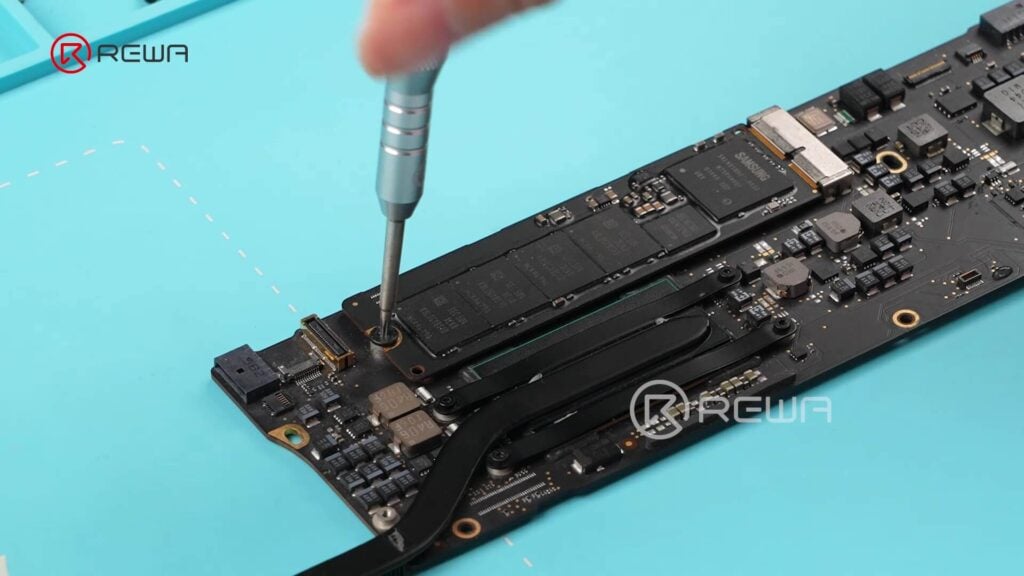
Since CPU removal requires high heat, we should remove sensitive parts to avoid damage.
Note: The original CPU belongs to the Intel SR26 series. The replacement i7 must be from the same series, ensuring compatibility.
3. CPU Removal (BGA Rework)
- Secure the motherboard on the BGA rework station.
- Preheat: Start heating until the progress bar reaches 50%, then use tweezers to remove the surrounding glue.
- At 100%, switch on the hot air gun in circular motion to evenly heat the CPU.
- Insert a pry tool slightly under the CPU corner and gently lift once the solder melts.
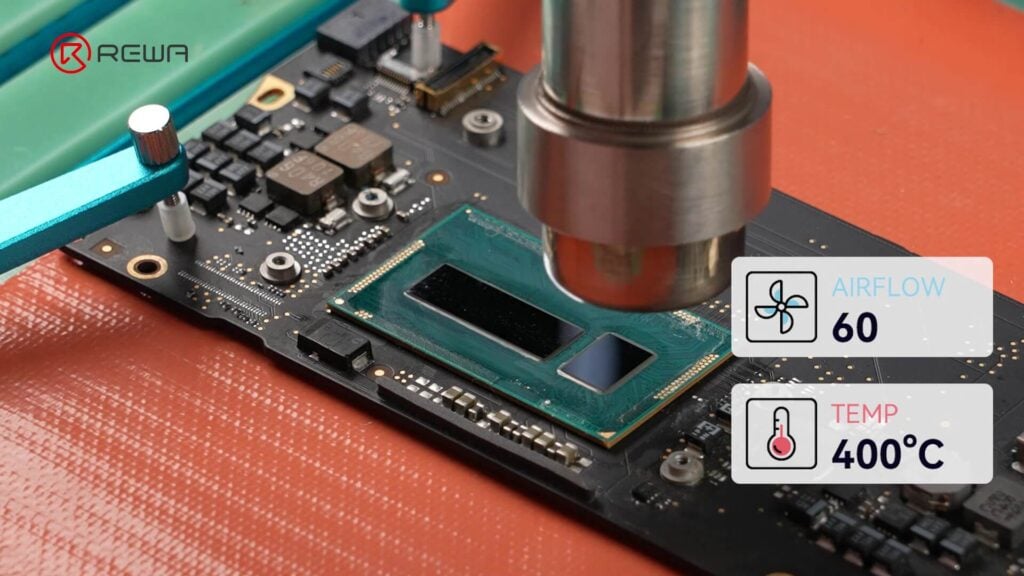

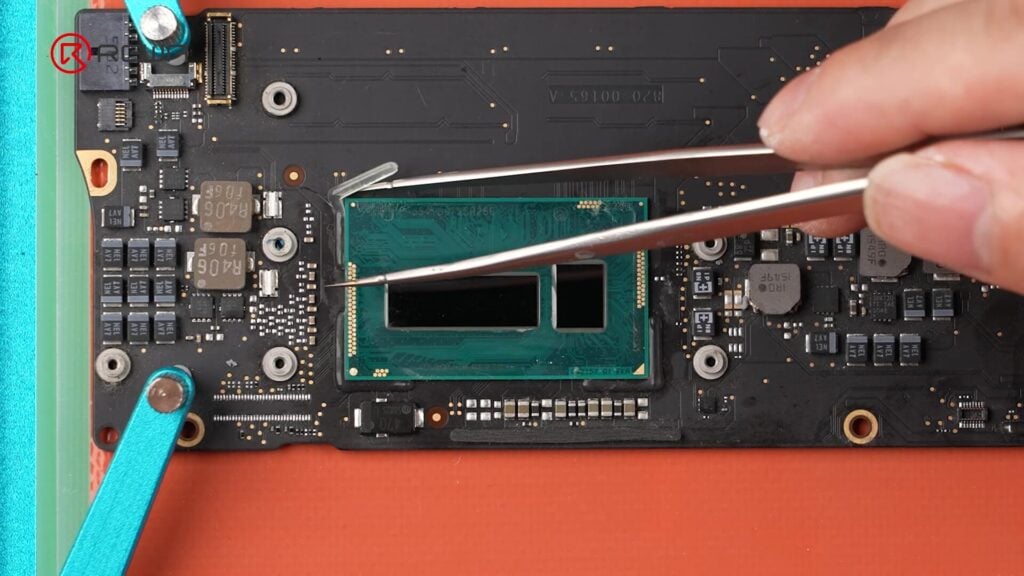

Note: Be extremely careful not to insert the pry tool too deep, going beyond 1–2 mm risks damaging the CPU pads or PCB traces, which may render the board unusable. Patience is key here, let the heat do the work.
4. CPU Pad Cleaning & Installation
- Apply flux and use a soldering iron with low-temp solder to clean the pads.
- Wipe with a lint-free cloth.
- Apply flux again and place the pre-balled i7 CPU.
- Use the cross-laser alignment system and secure the alignment with tweezers.
- Heat evenly with the hot air gun to reflow solder.
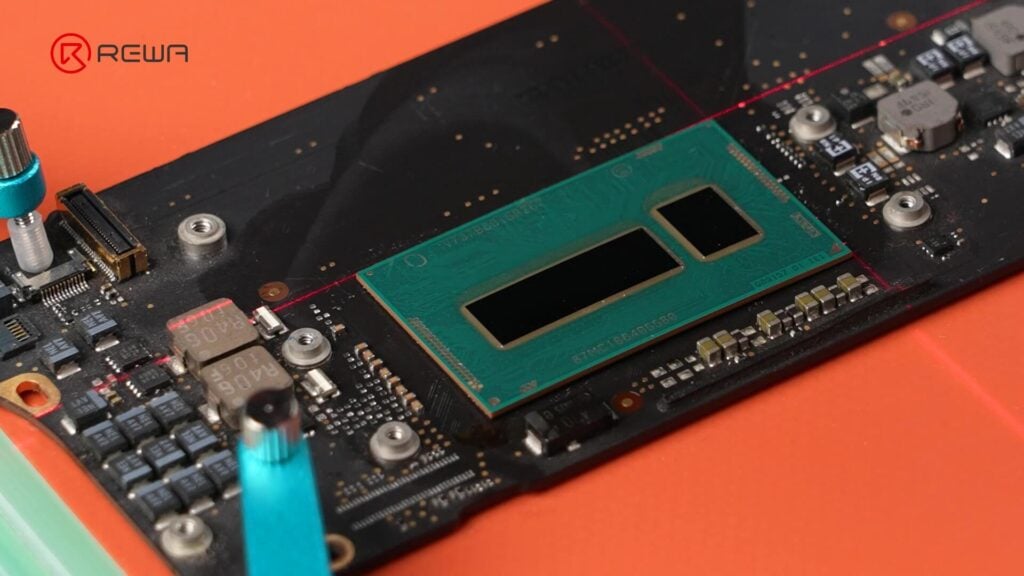


Note: Cleaning with a soldering iron produces smoke. Always use a smoke extractor, fan, or fume removal system to protect your health and keep the work area clear.
5. BIOS Chip Reprogramming
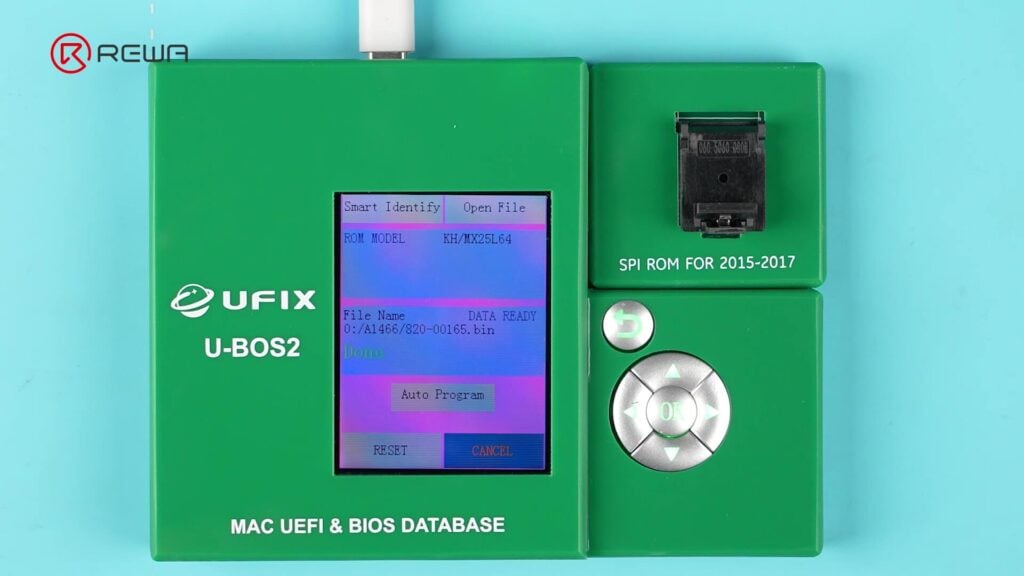
Apple’s secure boot chain requires BIOS reprogramming for proper boot speed.
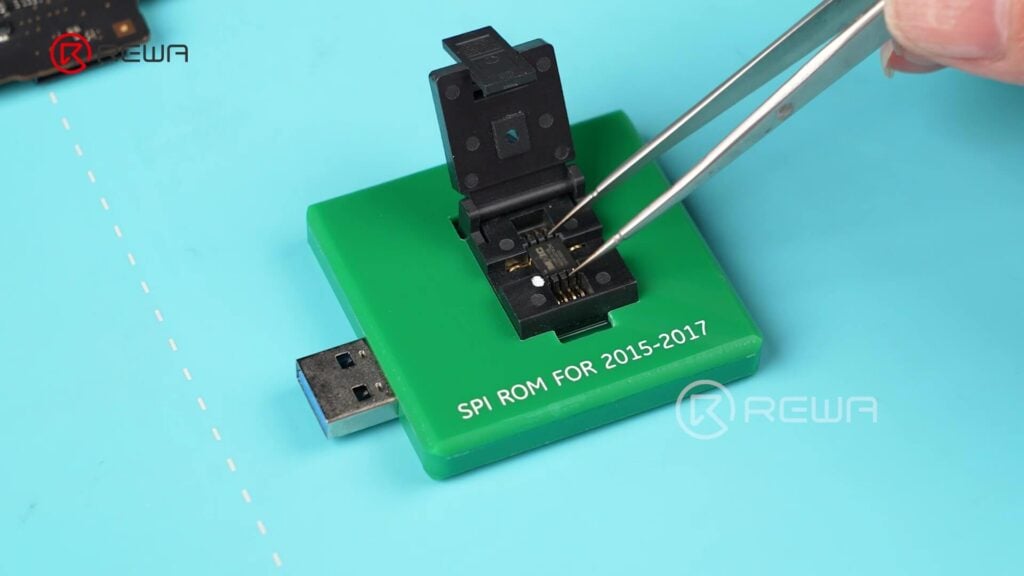
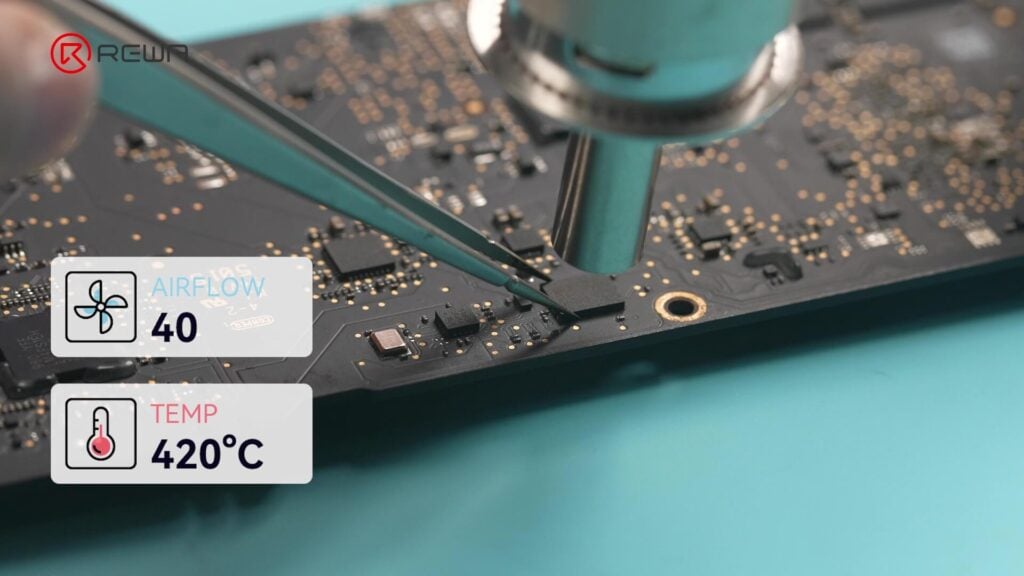
- Remove the BIOS chip using a hot air gun.
- Place it in a programmer module and load the A1466 firmware file.
- Reprogram the chip, then resolder it back to the board.
6. RAM Upgrade to 16GB
The A1466 motherboard has four RAM chips soldered directly, each 1GB.
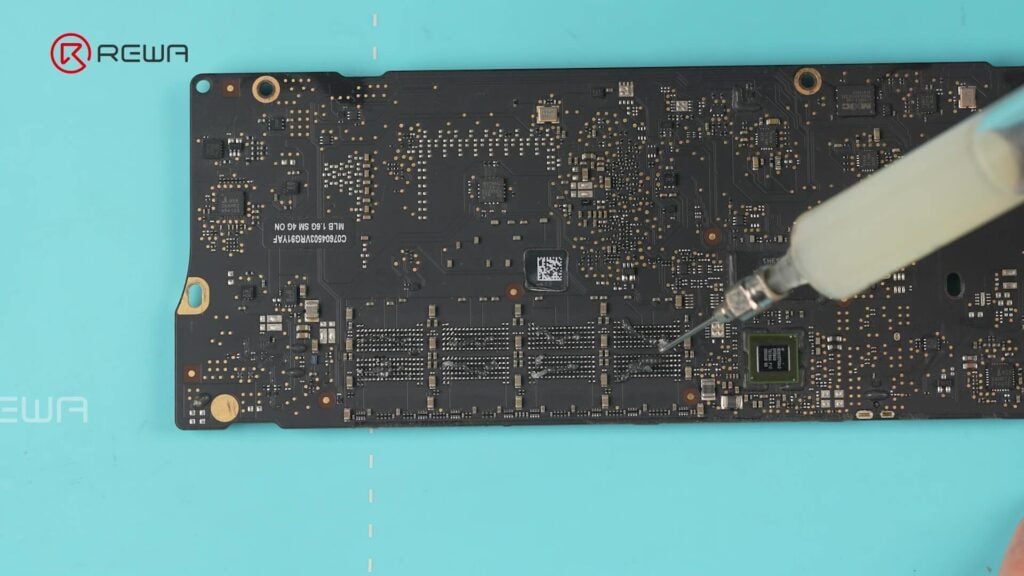
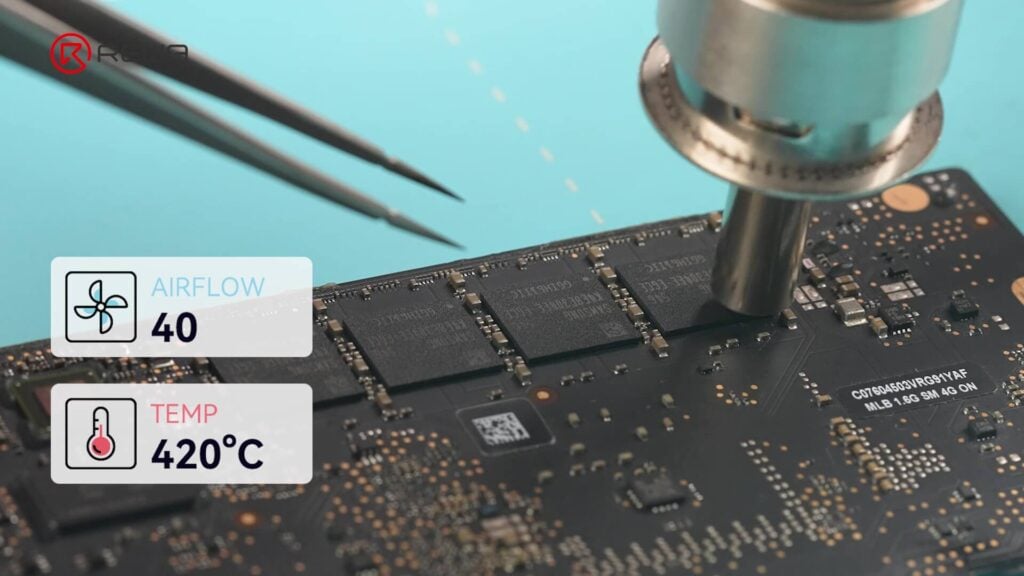
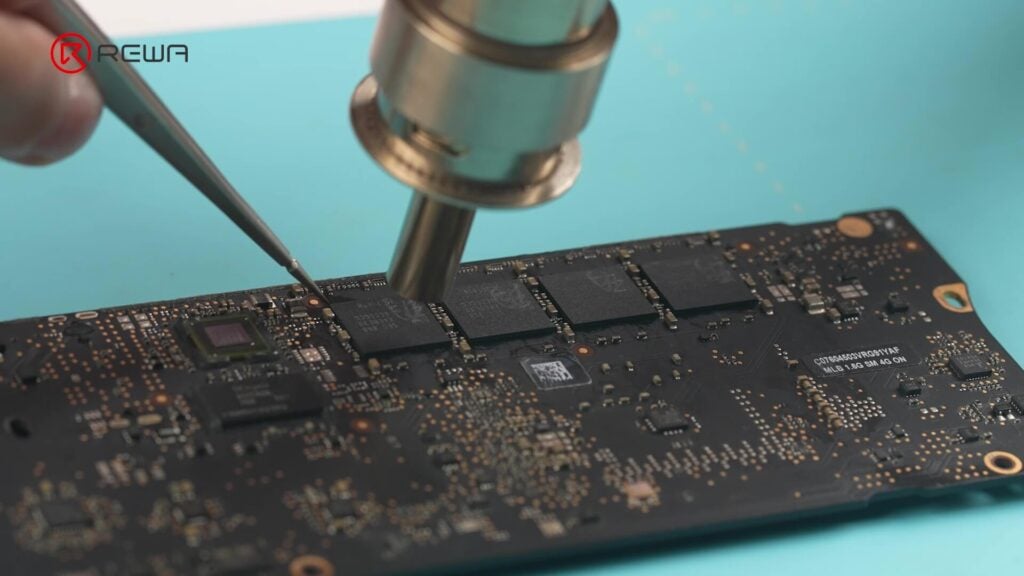
- Heat each RAM chip with a hot air gun and remove with a tweezers.
- Clean the pads with flux and low-temperature solder.
- Install new 4GB RAM chips (x4) for a total of 16GB RAM.
- During reflows, adjust with tweezers for perfect alignment.

7. Adjusting RAM Configuration Resistors
Different RAM capacities require correct resistor mapping.
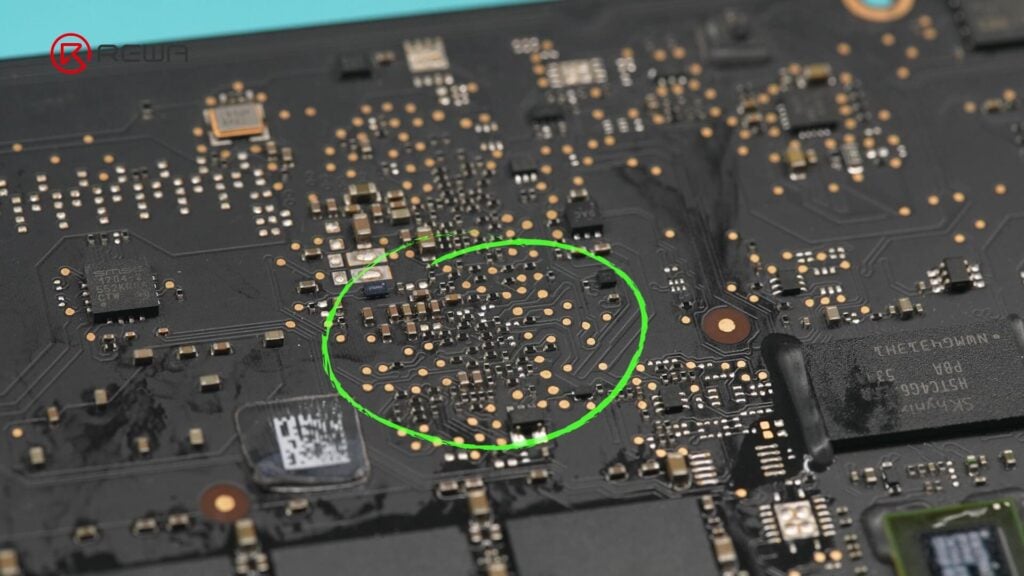
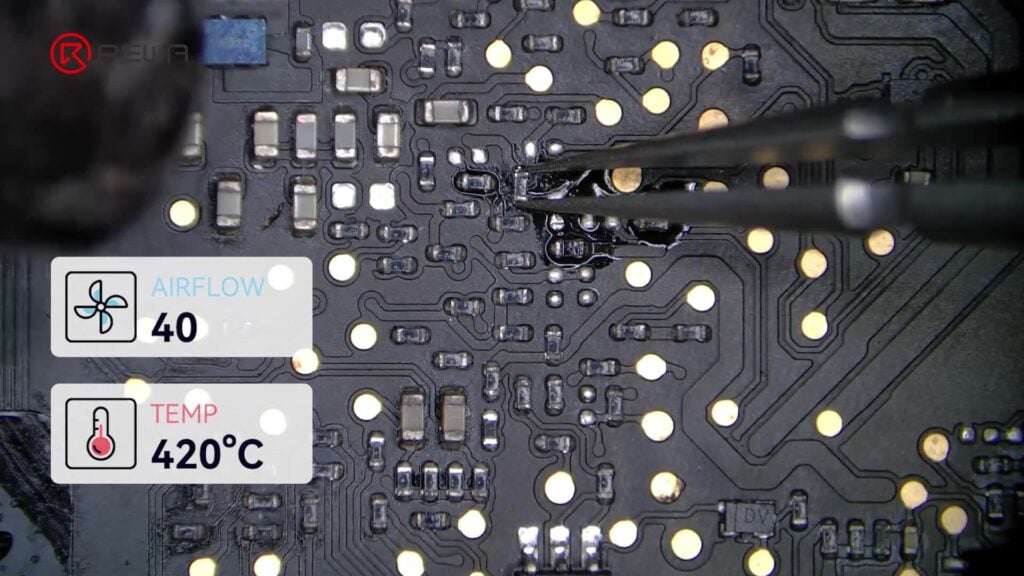
- Locate resistors using a schematic/bitmap.
- Move R2053 → R1611 and R2050 → R1631.
- This ensures that the board recognizes the new RAM.

8. Reassembly & Testing
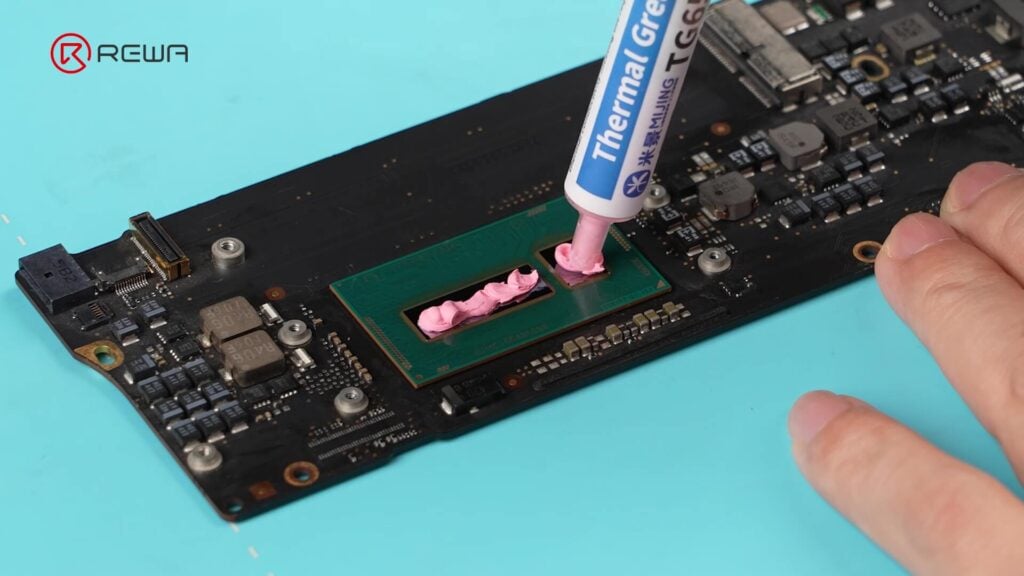
- Apply new thermal paste on CPU.
- Reinstall the heat sink, SSD, Wi-Fi module, and motherboard.
- Reconnect cable, battery, and the lower case.
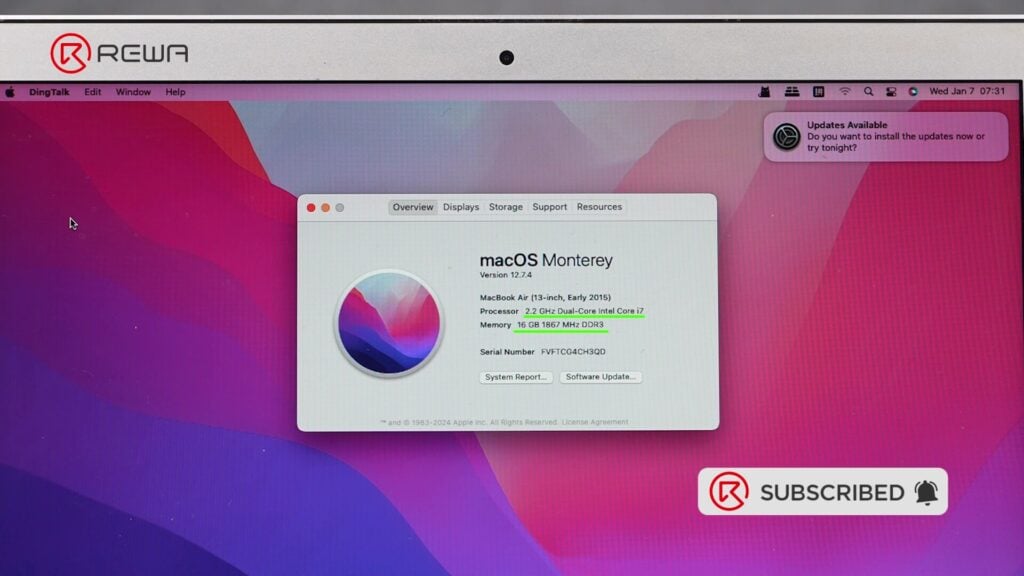
- Power on and confirm upgraded specs: i7 CPU & 16GB RAM 🎉

Tips and Tricks
- Reprogramming the BIOS is critical
When upgrading a MacBook CPU, reprogramming the BIOS chip is essential. Skipping this step will trigger Apple’s Secure Boot Chain verification, resulting in extremely slow boot times. - RAM resistor adjustment is a must
RAM chips from different manufacturers or with larger capacities require rearrangement of configuration resistors. If skipped, the system will fail to recognize the upgraded RAM. - System consistency vs. clean install
Although a clean macOS install is recommended after major hardware changes, in this demonstration the original system was retained to verify performance consistency post-modification.
Tools & Parts Needed
- Screwdriver set (for MacBook disassembly)
- BGA rework station with preheater & hot air gun (REFOX tools)
- Cross-laser alignment system
- Flux & soldering iron with low-temp tin
- Lint-free cloth & brush
- Tweezers & pry tools
- Thermal paste
- Programmer module (for BIOS chip reprogramming).
- Pre-balled Intel i7 CPU (SR26 series)
- 4× 4GB RAM chips (compatible with A1466)
💡 Check out professional tools and parts at:
- REWA Shop – repair tools & ICs
- REFOX – Refurbishing tools & REFOX Bitmap
- REWA Academy – repair training & tutorials
FAQs
Can you upgrade MacBook Air A1466 RAM to 16GB?
Yes, but only by replacing the soldered-on RAM chips with higher-capacity chips. This requires advanced BGA soldering equipment.
Can you replace the CPU in MacBook Air A1466?
Yes, the CPU can be replaced with another chip from the same Intel series. However, it’s permanently soldered, so this is extremely difficult without pro tools.
Why is BIOS reprogramming necessary?
Without BIOS update, the MacBook may boot very slowly or fail to detect new hardware correctly.
Is upgrading a 12-year-old MacBook Air worth it?
Technically possible, but not practical for most users. A refurbished MacBook Pro or newer Air may be more cost-effective. This upgrade is best for technicians or enthusiasts who want to push hardware limits.
What’s safer than a CPU/RAM upgrade?
Upgrading to an SSD and replacing the battery can dramatically improve performance without risky soldering.
Conclusion
Upgrading a MacBook Air A1466 from an i5 CPU with 4GB RAM to an i7 with 16GB RAM is a highly complex modification. It requires advanced motherboard-level repairs, including BGA soldering, BIOS programming, and resistor adjustments—tasks best suited for professionals.
The outcome is a vintage laptop with modern performance capabilities. However, for most users, the costs, time, and risks involved make this upgrade impractical. For skilled technicians or dedicated DIY enthusiasts, it offers a rewarding challenge and showcases the limits of Apple’s engineering.


2 Responses
Hi,
I already have the macbook air model with I7 from 2017. I have 8gb of ram as this was the maximum they shipped with, I was wondering can you upgrade it to 16gb. How much this will cost. I am based in Europe.
Best,
Alex
Hi Alex,
Thank you for reaching out! We appreciate your message. Unfortunately, we don’t provide repair or upgrade services, including RAM upgrades for MacBook devices.