

Key Technical Takeaways
- Critical Repair Risk: Touching the OLED layer during OCA residue removal can destroy the panel. The glue remover rod must only roll up adhesive, never contact the display directly.
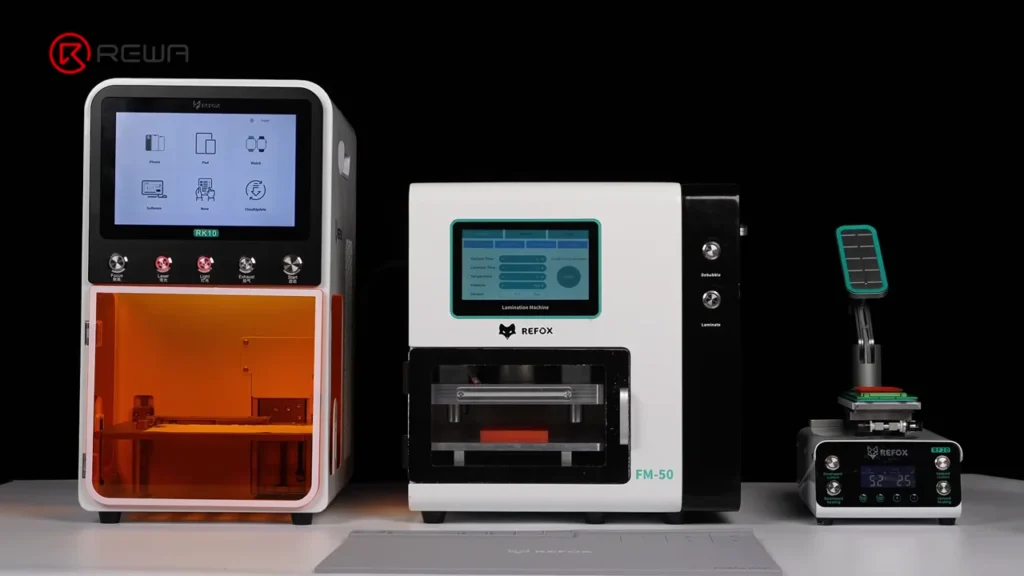
- Tools & Heat: UV cold-light laser machine for OCA softening, 90°C heated vacuum separator, 0.028mm cutting wire, electric glue remover, laminating machine, and bubble remover.
- Key Technique: Retain the original screen bezel, manually align the new front glass because no dedicated mold is available, and use de-bubbling to eliminate lamination voids.
- Verification Check: Connect the display to the phone after glass separation and again after final lamination to confirm the panel survives and touch works normally.
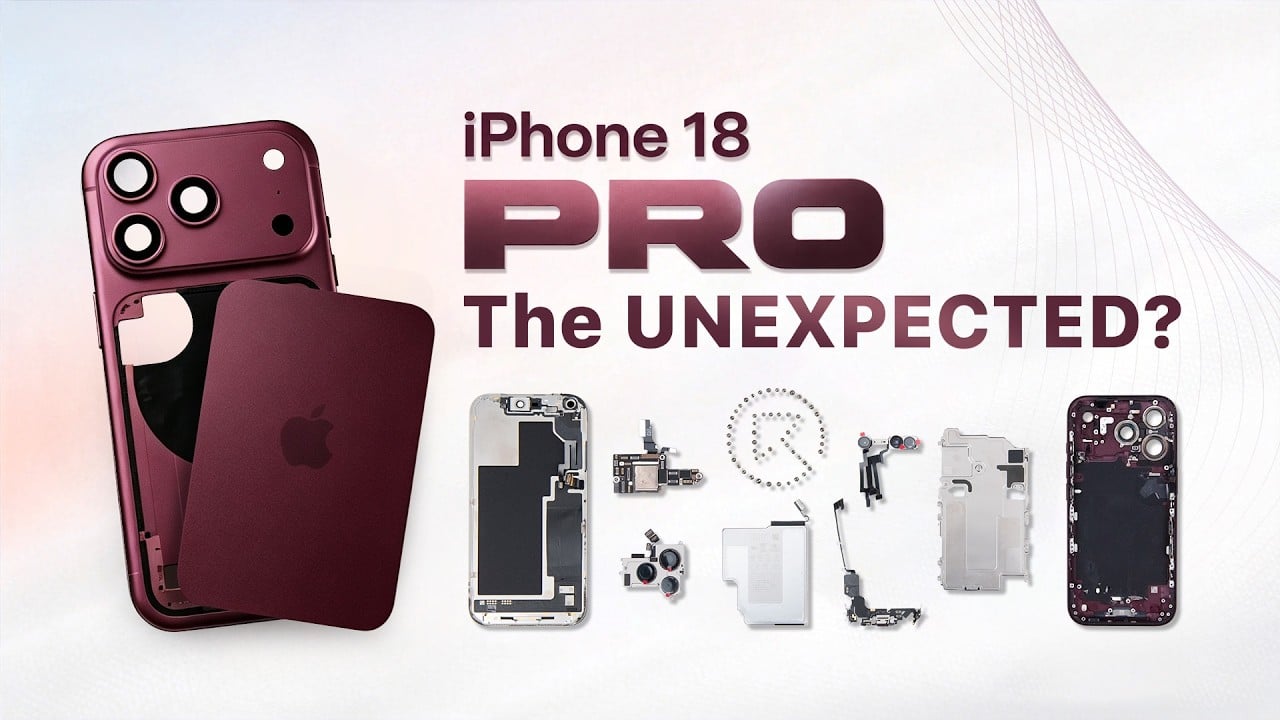
During teardown comparisons, the pixel density difference between the under-display infrared camera zone and the surrounding display is visible. That raises a practical refurbishing question: does this new under-display sensor arrangement make glass-only front glass refurbishment more difficult? This guide follows a complete glass refurbishment attempt using a UV cold-light laser, heated vacuum separation, OCA cleanup, and new glass lamination.
Rather than replacing the whole display assembly, glass-only refurbishment saves the original OLED panel and the original screen bezel. The process works by softening the optically clear adhesive, or OCA, between the cover glass and the OLED assembly. A laser machine with a UV cold-light source is used to selectively soften the OCA without harming the display. The screen is then placed onto a heated separator at 90°C with vacuum suction, and a fine cutting wire separates the cover glass. After cleaning the remaining adhesive, a new front glass is manually aligned and laminated, then transferred to a bubble remover.
This procedure requires a clean workbench, ESD-safe handling, precision hand tools, and experience with fragile OLED panels.
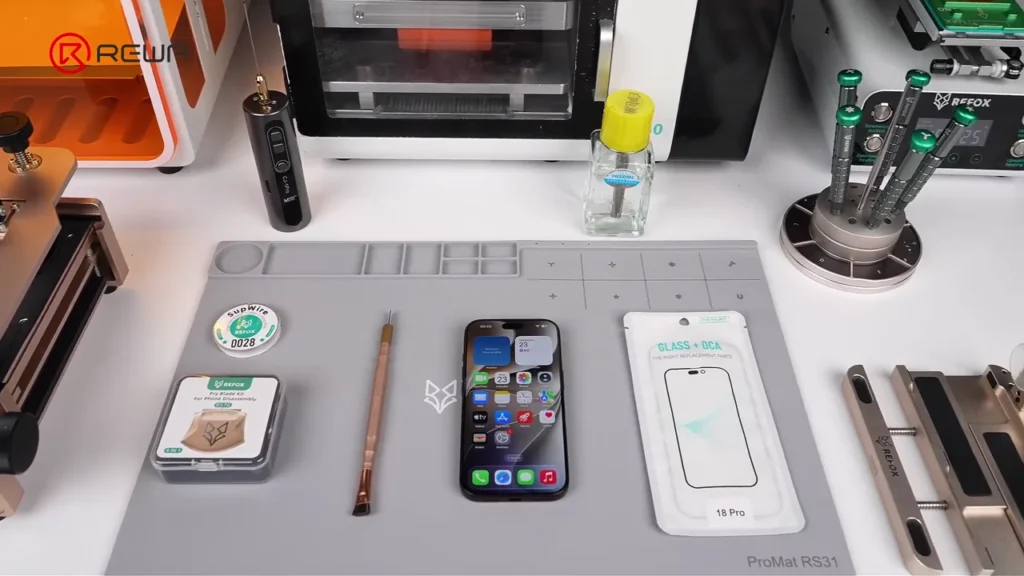
Required Tools, Parts & Materials
- Pentalobe screwdriver
- Protective sticker or film for the front camera area
- Phone repair heating pad
- Mobile phone opener & clamp fixture
- Alcohol
- UV cold-light laser machine
- Screen separator with vacuum suction and 90°C heating
- Razor blade
- 0.028mm cutting wire
- Electric glue remover
- PCB cleaner
- New front glass cover
- Alignment fixture or tray
- Laminating & bubble remover machine
Pre-Repair Safety & Device Isolation
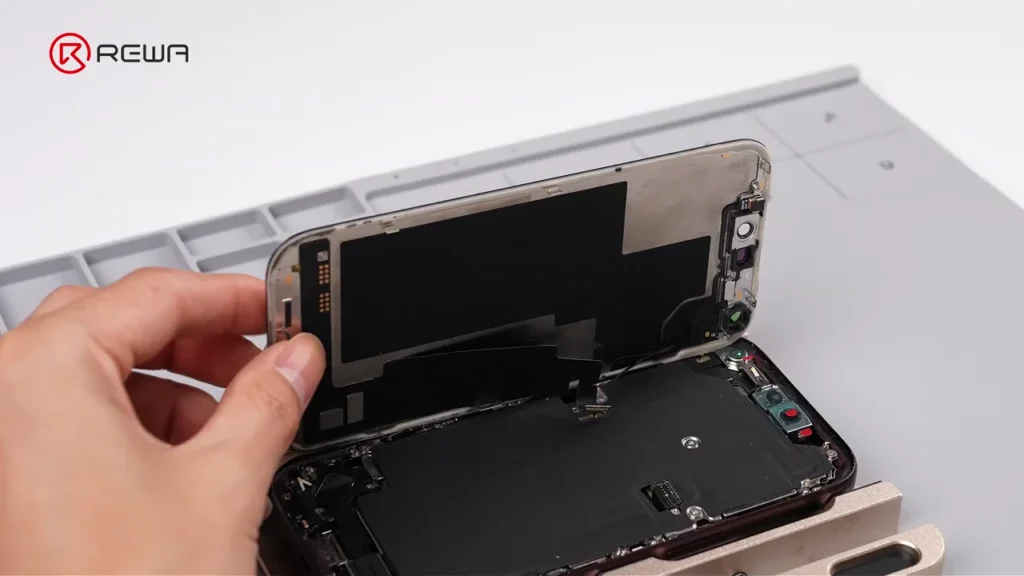
Disconnect the battery connector before working on the display assembly. The video opens the display, then disconnects the screen flex cable, front sensor flex cable, and battery connector.
Since the iPhone 18 Pro has an under-display infrared camera, keeping that zone protected during adhesive removal and lamination is important.
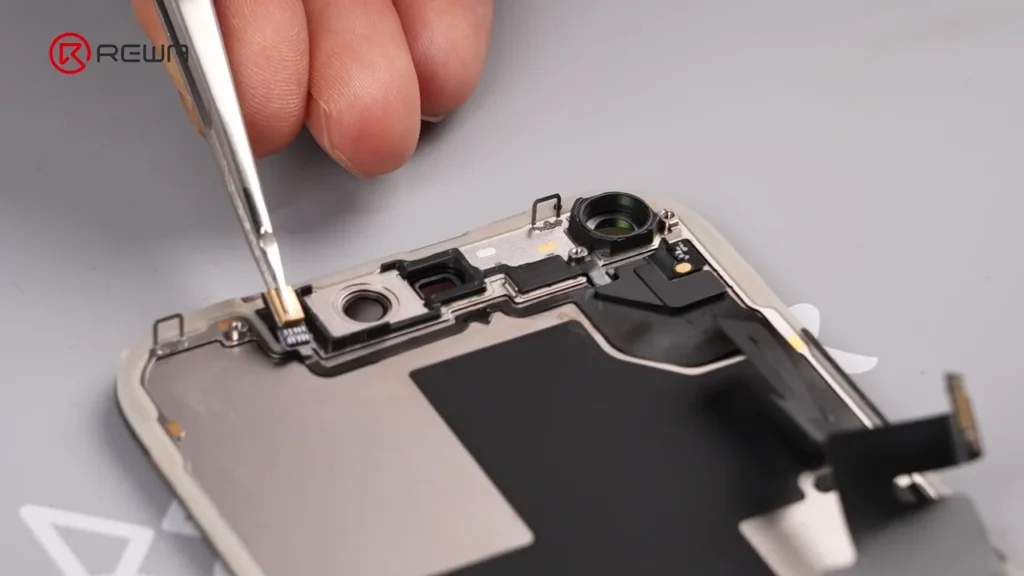
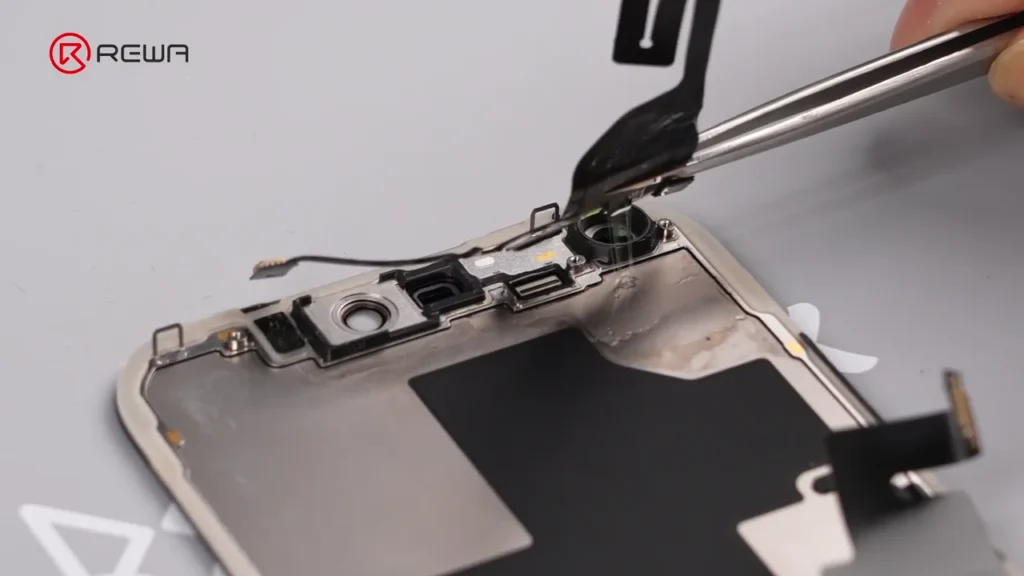
The front camera flex cable is removed with a few drops of alcohol before the laser step. This prevents the flex cable from being damaged during laser processing.
During glue removal, the electric glue remover rod must not touch the OLED layer. Contact with the fragile display can cause permanent damage.
Step-by-Step Front Glass Refurbishment
Step 1: Baseline Screen Verification and Display Opening
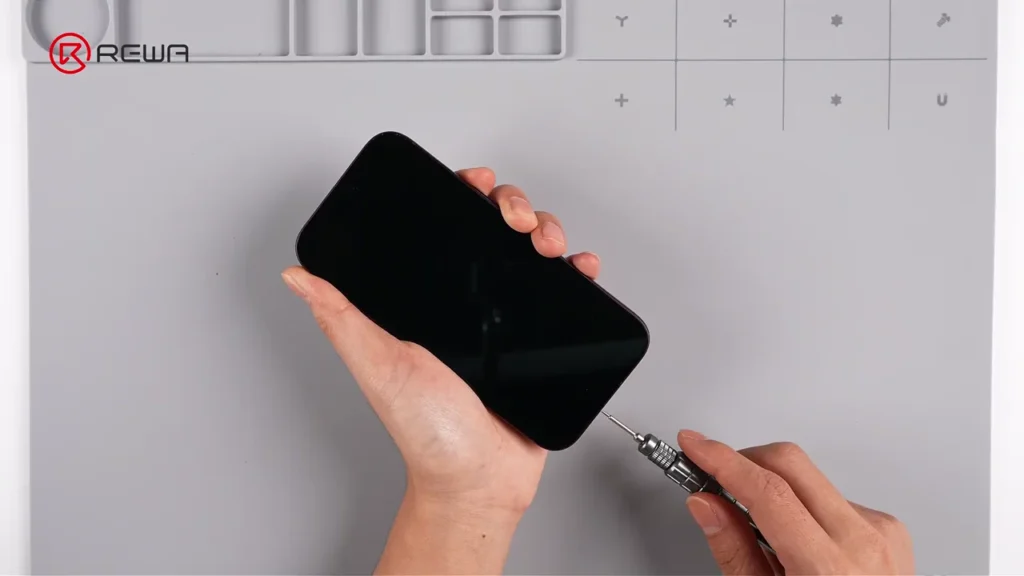
Test the screen before disassembly. Remove the bottom pentalobe screws and open the display assembly.
Step 2: Protect the Front Camera and Disconnect Internal Flex Cables
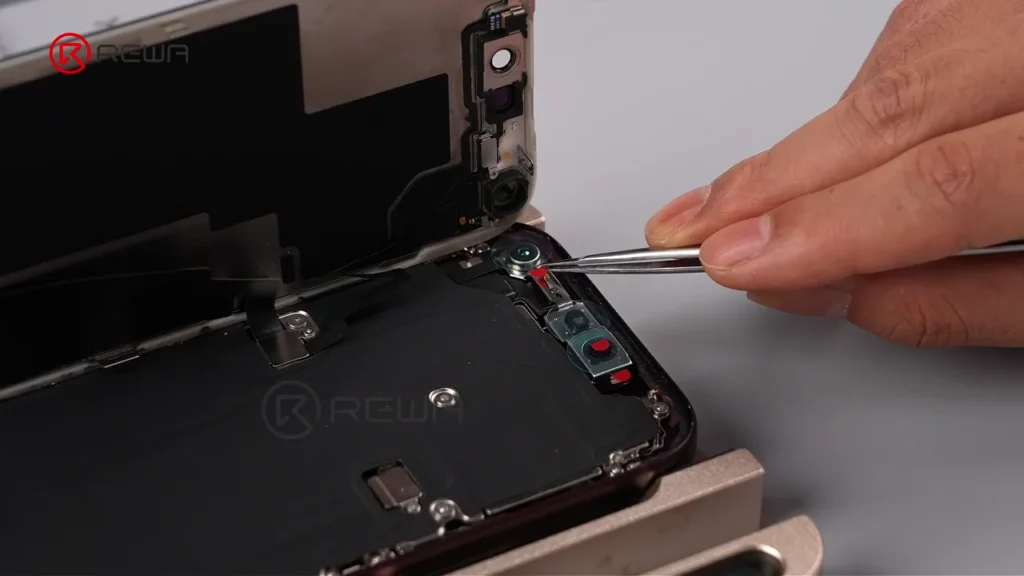
Apply a protective sticker over the front camera area. Disconnect the screen flex cable, front sensor flex cable, and battery connector.
Step 3: Remove the Front Camera Flex with Alcohol
Apply a few drops of alcohol to remove the front camera flex cable. This step protects the flex cable from damage during the laser processing that follows.
Step 4: Laser Template Alignment and UV OCA Softening
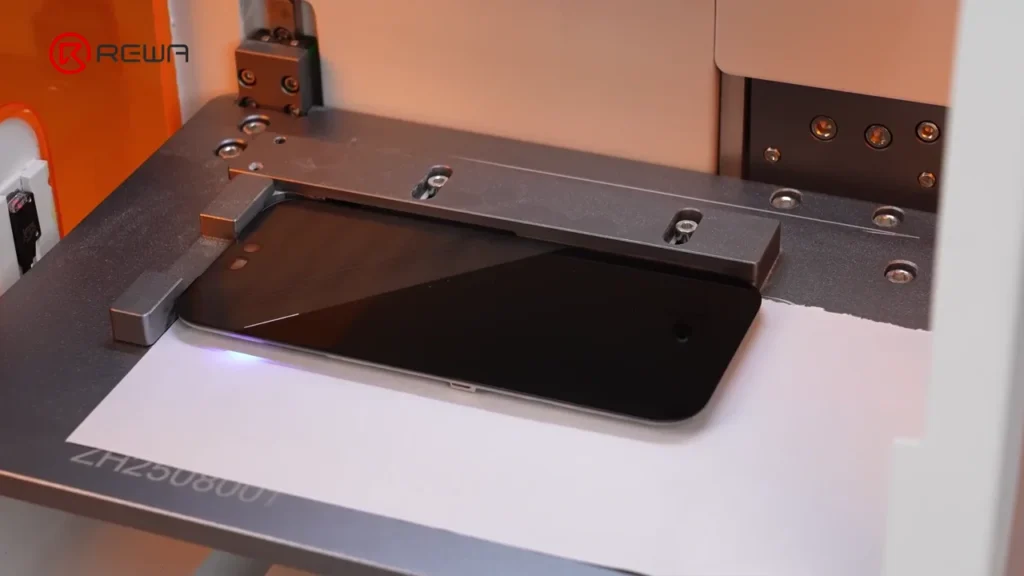
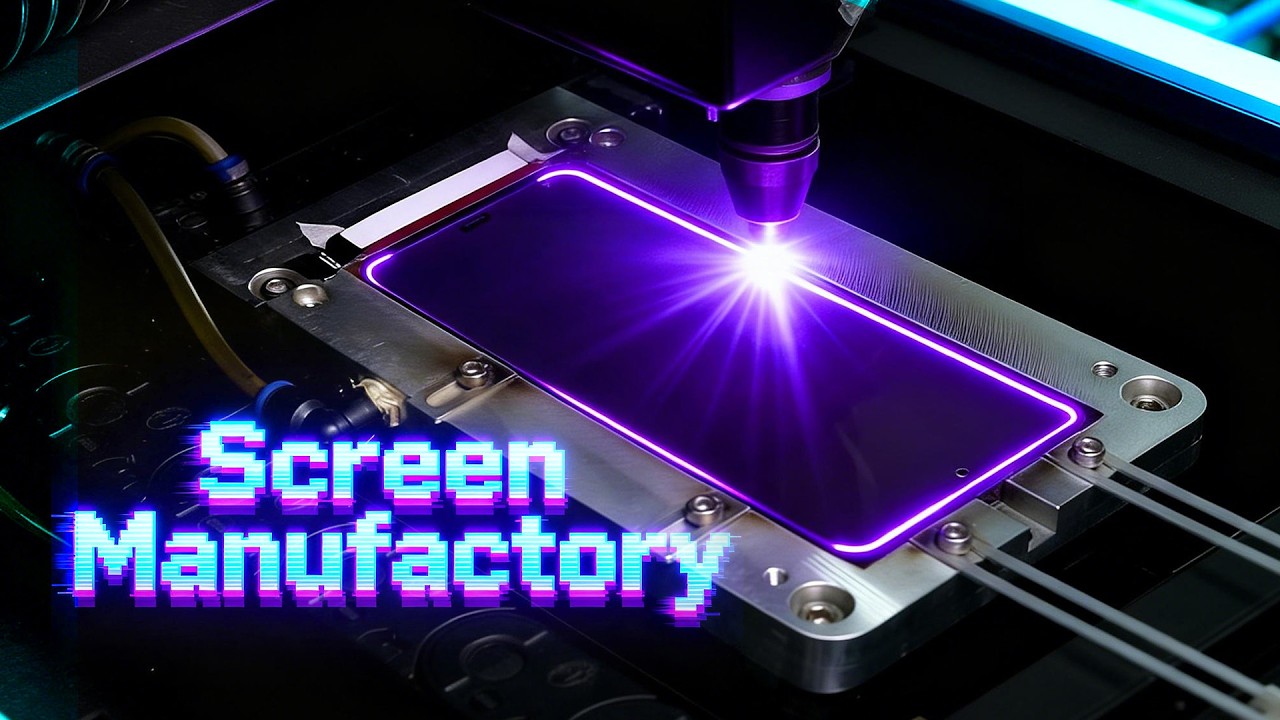
Align the screen by its corners and place it onto the laser machine. Select the preset drawing template; in the source this is identified as an iPhone 17 Pro preset. The laser does not align precisely with the screen edges automatically, so adjustments are needed before the infrared preview. Adjust until the red positioning line aligns perfectly with the screen perimeter, then start the machine.
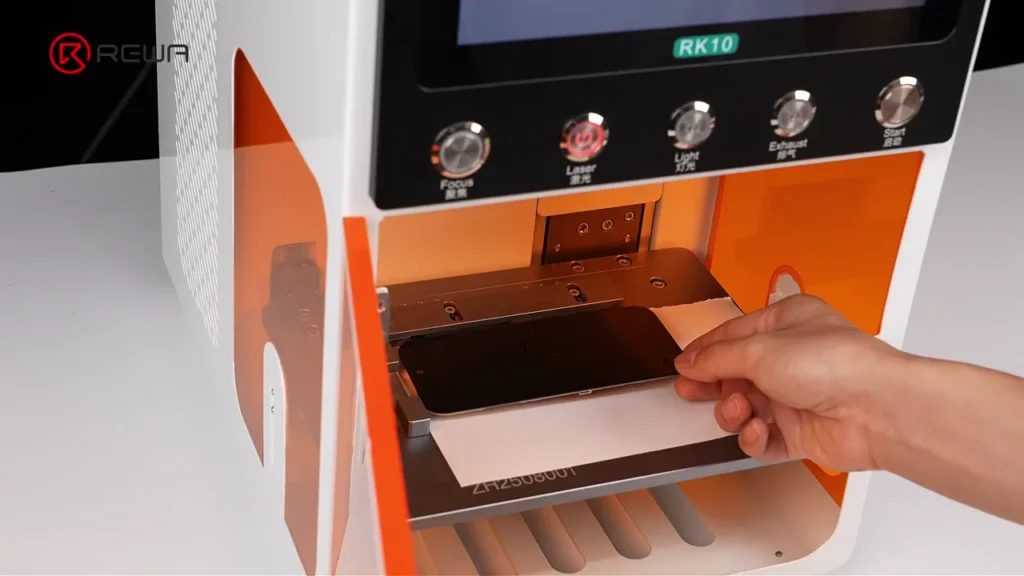
The laser machine uses a UV cold-light source to precisely soften the OCA without harming the display. After laser treatment, the screen edge shows slight frosting.
Step 5: Heated Vacuum Glass Separation
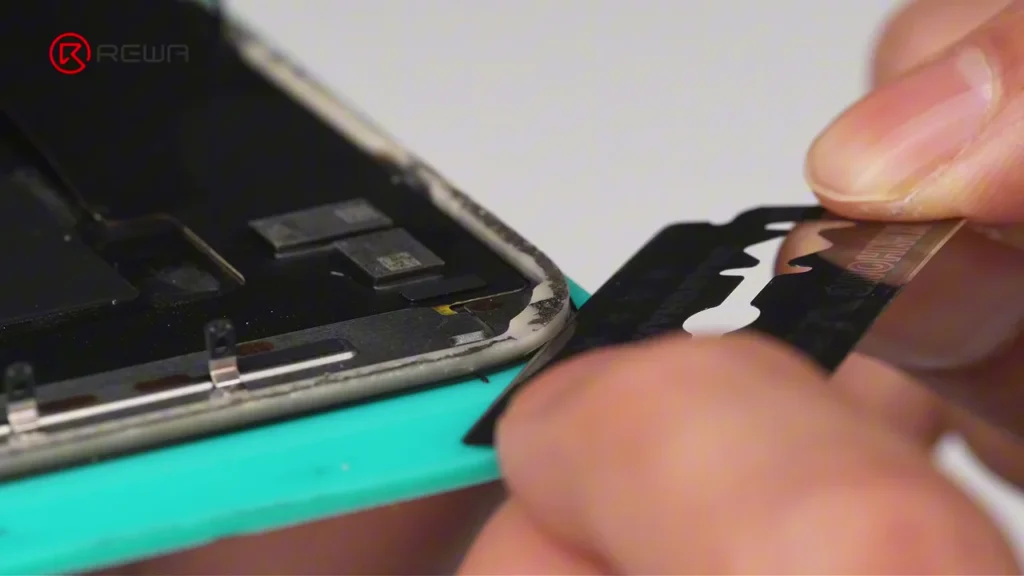
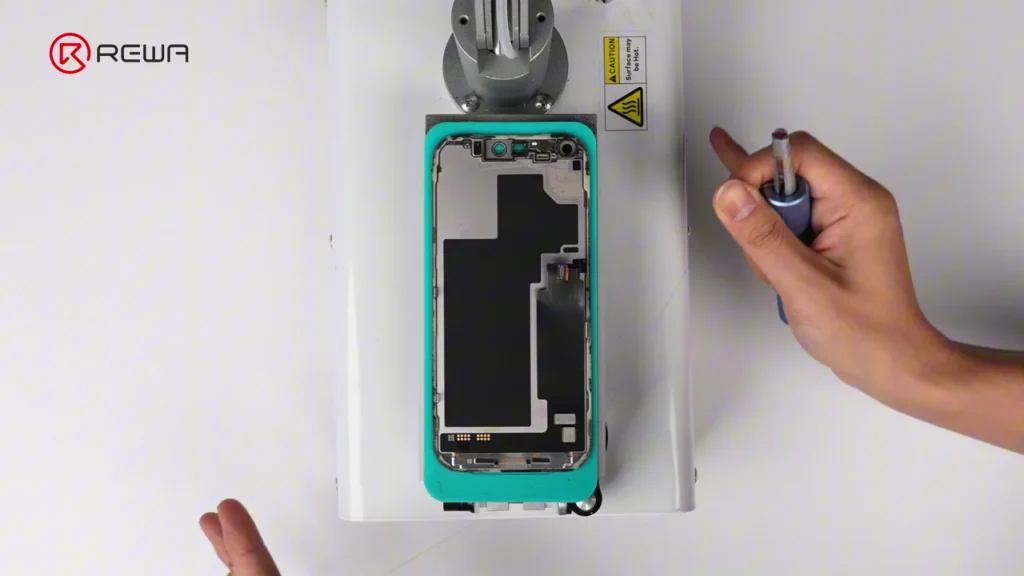
Place the screen onto the screen separator, heat it to 90°C, and turn on the vacuum suction. Because this refurbishment keeps the original screen bezel, a razor blade is used to cut an entry point first. Insert a 0.028mm cutting wire into the opening and pull it back and forth to separate the glass cover from the OLED display.
Step 6: Post-Separation Functional Check
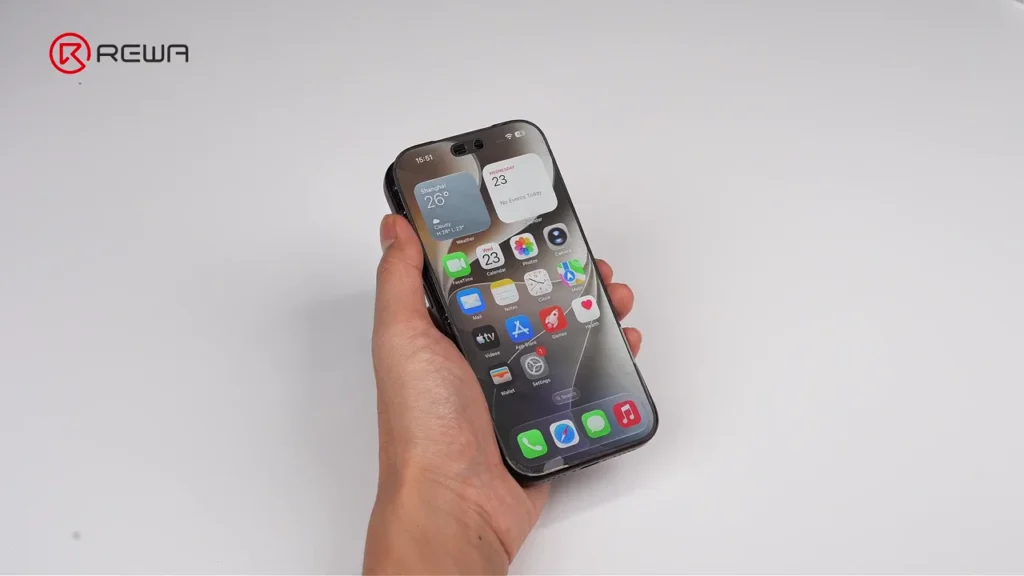
After the glass cover is separated, connect the display assembly to the phone for testing. The panel shows no damage and touch works properly.
Step 7: OCA and Bezel Adhesive Removal
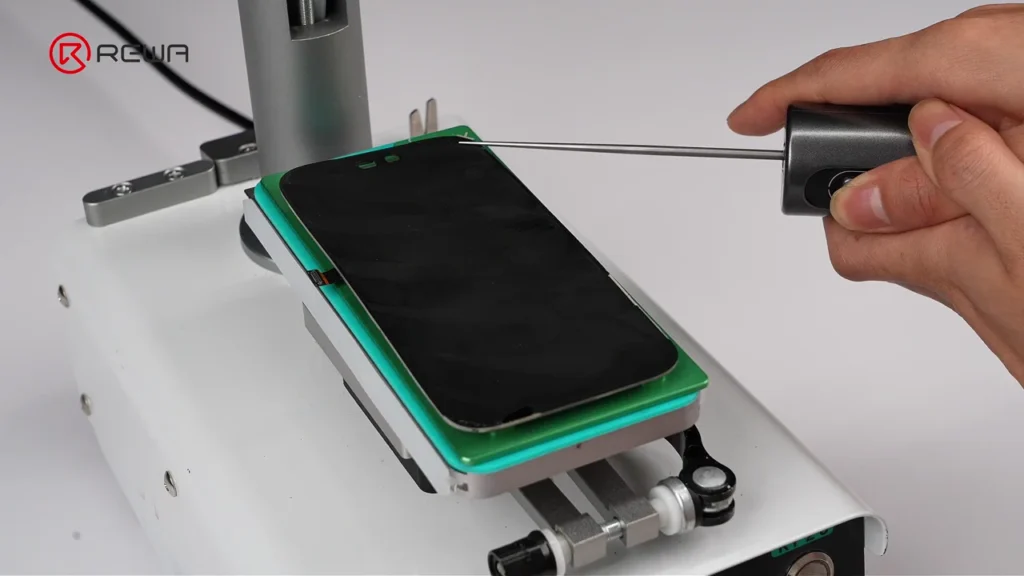
Install the alignment fixture on the front, place the screen back on it, and turn on the vacuum suction again. This allows close inspection of the adhesive removal condition.
Because the original screen frame bracket is retained, both the OCA glue residue and the bezel adhesive must be cleaned. Use an electric glue remover to clean residue from the display. Be careful that the glue removing rod does not touch the OLED layer directly. Only gently roll up the OCA residue; touching the fragile display can cause damage.
Step 8: Frame Adhesive Cleaning and PCB Cleaner
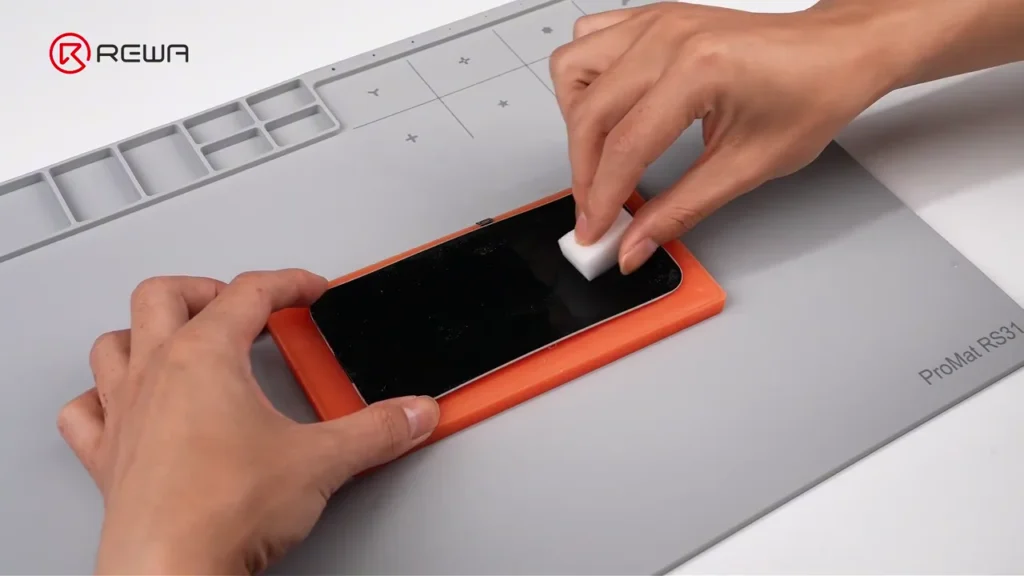
Next, process the frame adhesive with PCB cleaner. Thorough cleaning prevents bubbles from recurring after lamination.
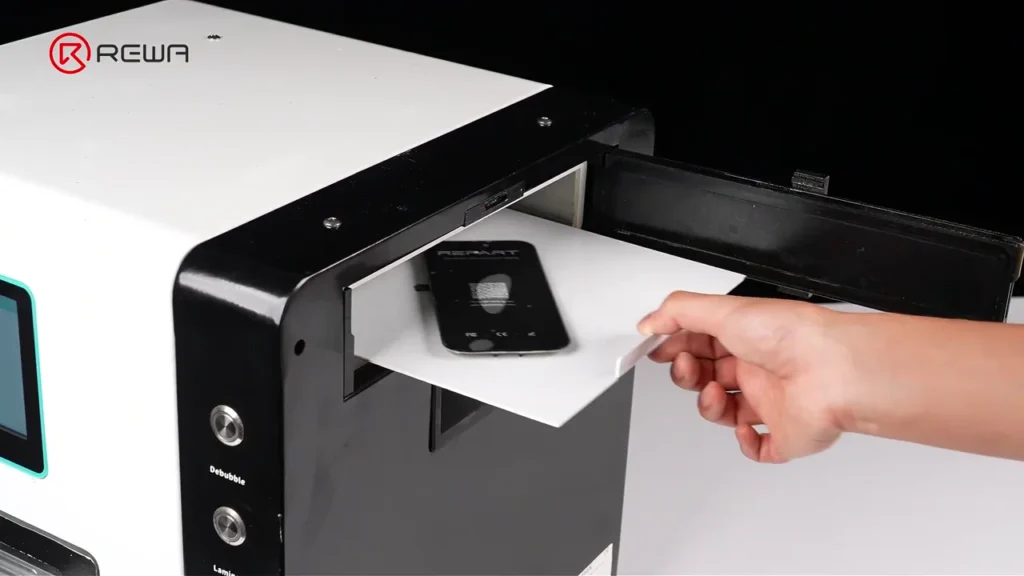
Step 9: New Glass Manual Alignment and Lamination
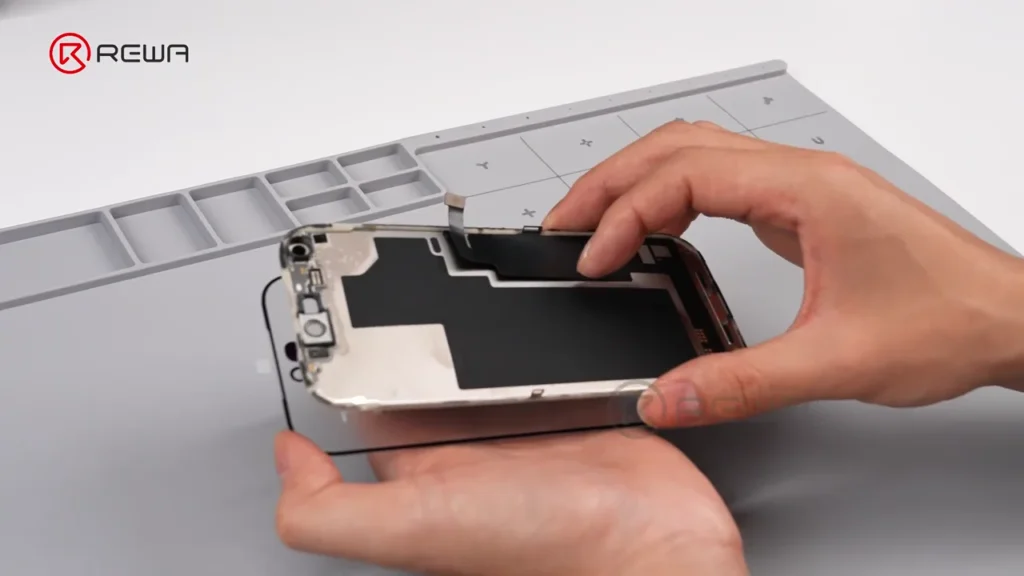
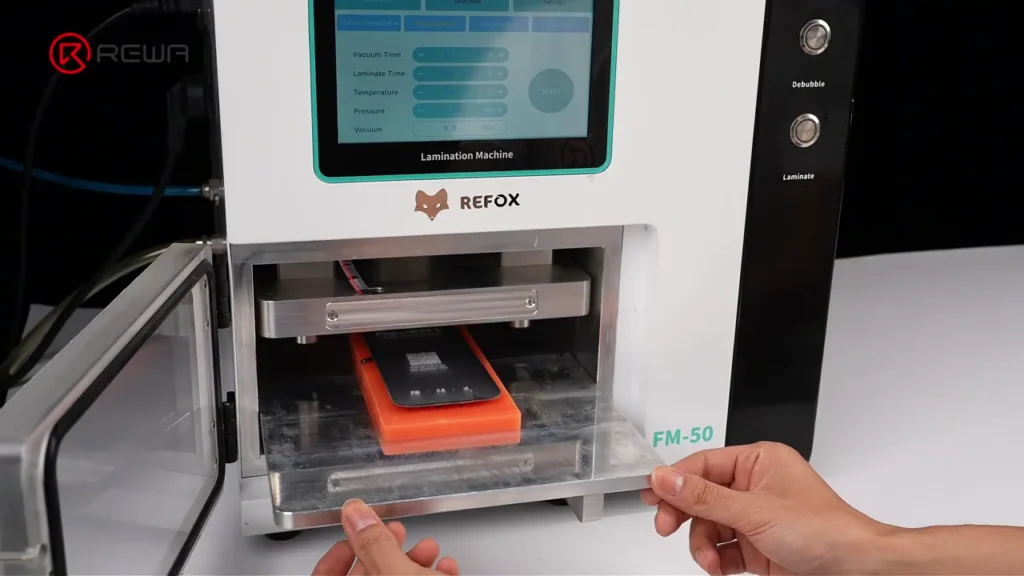
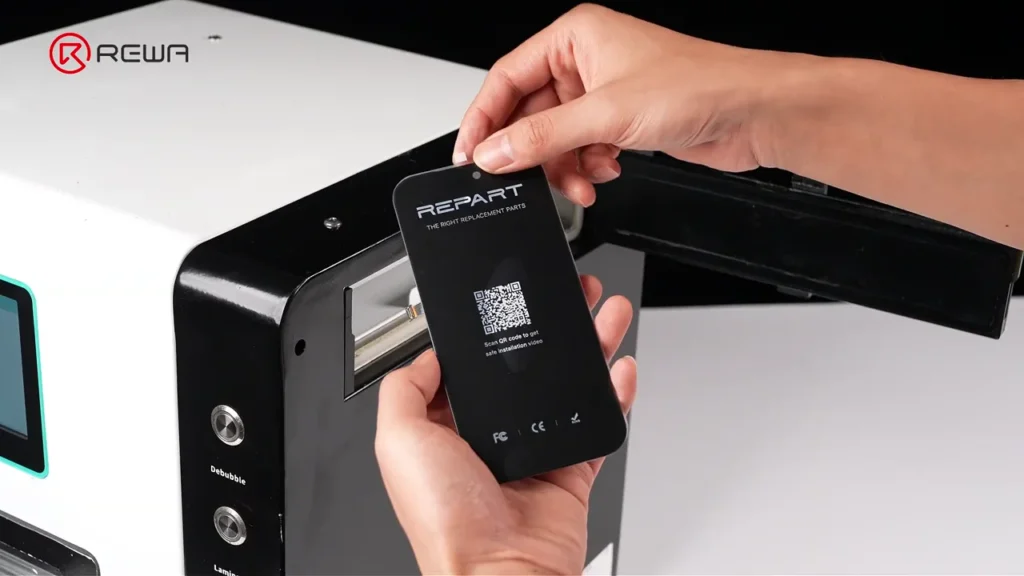
Take out the new front glass. Use pull tabs to peel off the protective film on the new glass cover. Since this is a new model and there is no dedicated alignment mold, manual alignment is required. Place the screen on the tray and put it into the laminating machine for lamination.
Step 10: De-Bubbling and Final Verification
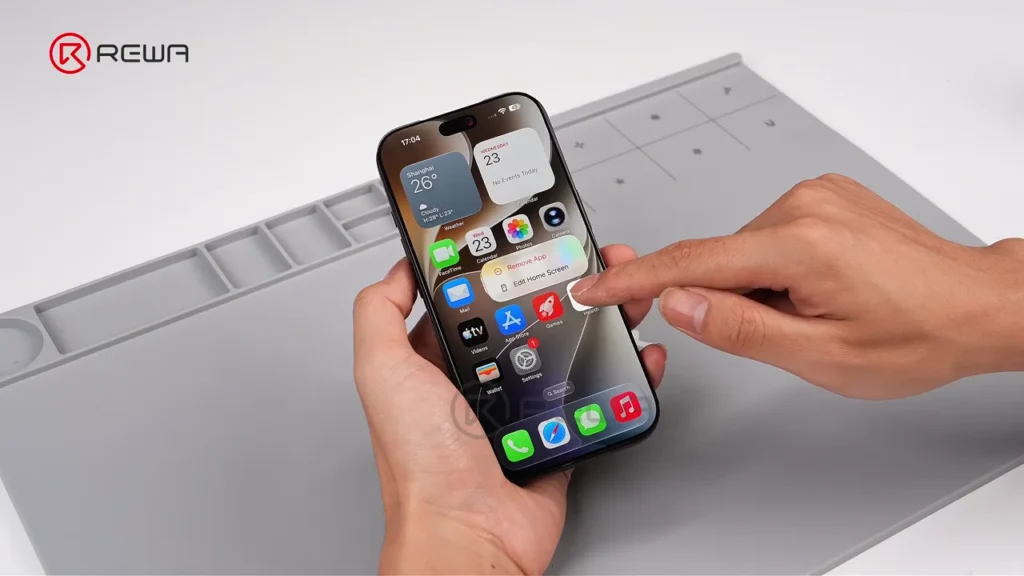
Once lamination is complete, quickly transfer the screen to the bubbling chamber. After de-bubbling, the glass cover and screen are seamlessly laminated with zero bubbles. Light up the screen for testing again; touch functions normally and the glass lamination result is excellent.
Tips & Tricks
- Because there is no pre-set drawing template, you need to manually confirm the infrared preview position when using the laser machine to prevent misalignment.
- When refurbishing the screen while retaining the original frame, use a blade to carefully locate the entry point between the display panel and the cover glass, allowing the cutting wire to slide in for separation.
- When refurbishing while retaining the bezel, make sure to clean off the frame adhesive beforehand.
Technical Conclusion & Quality Control Checklist
The demonstration of iPhone 18 Pro Front Glass Replacement shows that the under-display infrared camera does not increase the difficulty of front glass refurbishment on the iPhone 18 Pro when the correct precautions are followed.
The key is to protect the remove the front camera flex cable before laser processing. The UV cold-light laser selectively softens the OCA without damaging the OLED, and the heated vacuum separator with the 0.028mm cutting wire cleanly separates the cover glass.
Because the original bezel is retained, the most demanding bench work is adhesive removal. The electric glue remover must never touch the OLED layer. Thorough OCA and frame adhesive cleaning prevents bubble recurrence after lamination. Manual alignment of the new glass must be performed carefully because no dedicated mold is available for this model at the time of the video. Transferring the laminated screen quickly to the bubble remover produces a seamless, zero-bubble result.
Post-Repair Quality Control Checklist
- Confirm touch response across the full display after glass separation and after final de-bubbling.
- Inspect the lamination under strong light for bubbles, haze, or adhesive voids.
- Ensure the new glass sits flat against the retained bezel with no raised edges.
- Verify no OCA residue remains along the display or frame adhesive surfaces.
- Reconnect the battery and all flex cables only after the laminated assembly is clean and dry.
- Perform a final front camera and sensor function check after reassembly.

 English
 Español
 Français
 Deutsch
 Italiano